Today’s post is a step by step guide on how to make sourdough bread from scratch. With a recipe for sourdough bread and growing your own starter.
Making the sourdough bread
This recipe makes 2 loaves
Preparation time: over 2 hours
Cooking time: 30 mins to 1 hour
Ingredients:
- 500g strong white flour, plus extra for dusting,
- 1 tsp fine salt,
- 300g sourdough starter,
- flavourless oil, for greasing
Step 1:
Tip the flour, 225ml warm water, the salt and the starter into a bowl or a mixer fitted with a dough hook. Stir with a wooden spoon until smoothly combined. Add extra flour if it’s too sticky or a little extra warm water if it’s too dry.
Step 2:
Tip onto a lightly floured surface and knead for 10 mins until soft and elastic. You should be able to stretch it to semi transparent without it tearing. If you‘re using a mixer, turn up the speed a little and mix for 5 mins.
Step 3:
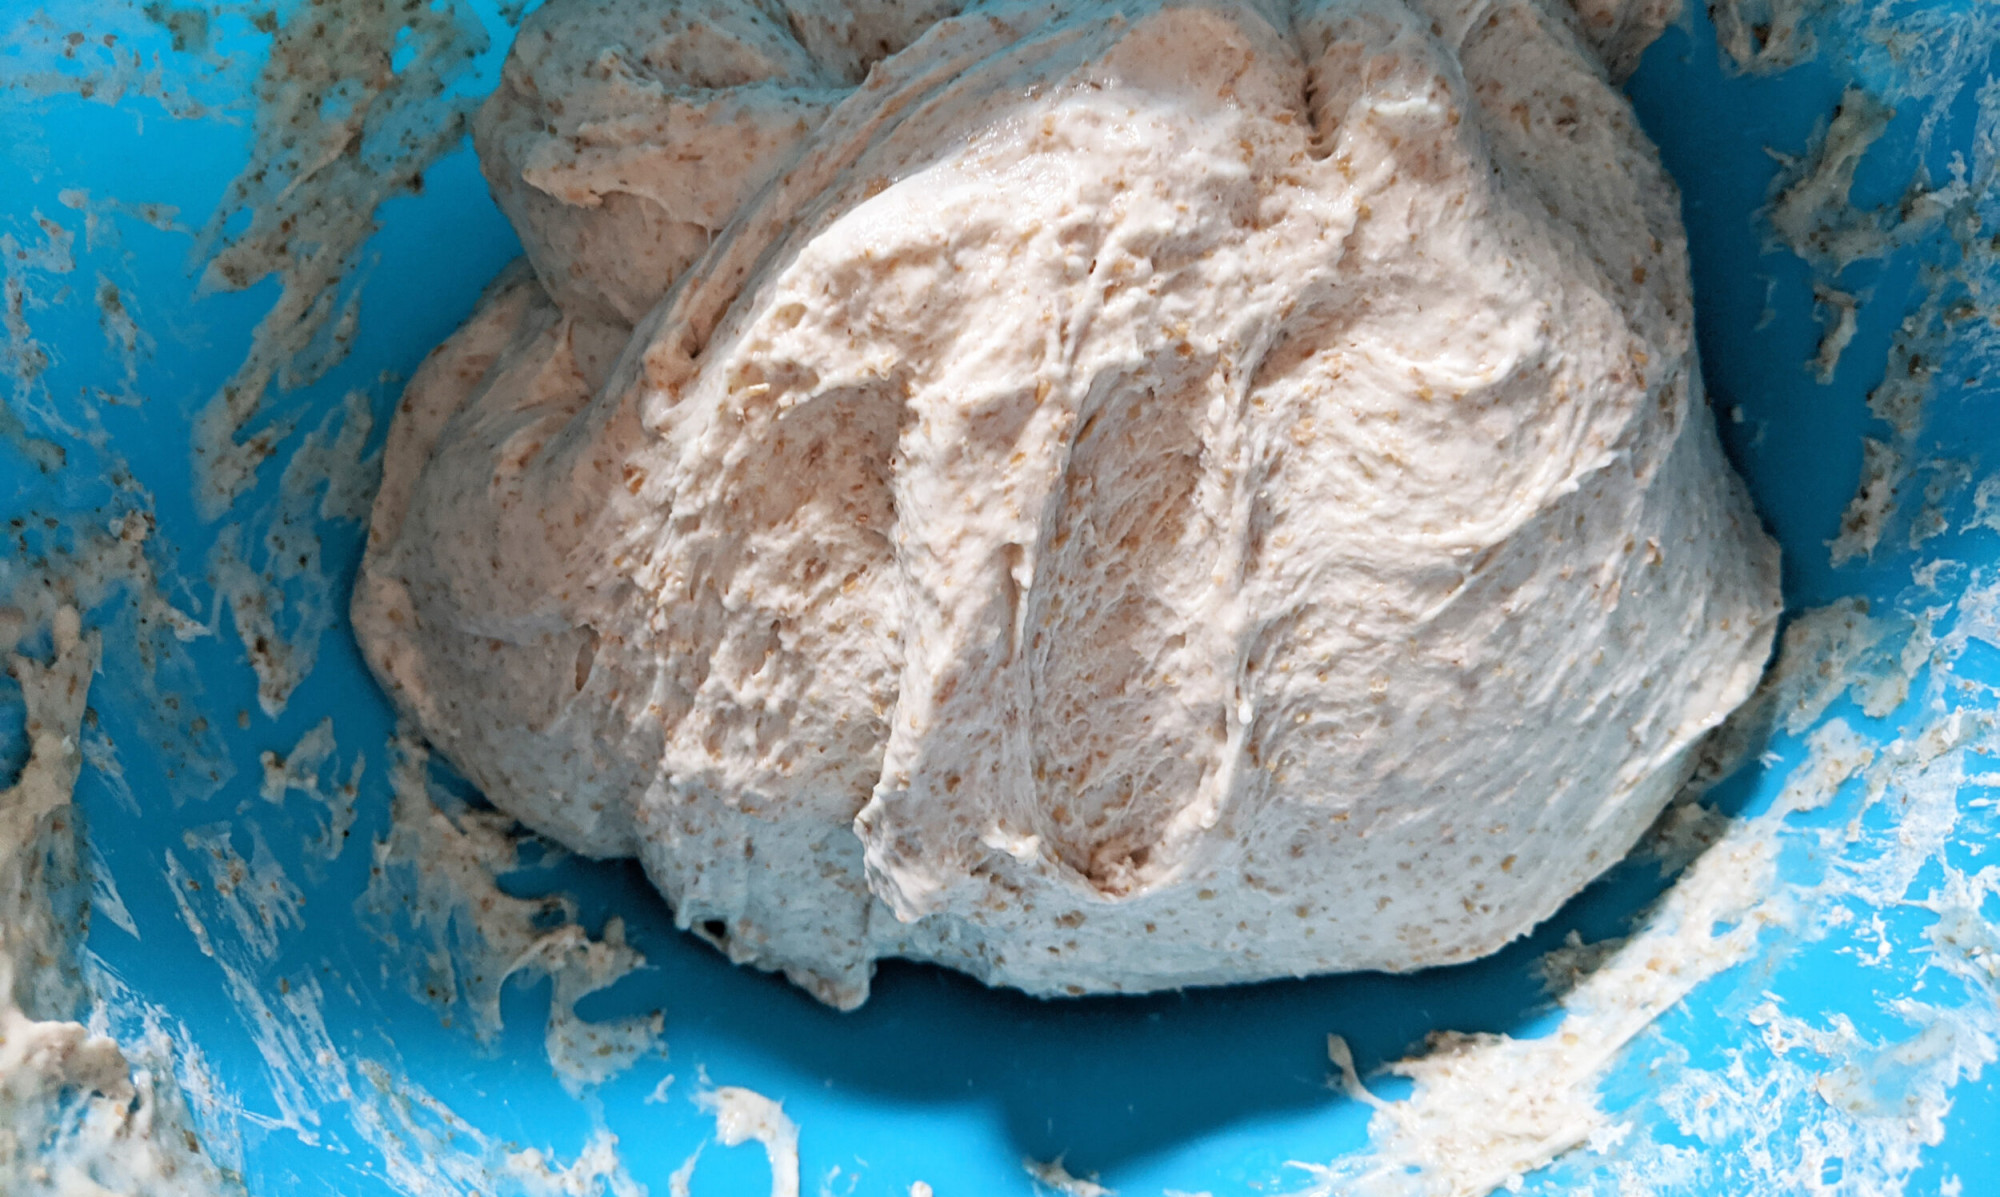
Place the dough in a large, well-oiled bowl and cover with oiled cling film. Leave in a warm place to rise for 3 hours. You may not see much movement, but don’t be alarmed as sourdough takes much longer to rise than a conventional yeasted bread.
Step 4:
Line a medium-sized bowl with a clean tea towel and flour it well or, you can use a proving basket. Tip the dough back onto your work surface and knead to remove any air bubbles. Shape the dough into a smooth ball and dust it with flour.
Step 5:
Place the dough, seam-side up, in the bowl or proving basket, cover loosely with a sheet of oiled cling film and leave at room temperature until roughly doubled in size. The time it takes for your bread to rise will vary depending on the temperature in the room and strength of your starter – it can be anywhere from 4-8 hours. Use your gut feeling, so don’t worry too much about timings here. You can also prove your bread overnight in the fridge. Remove it in the morning and let it continue rising for another hour at room temperature. The slower the rise, the deeper the flavour you will achieve.
Step 6:
Place a large baking tray in the oven, and heat to 230°C / 210°C fan / gas 8. Fill a small roasting jar with a little water and place this in the bottom of the oven to create steam. Remove the baking tray from the oven, sprinkle with flour, then carefully tip the risen dough onto the tray.
Step 7:
Slash the top a few times with a sharp knife, if you like, then bake for 35-40 mins until golden brown. You should get a hollow sound when tapped on the bottom. Leave to cool on a wire rack for 20 mins before serving.
Growing the sourdough starter
Step 1:
In a large bowl, mix together 100g of flour with 100ml slightly warm water. Whisk together until smooth and lump-free. When you feed your starter, feed it with approximately equal weights of flour and water. That equates to about 2/3 to 2/3 cup of water for every cup of flour.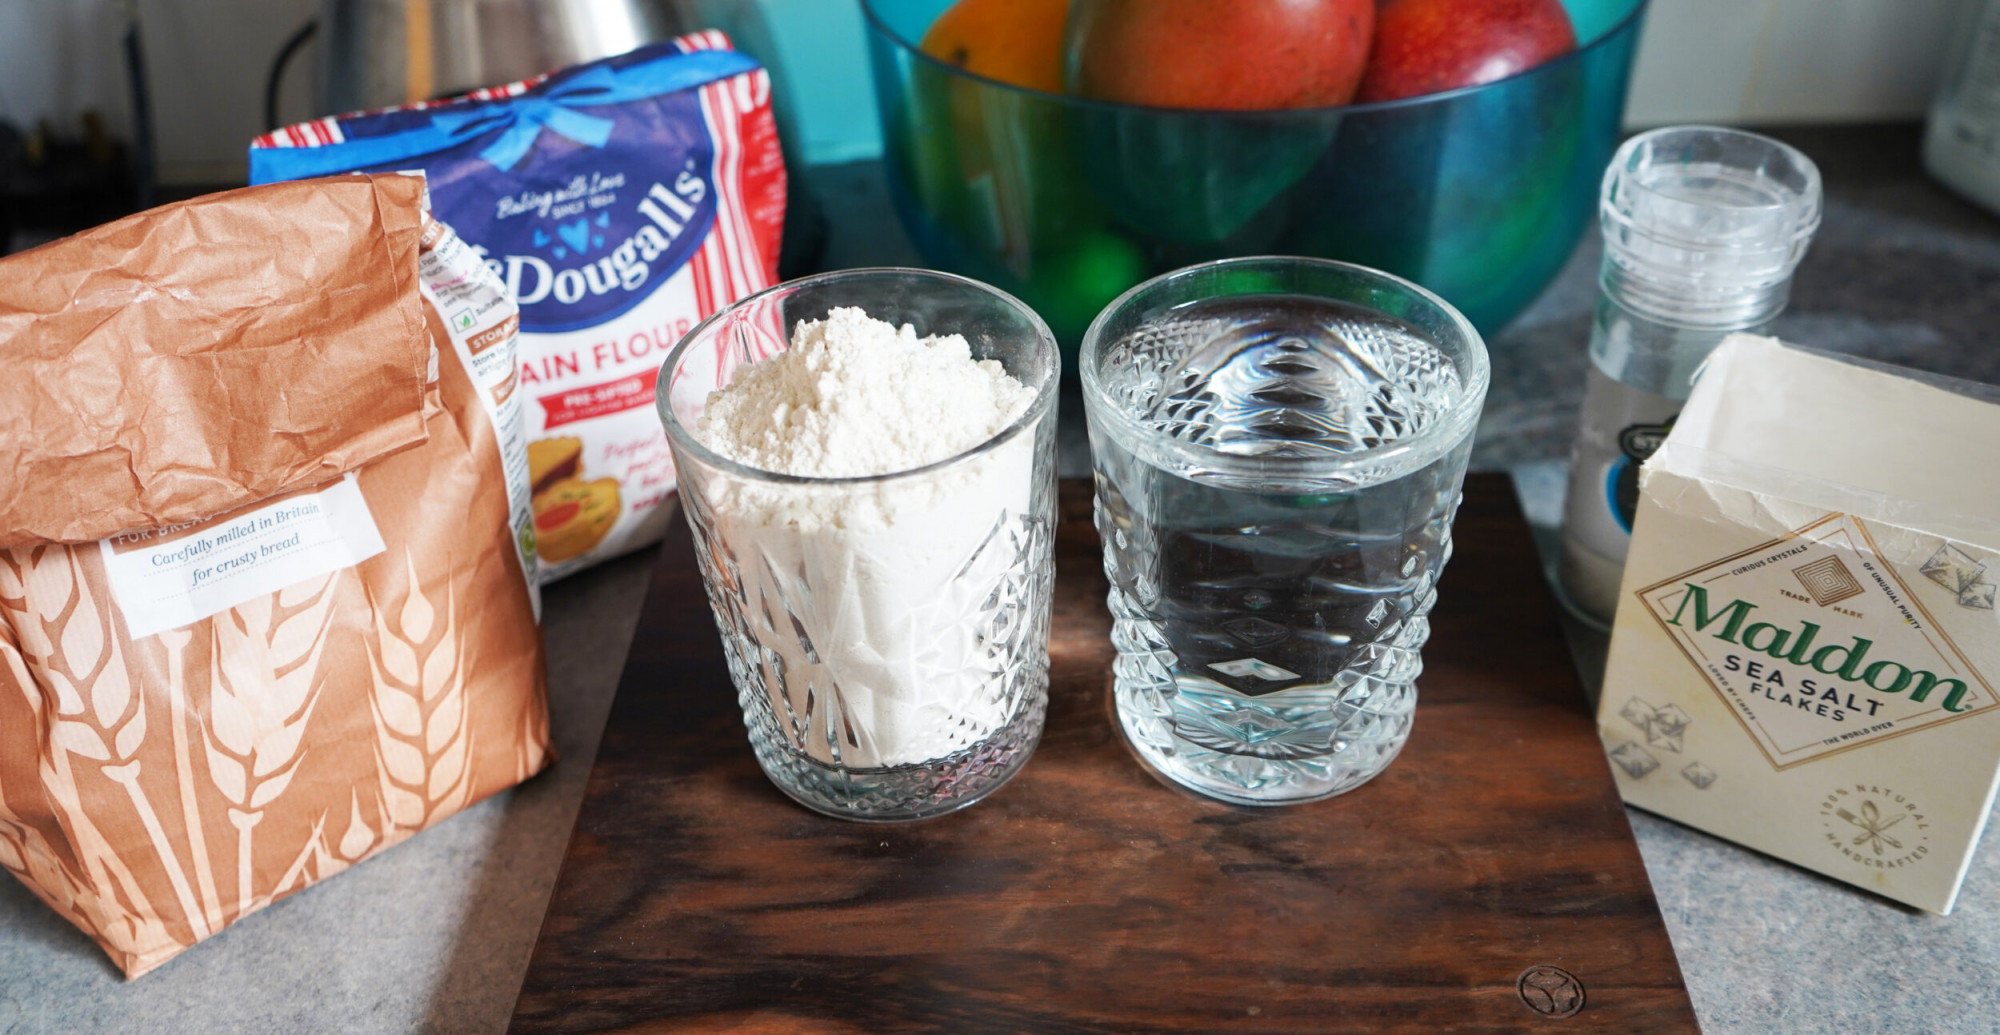
Step 2:
Transfer the starter to a large jar (a 1-litre glass jar is recommended) or a plastic container. Leave the jar lid for 1 hour in a warm place (around 25°C is ideal), then cover (but don’t seal) and set aside for 24 hours.
Step 3:
For the next 6 days, you will need to ‘feed’ the starter. Each day, discard half of the original starter, add an extra 100g of flour and 100g of slightly warm water and stir well. Try to do this at the same time every day.
The amount you feed your sourdough starter depends on how much of it you have to start with. However, if you already have a couple cups of starter on hand and typically use much less in your recipe, it doesn’t make sense to have to double the existing two cups of starter. In this case just dispose of a cup or more of the starter and then double what remains.
Step 4:
After 3-4 days you should see bubbles appearing on the surface, and it will smell yeasty and a little acidic. If so, the starter is working. It can take between 1-5 days for your starter to begin fermenting, depending on the temperature and environment. Persevere for up to 6 days – if you still don’t see any signs of life, or the starter smells unpleasant, throw it away and start again.
Step 5:
On the 7th day the starter should be quite bubbly and smell much sweeter. It is now ready to be used in baking.
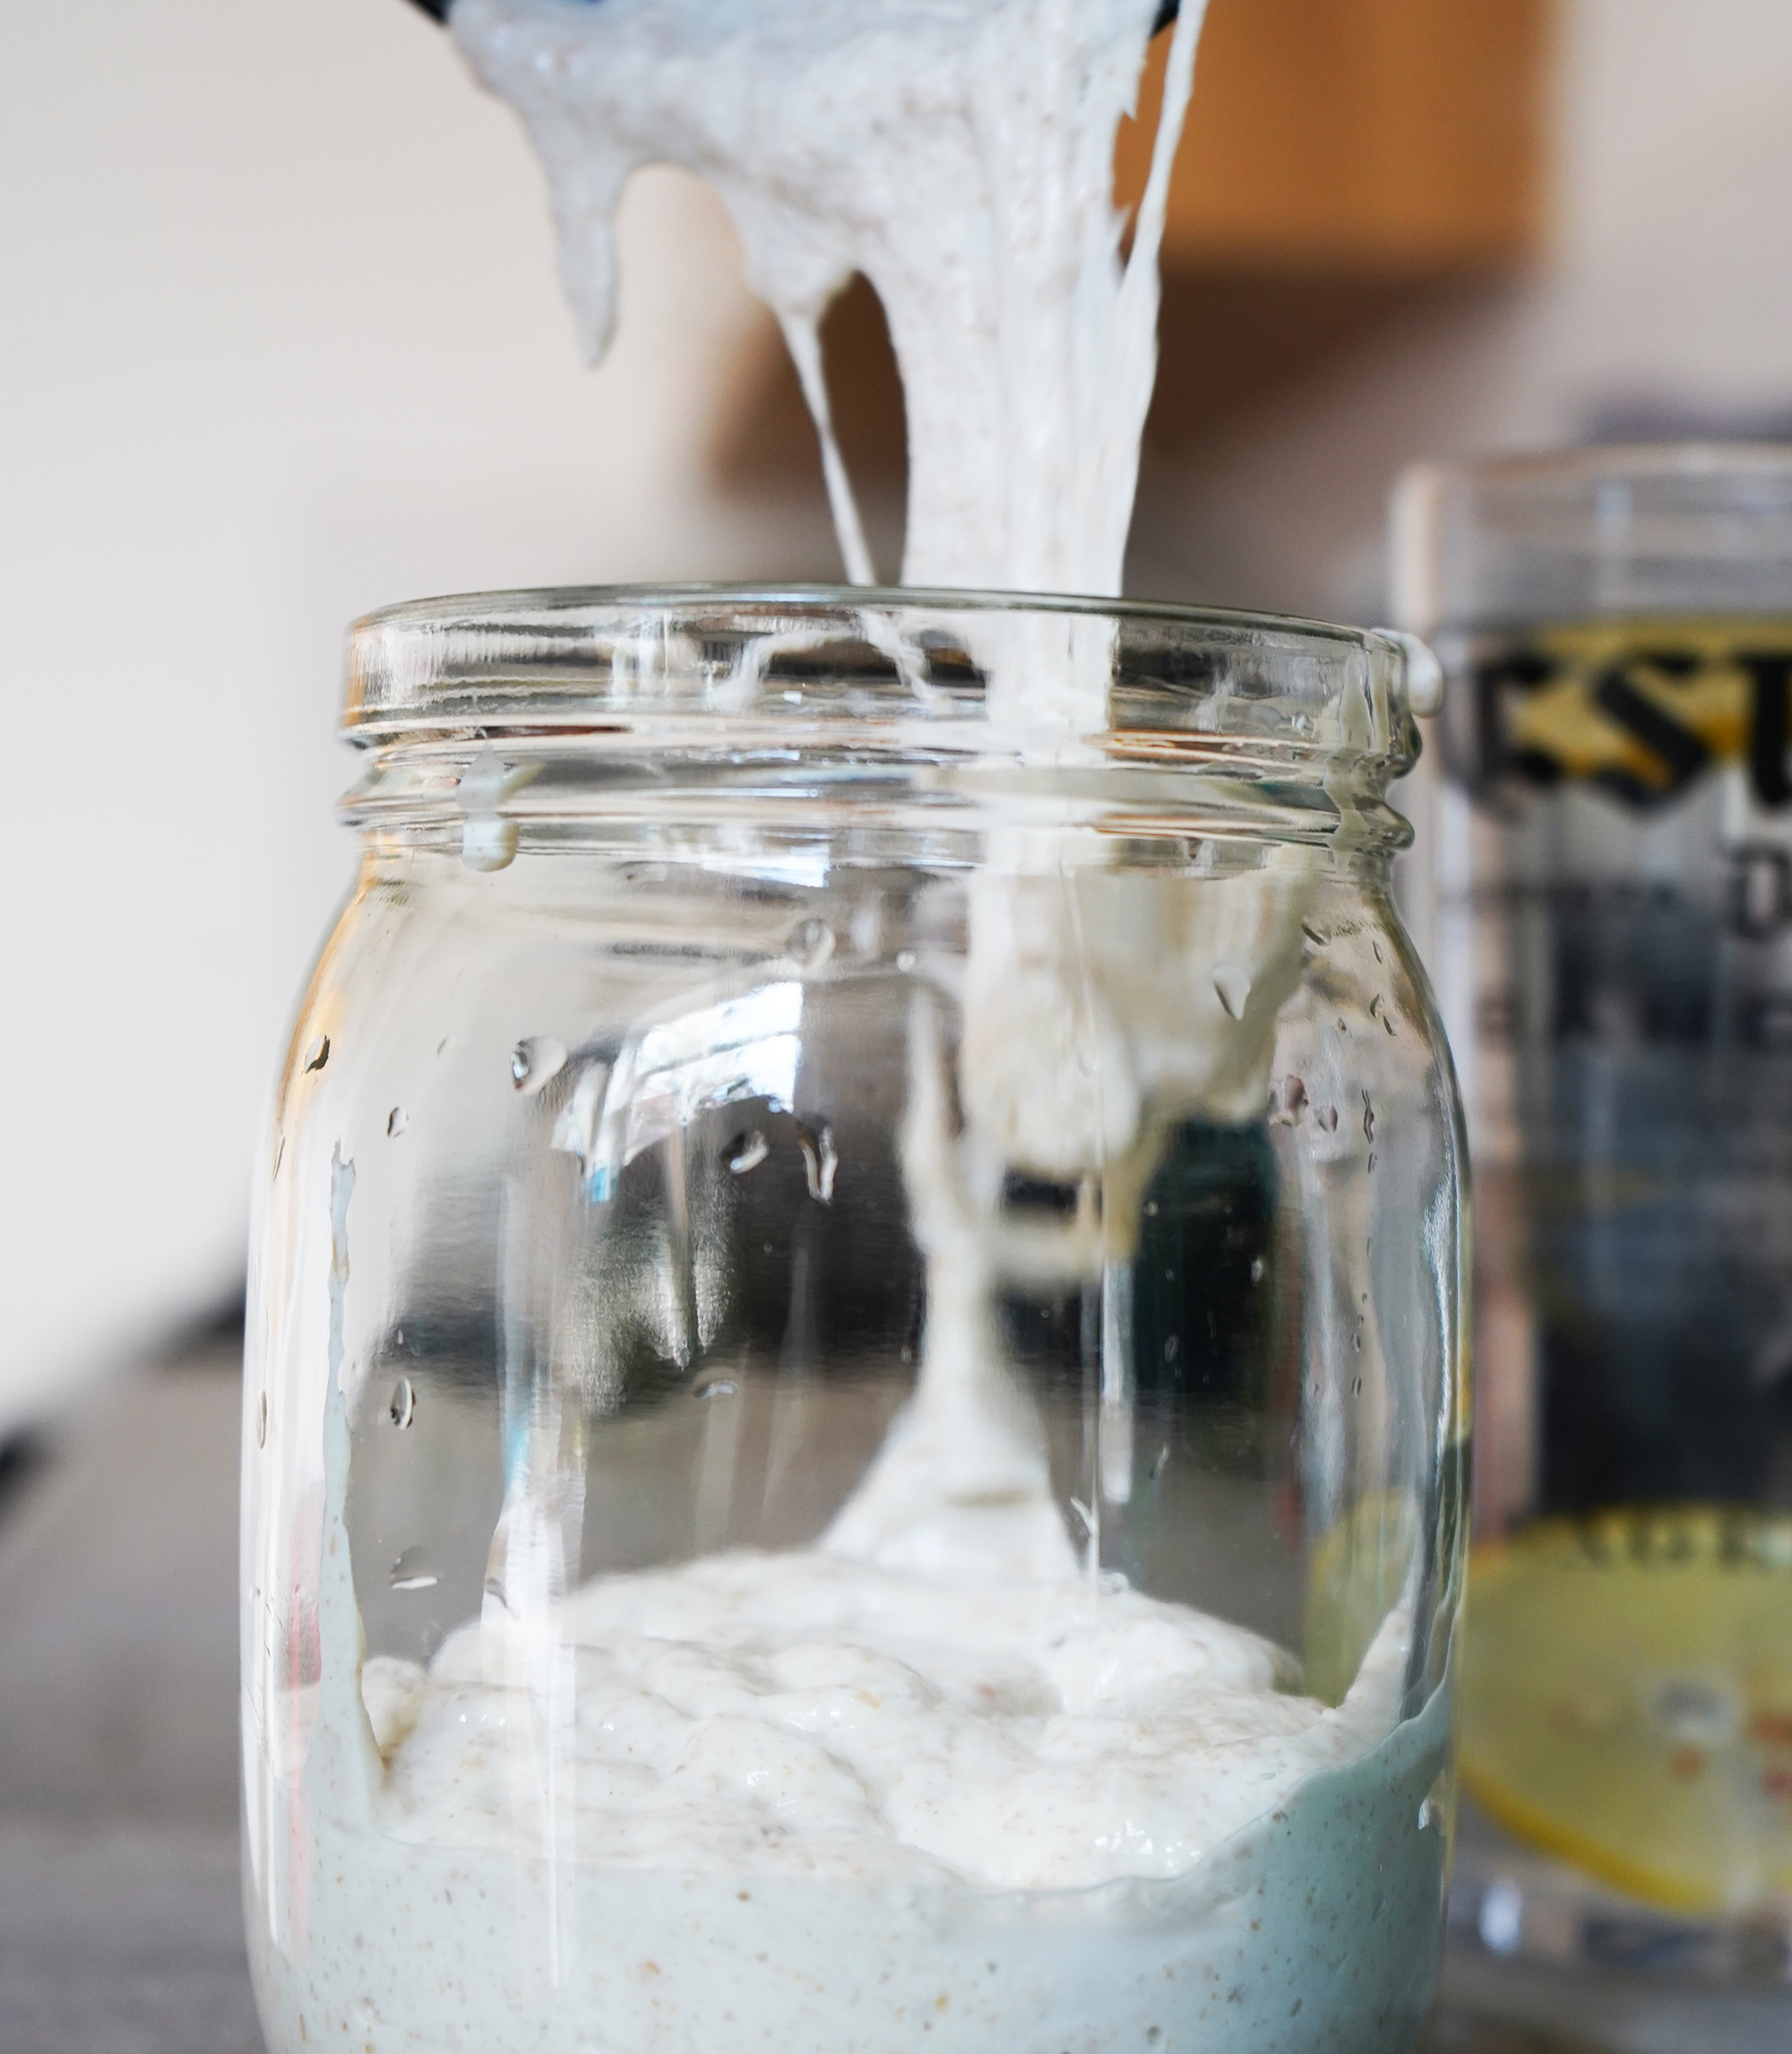
Further notes on feeding your starter
- Be sure to store your starter in a container that’s not air tight. If you’re using a wire bail jar to store your starter, just don’t use the rubber gasket that comes with them.
- After you feed your starter, you can either let it sit out for several hours before returning it to the fridge or put it in the fridge right after feeding it. It typically depends on when you plan on using it next. Even if you put it away right after feeding, you can always take it out again well before baking so it has a chance to rise and get spongy before use.
- If you really don’t think you’re going to feel like eating bread all the time (some people don’t bake during the summer months, for example), you could dry some starter and freeze it. It will store this way indefinitely.
Important to know
- If you aim for a distinctive outline on the side of your loaf, use a proving basket (also called a banneton). Make sure that you flour the basket really well before using, pushing flour into all the grooves, and never wash it – simply tap out the old flour after every use.
- If you plan to make sourdough every 2-3 days, keep it at room temperature, and feed it every day. Otherwise, keep the starter in the fridge, feed it once a week, then leave it at room temperature for 24 hours.
- If you’re using the starter from the fridge, leave at room temperature for 24 hours. Always try to use your starter when it is ‘hungry’ (has not been ‘fed’ for 24 hours). Leave about 200ml of the starter in your jar for the next loaf.
- Sourdough bread freezes really well, so if you know you won’t eat the whole loaf, freeze half for another day. Defrost on a wire rack, covered with a tea towel, so that the bread doesn’t dry out or develop a soggy bottom.
Good luck!

