Living in a fast-paced environment makes us look at the cooking almost as a chore. And it shouldn’t be this way.
Cooking should be a pleasure. Sharing a meal with your friends and loved ones is quality time we unfortunately less and less prioritise.
Once you find the time, the least you want to experience is obstacles with so crucial process as – dull knives. This trifle can turn into a real nightmare and be the reason for another home food delivery.
That’s why it’s good to remember that the tools that you use in your kitchen are an important part of the cooking process. Your knives, in particular, see a lot of use. You use them for cutting meat, chopping vegetables and slicing your food into bite-size pieces when you sit down to eat. If you notice that your ingredients are tearing before you can completely slice through them, it could be that it’s time to sharpen them. What most people don’t realise that a dull knife is much more dangerous than an extremely sharp one. With a dull knife, you have little control and risk missing the mark and hurting yourself.
Learning how to maintain a sharp knife requires a little bit of practice, but usually does not take up too much time. Here are seven easy ways to keep your kitchen knives sharp and ready for use.
1. Honing Rod
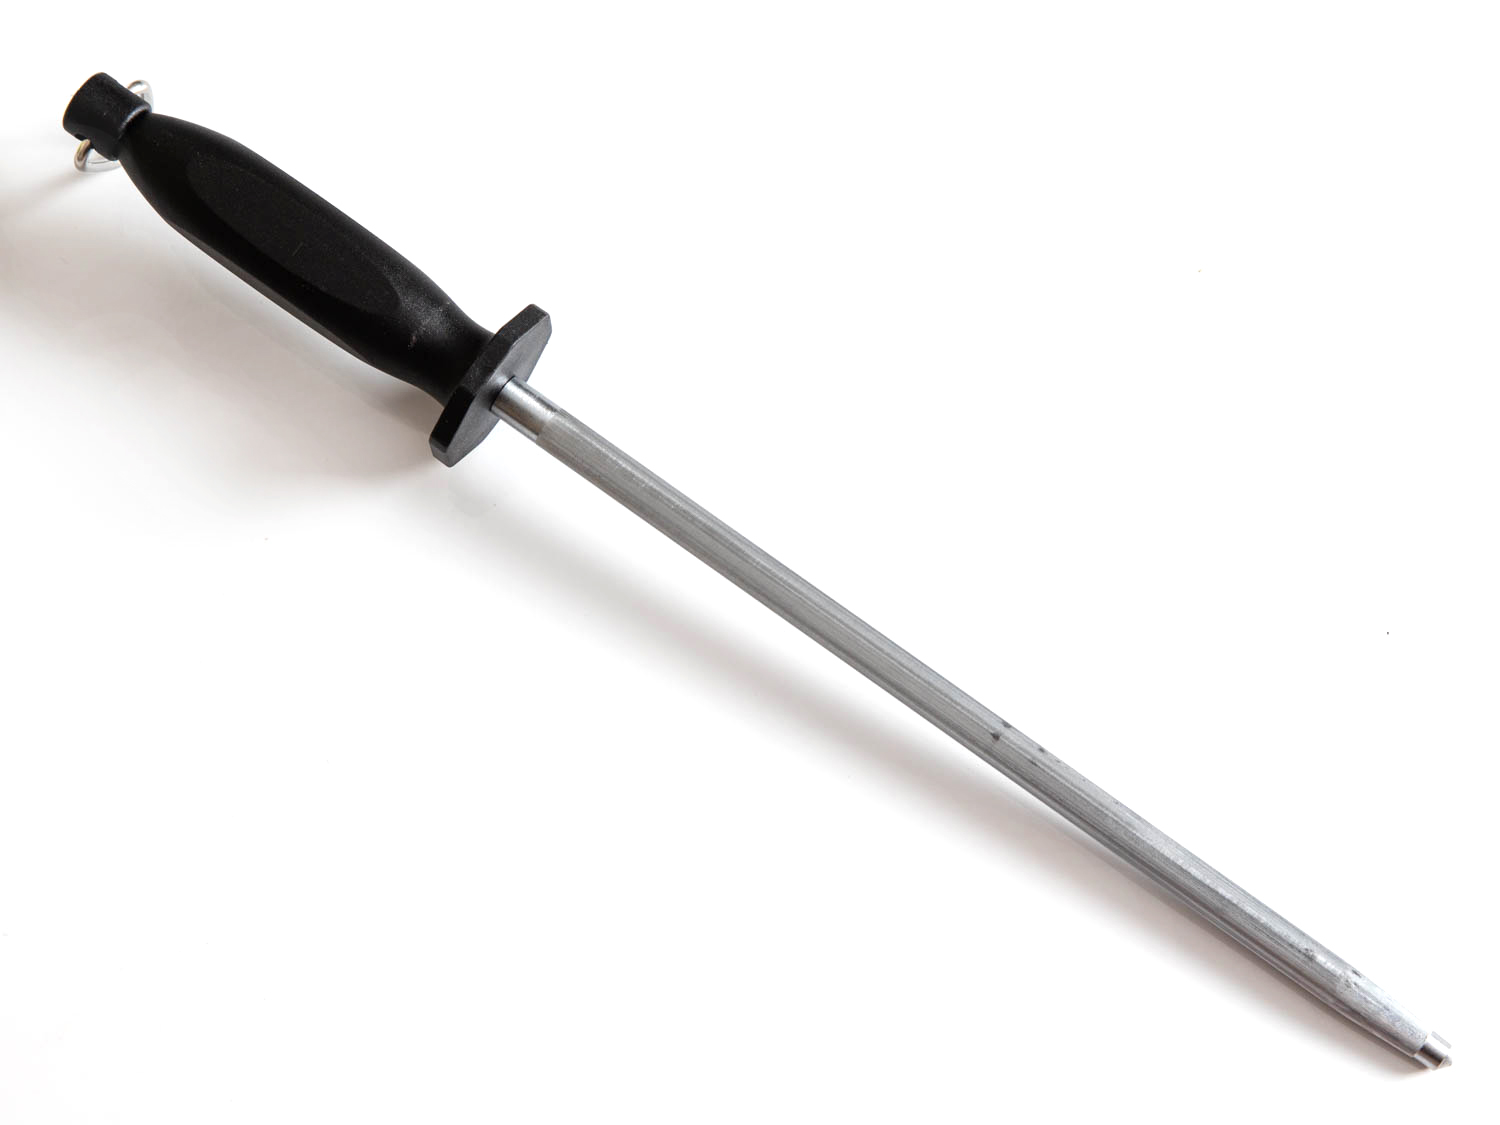
To use the rod, you hold the knife in your dominant hand and the rod in your non-dominant hand. Elevate the rod tip above its handle. Keeping your fingers away from the blade, hold the knife at a 20-degree angle. Moving your arm, hand and wrist, move the knife across the top of the rod from the knife heel to its tip. Repeat on the bottom of the rod on the other side of the knife blade. You ought to do six to eight repetitions before using your knife. The more you practice, the easier it will get.
2. Whetstone
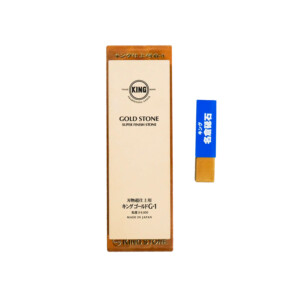
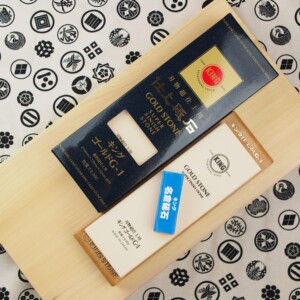
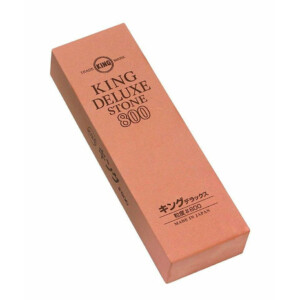
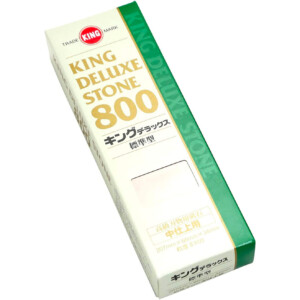
A whetstone, also known as a diamond, water stone or sharpening stone, has either one or two sides (it’s then called a combination whetstone): a rough side and a finer side.
Japanese whetstones – both natural and synthetic – are known for their quick-working qualities, not only for Japanese blades but also for their Western equivalents. Whetstones come in a range of grits (you can read about it more here) but basically, the higher the grit – the smoother the surface – which serves for finishing and polishing the knife. The lower the grit – the rougher the surface which serves for eroding the metal particles from the knife and helps to repair chipped edges.
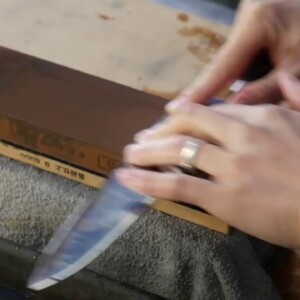
To sharpen a knife, you start on the rough side and create a burr by slicing it opposite of how you would slice off a chunk of the stone. Grind the knife blade edge across the burr approximately halfway through the blade. There are different grinding techniques. Just grind one side of the blade for a one-sided edge (traditional Japanese style), or do both sides of the knife for a symmetrical grind.
Once you are finished with the first part, (assuming it’s a combo water stone as the 1000/6000 grit) turn the stone over to the finer side to smooth out the burrs created on the blade. When it is smooth enough, alternate sides of your knife with every stroke.
3. Cut on the right surfaces
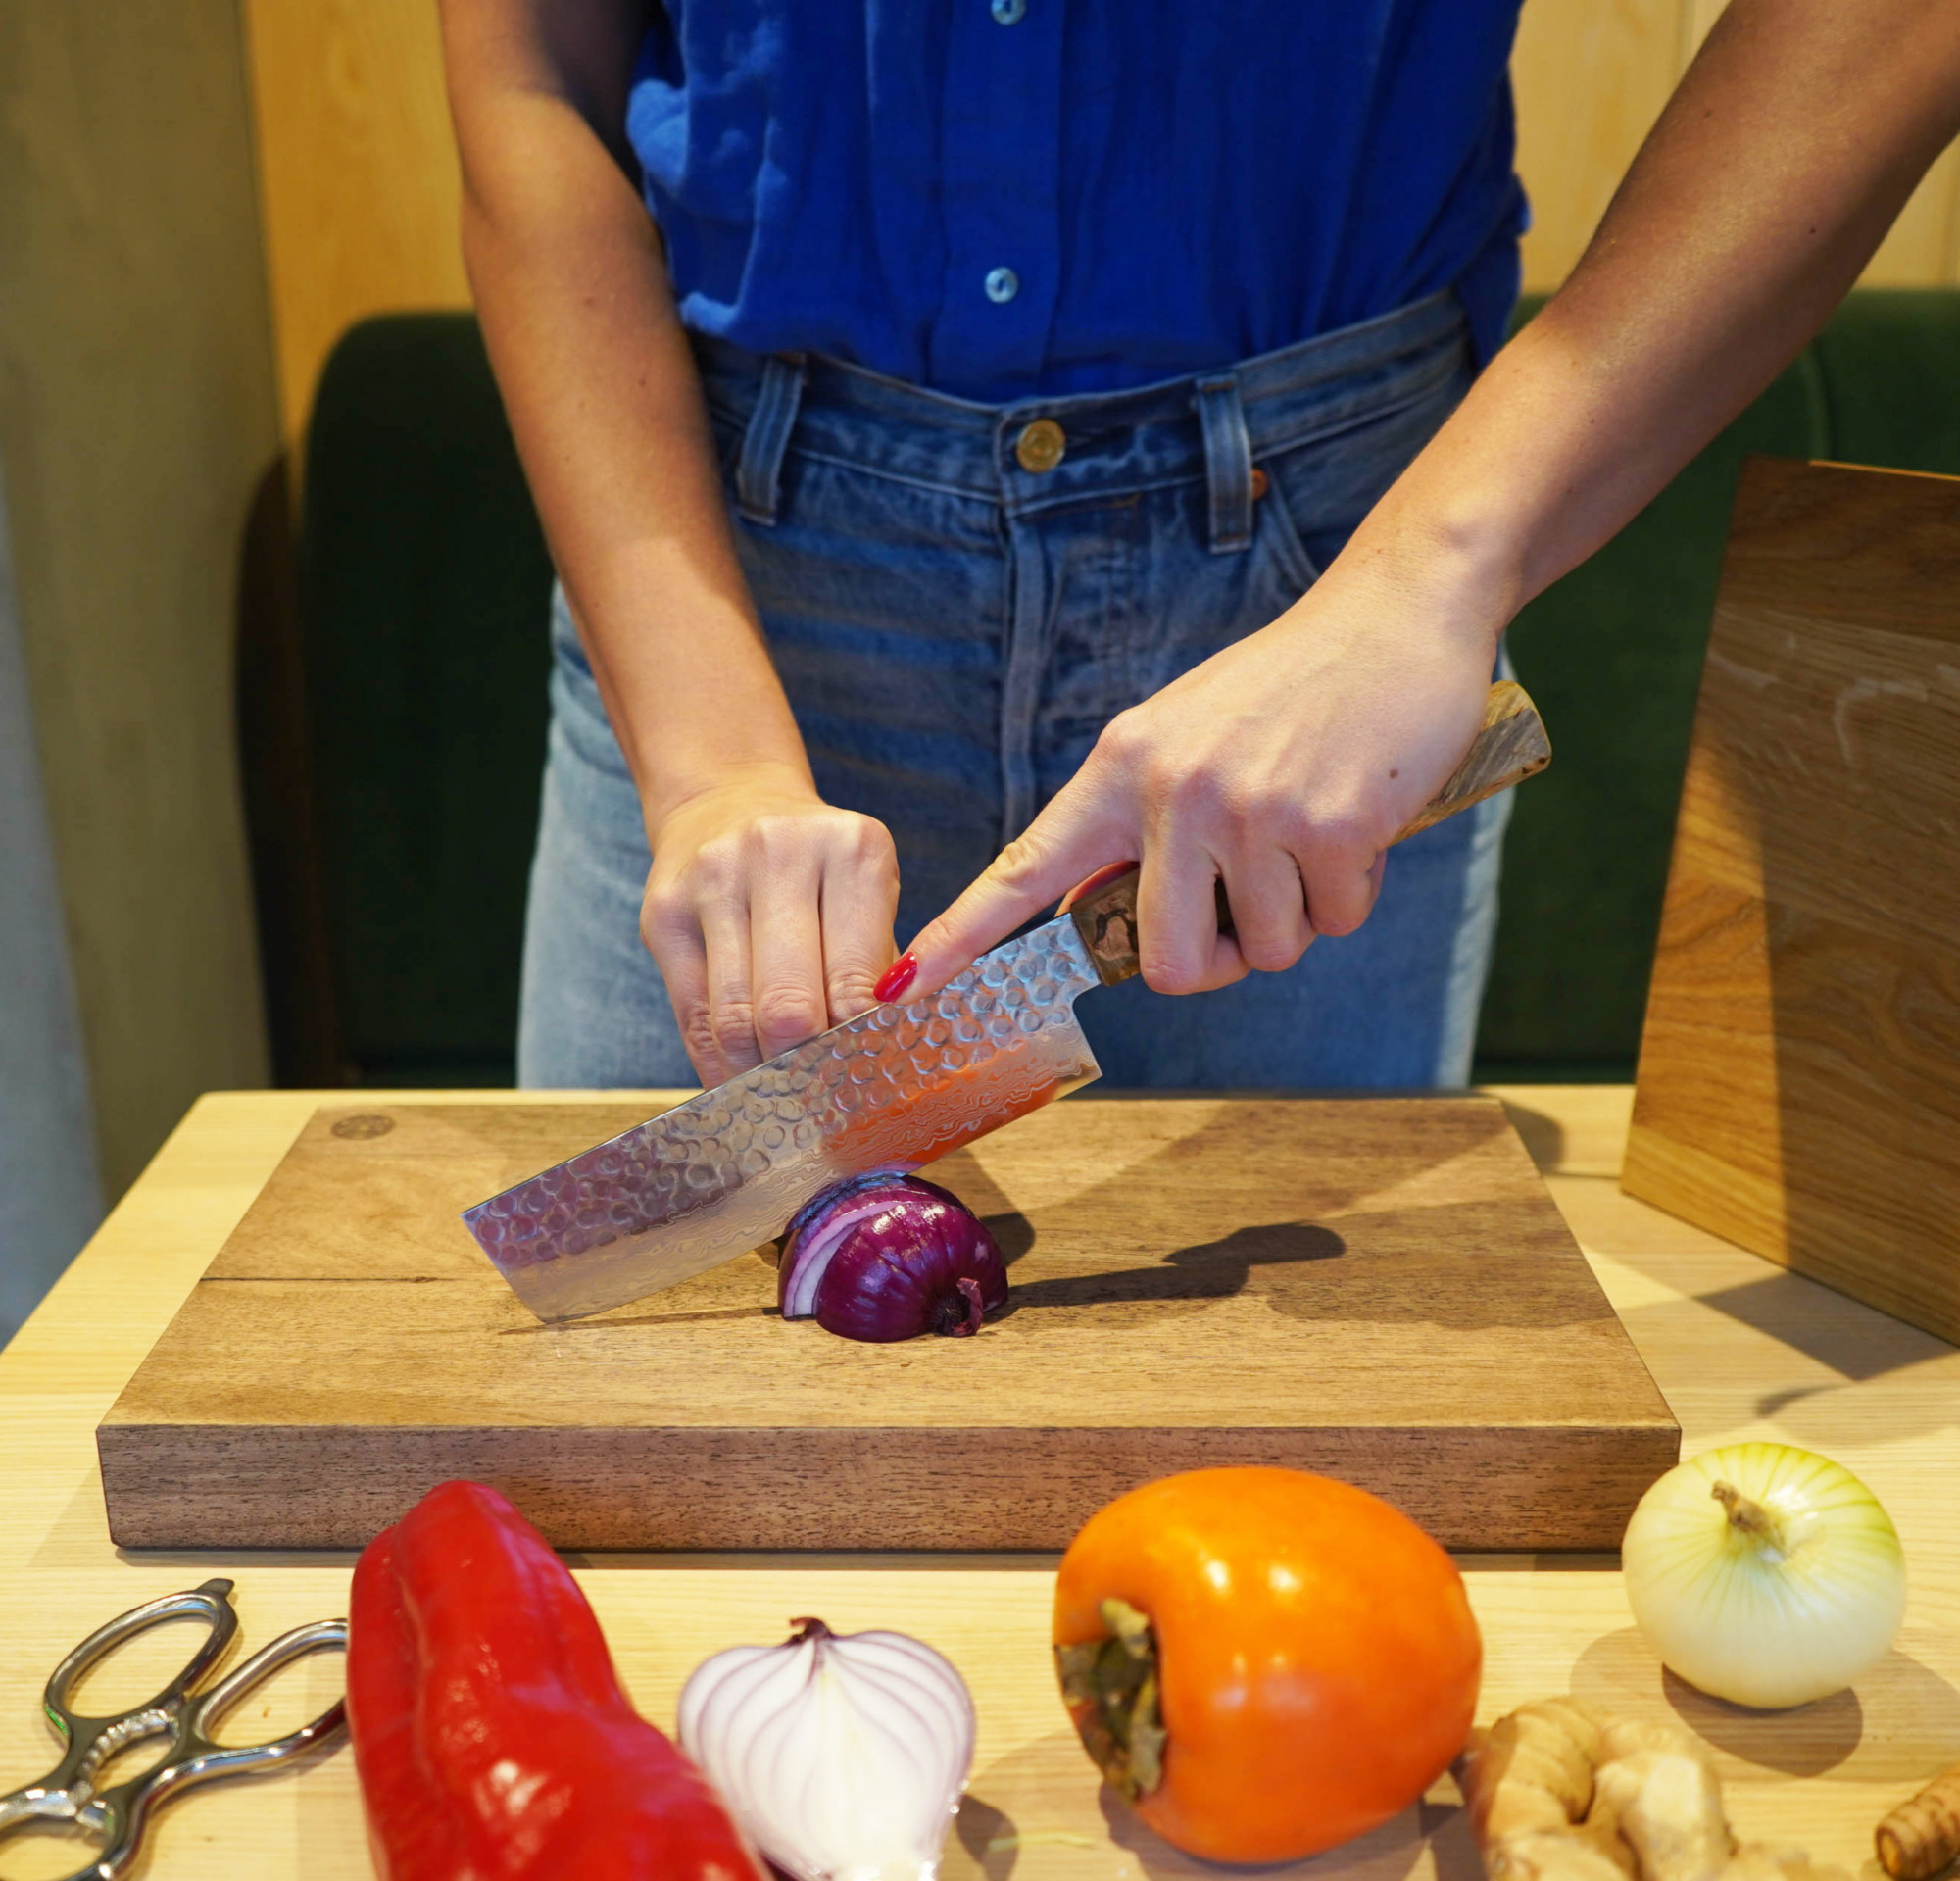
The surfaces that you choose to use for cutting directly affect the condition of your knives. You want to avoid hard or metal surfaces, such as stainless steel, concrete, granite and aluminium. On the other hand, cutting on wood, plastic or polyethylene is usually just fine.
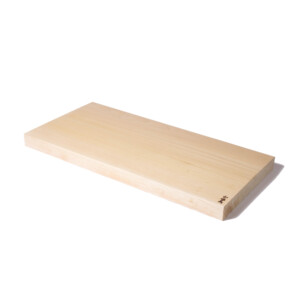
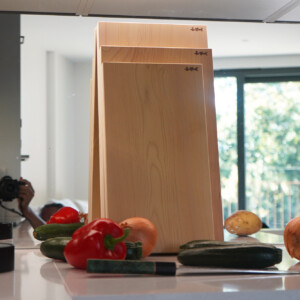
Choose the materials which are not easily cut, as microparticles of the leftovers are an ideal environment for bacteria. We are a strong advocate of Japanese wood hinoki (special Japanese cypress tree) and Aomori hiba – called The Tree Of Life – which have natural antimicrobial and germicidal properties. In general, however, you are likely to be safe as long as you are using a cutting board made out of the proper materials.
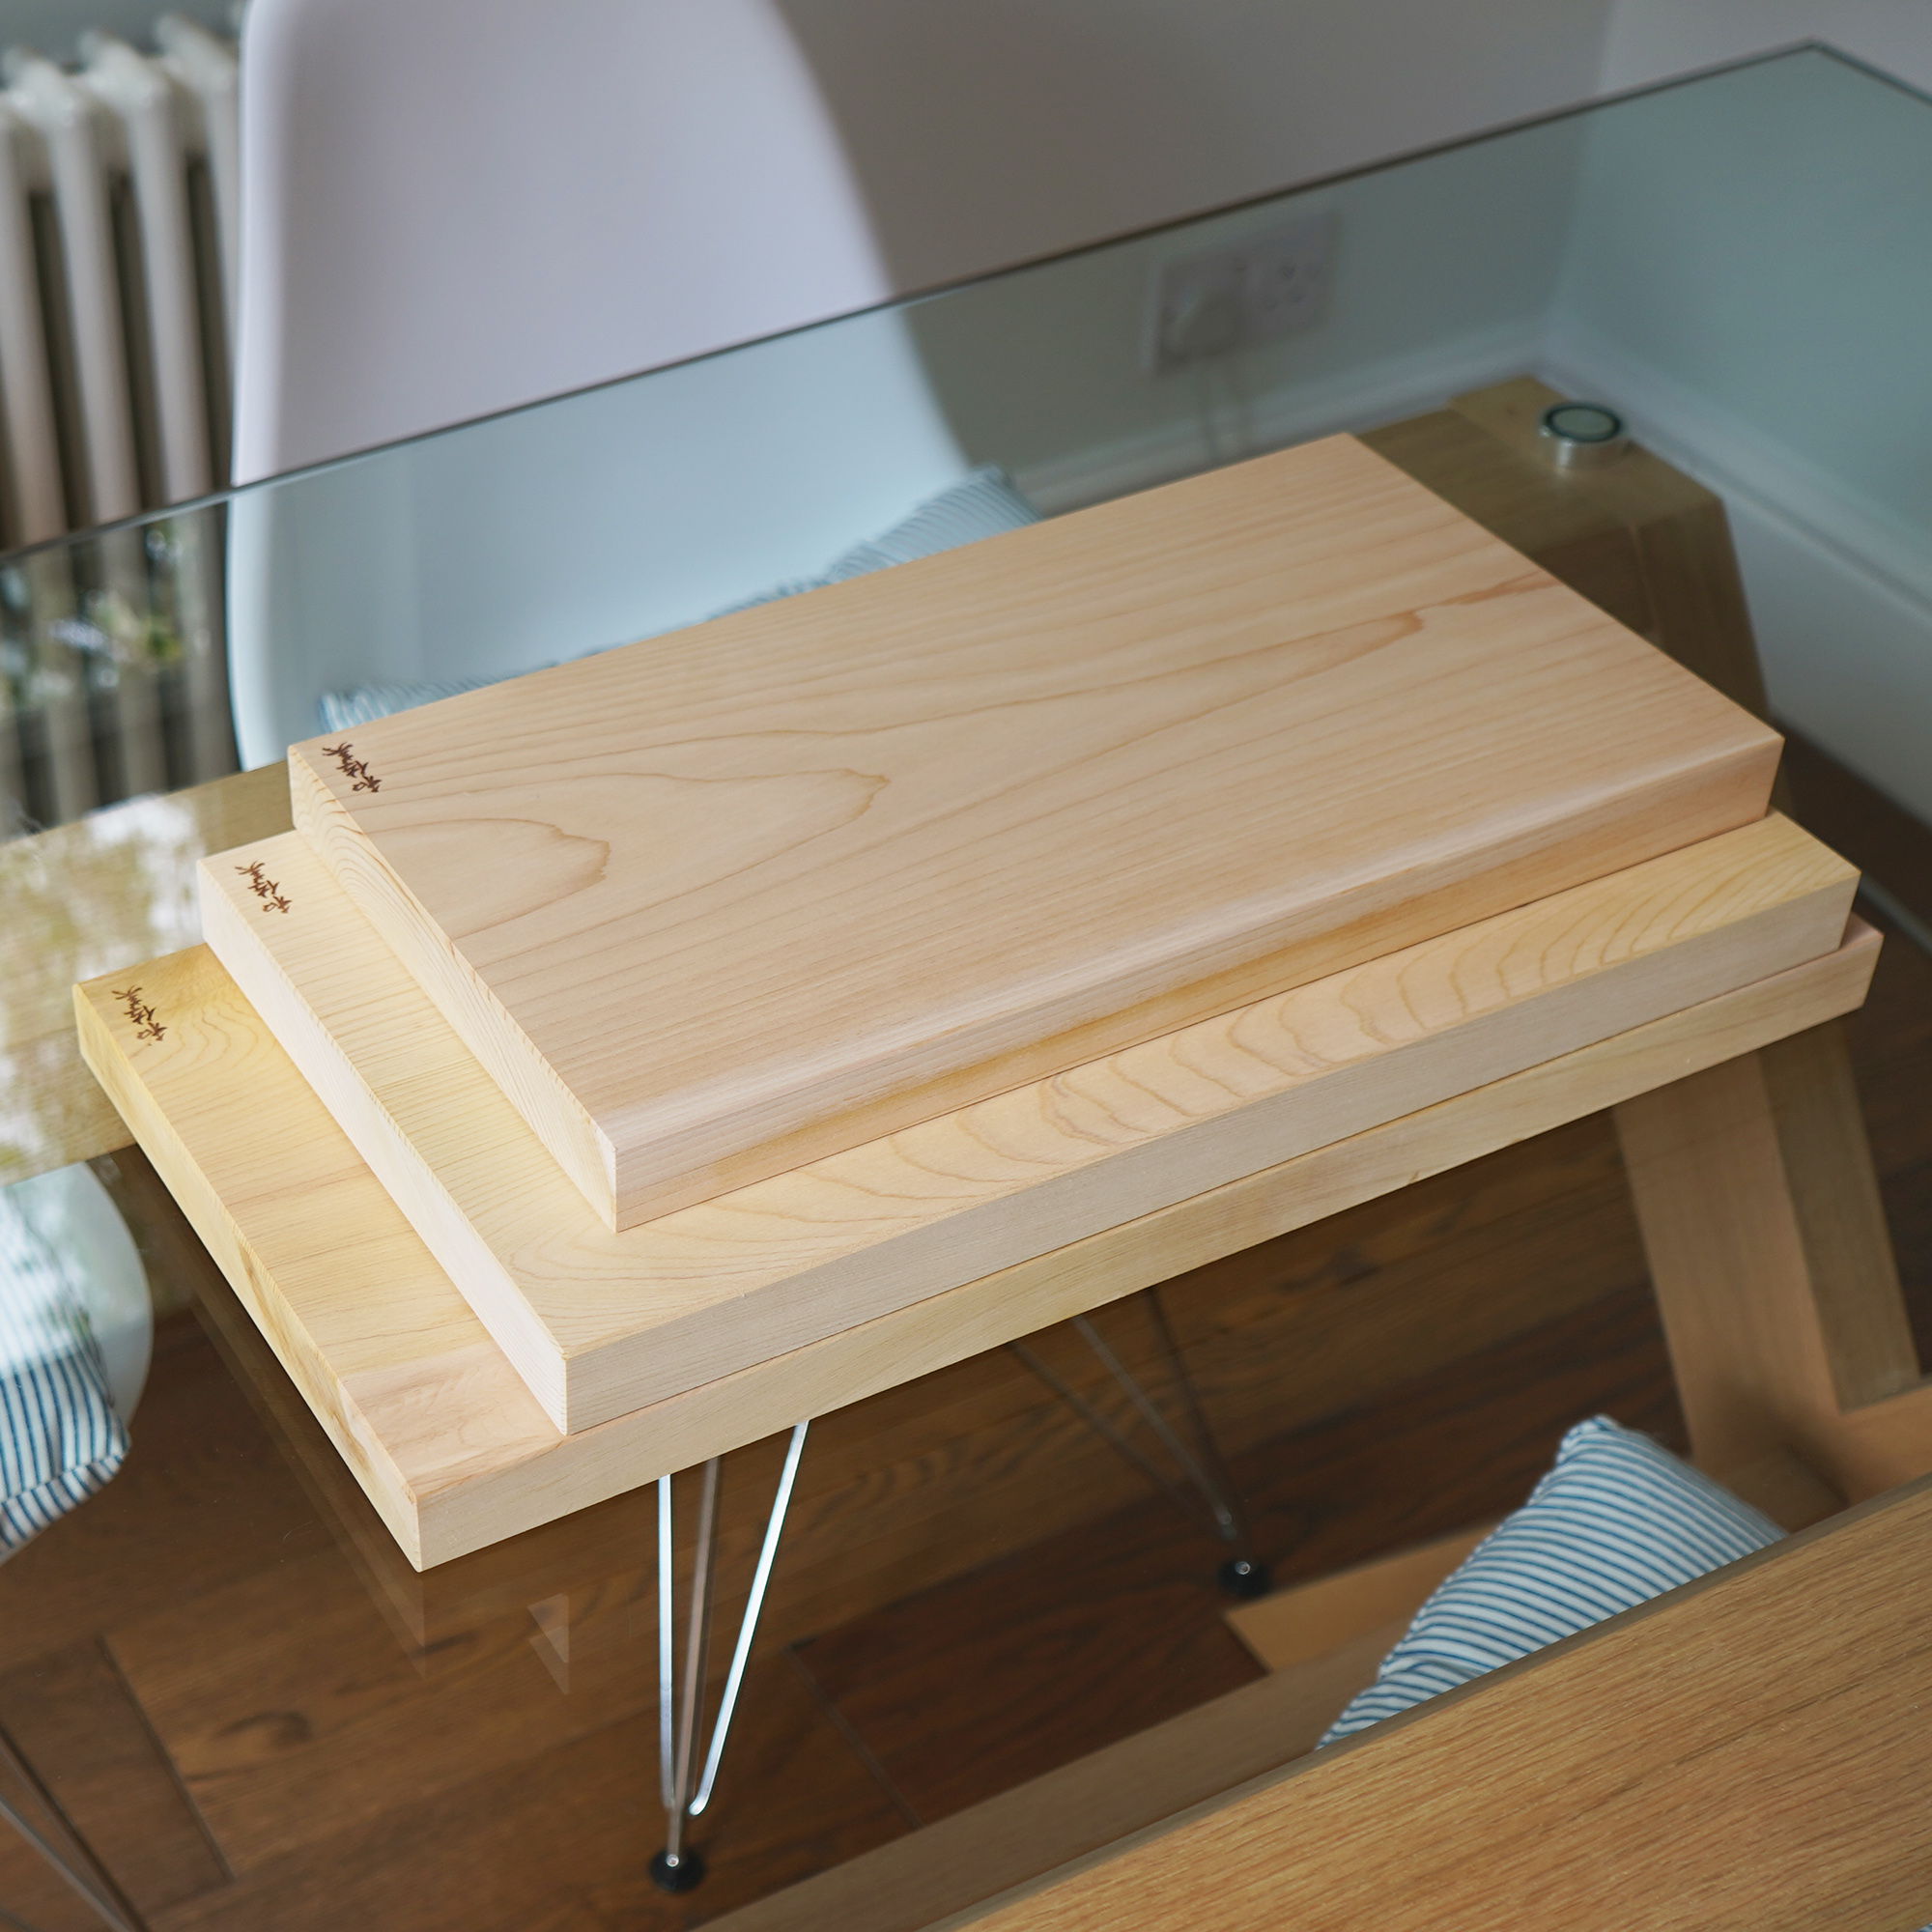
Learn how to choose a proper cutting board: How To Choose The Best Cutting Board?
4. Mug or Cup
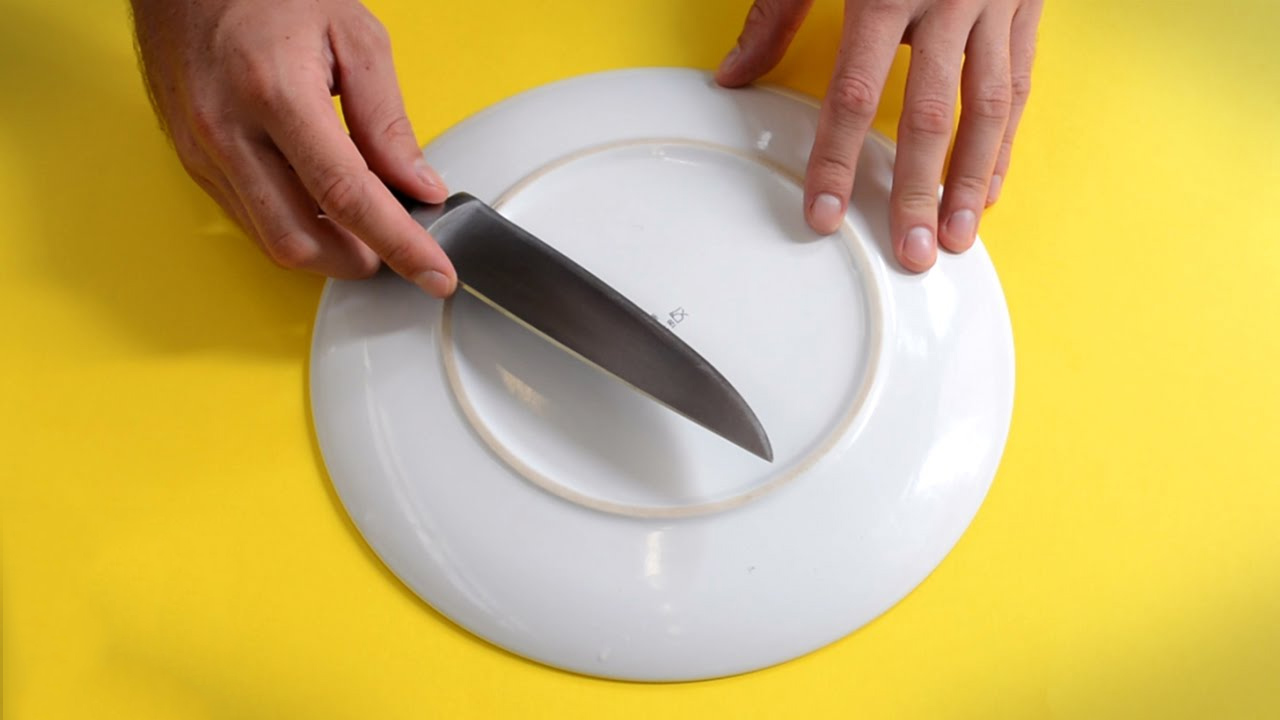
If you don’t have any equipment that is dedicated to sharpening knives, there are other (unfortunately, less effective and more time consuming) ways to sharpen them with common kitchen items. You can use the bottom of a ceramic mug, plate or cup to quickly sharpen your knife. Maintaining a steady angle of around 20 degrees, slide the blade of your knife across the grit of the plate on both sides of the blade. If available to you, polish off the sharpening process repeating it for a few times with your honing rod, and you’re good to go.
5. Proper Technique
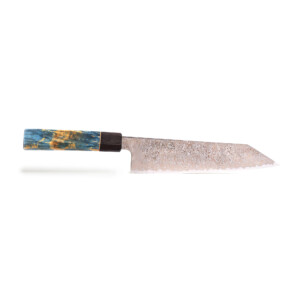
We get it. Before we’ve discovered with Japanese knives that the devil’s not so black as he is painted, we were using Ikea knives. We didn’t see the reason why should we invest in something which we don’t use the right way. Since we moved away from cheap knives, we appreciate the ease and safety of well sharpened, long lasting knives.So don’t worry if you don’t get the techniques for keeping your knives sharp right away, remember that it takes time. The more you practice, the better you are likely to get. You also do not necessarily need to maintain an exact 20 degrees when sharpening your knives. The most important thing is to maintain the same angle for an accurate tip. You can make sure you are sharpening properly by noting how straight the line of your blade is once you think you or your partner ( 🙂 ) is done shaving it. Marks left on the air side are too shallow of an angle; marks on the blade side are too steep.
Learn how to sharpen your knives: How To Sharpen Your Kitchen Knife.
6. Wash Them by Hand
The biggest harm you can do to your knives is throwing them in a dishwasher.
Especially those beautiful, wooden handled Japanese knives. Many people throw their knives in the dishwasher without a second thought. While this might seem like a great way to get your knives properly clean, the barrage of heat, water and detergent across your blades dulls them quickly. Instead, take a few moments to thoroughly wash your knives by hand. Although it is good practice to sharpen your knives before each and every use (we noticed that not many people do it anyway), washing them by hand should help them to retain a sharper edge for longer periods of time.
7. Store Your Knife Properly
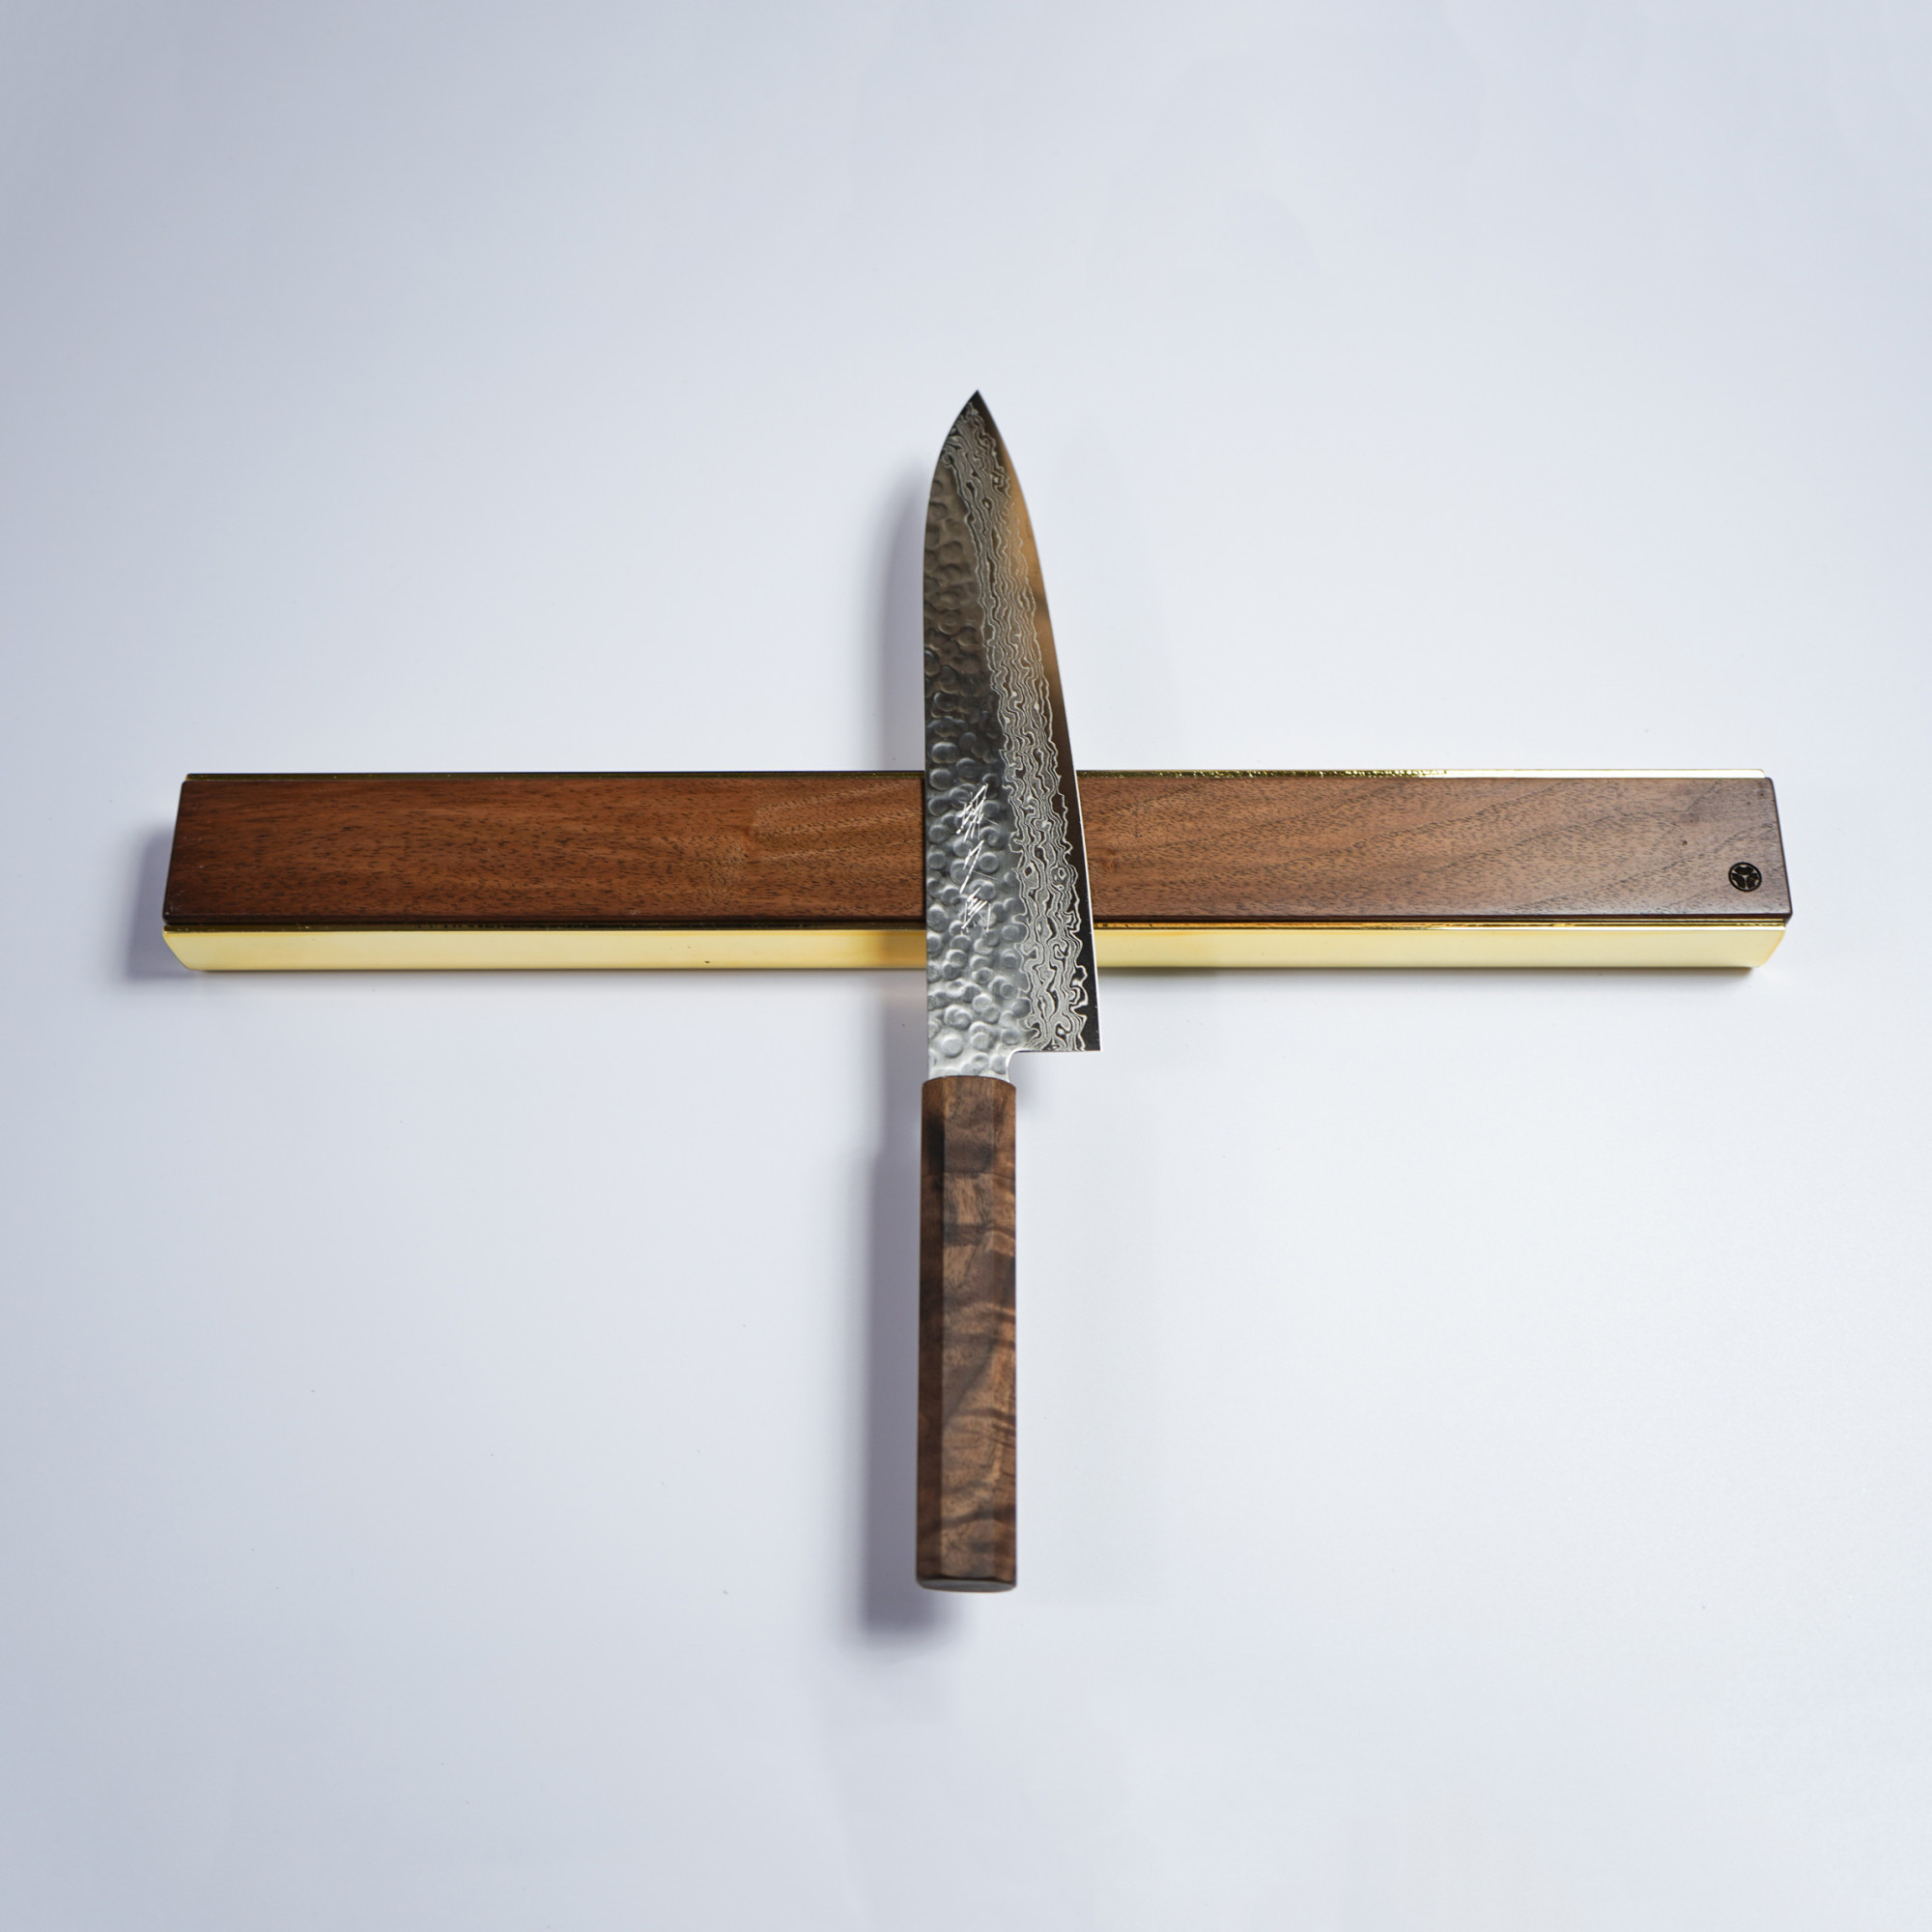
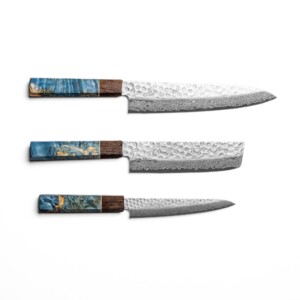
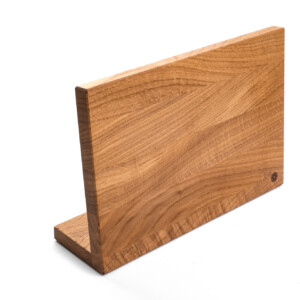
In addition to throwing knives in the dishwasher, some homeowners also toss their good knives in with many other kitchen utensils. Your knives should have a dedicated storage spot all to themselves. You can dedicate a whole drawer just to your knives. But they are likely to get chipped by bouncing from each other. Wooden blocks or knife blocks are also great places to store them and can be useful for a whole set of knives and a honing rod. However, our ideal option are magnetic racks. when hanged at a certain level, are also hard to each by children.
Learn how to hang magnetic racks: 10 Best Places to Hang A Magnetic Knife Rack
Take care of your knives
When you take the time to take care of your knives, then you are less likely to run into problems, such as when ingredients tear when you are trying to slice them. Knives are a very important part of kitchen prep. Keep your knife dry – the entire knife, not just the blade. Keep your knife sharp. Remember, a sharp blade is safer than a dull one. And remember – the dishwasher is not your knives’ friend – no matter if they are from Ikea or Oishya knives.
