How To Sharpen Your Kitchen Knife

Konnichiwa!
In today’s article, we’ll show you the best practices to sharpen your kitchen knife (not only Japanese ones). But before learning how to sharpen your knife properly, you should understand why it’s important to use a sharp knife:

  1. Safety: a dull blade will slip on food and increase the chance of injury
  2. Efficiency: you can cut more food in less time with a sharp blade
  3. Appearance: especially true for raw foods, a sharp blade is essential for aesthetics and presentation
  4. Yield: maximise your yield and minimise food waste
  5. Quality: ever notice that cutting with a dull blade makes herbs or vegetables oxidise more quickly? Chiffonade basil or slice sashimi with a dull blade and sharp blade and see the difference. A dull blade presses down on food, damaging it on a cellular level. Many are not aware of that, but this not only makes the food lose more moisture but alters the appearance and taste as well.

How to test the sharpness of the blade

  • Paper method: use the weight of your knife to shave thin strips of paper. A sharp blade will slice right through and make a smooth cut whereas a dull blade will leave jagged edges or get caught. Make sure the knife or paper is not damp.
    You should be able to easily cut strips from the piece of paper without snagging or tearing the paper as the knife cuts through.
  • Nail method: gently use the weight of the knife and place the blade on your fingernail. If the blade is dull it will slip across but if it is sharp it will dig in a little and you will feel a slight resistance. Be careful though, pressing too strong can seriously damage your nail surface.

sharpening kitchen knife

  • Food test: there’s no better way to test the sharpness of your knife than cutting food. Simply test your knife on vegetables such as tomatoes, scallion and onions or whatever ingredient the knife will be used for.

sharpening kitchen knife tomato test

Did you know?

To the naked eye, a sharp edge looks smooth but at a microscopic level, a sharp edge is actually serrated.  Think about when you try to cut a tomato with a dull knife. It doesn’t slice through because the edge is smooth and slips against the skin.

sharpening kitchen knife

A new sharp blade magnified at 2000x. You can see that the edge is jagged. The cross-section of a sharp knife is shown in the second image.

sharpening kitchen knife

A used dull blade magnified at 2000x. You can see that the edge is actually smooth. The cross-section of a dull knife is shown in the second image.

3 Fundamentals in knife sharpening

  1. Read your knife: first, you need to analyse and feel the blade. Is it sharp? Does it have nicks? What is the condition of the edge? You can even change the angle ratio of your knife once you can read your knife. For example, you can sharpen a double bevel knife with a 50/50 angle ratio to 60/40 or 70/30 to obtain something more similar to a Japanese style knife.
  2. Keep your stone flat: when the stone is concave it is hard to control the arc of the knife. Many people undermine the importance of using a stone fixer to flatten out the surface of whetstones.
  3. Use a stable surface: the stone should not budge while you sharpen.

Step 1: Hold your knife stable

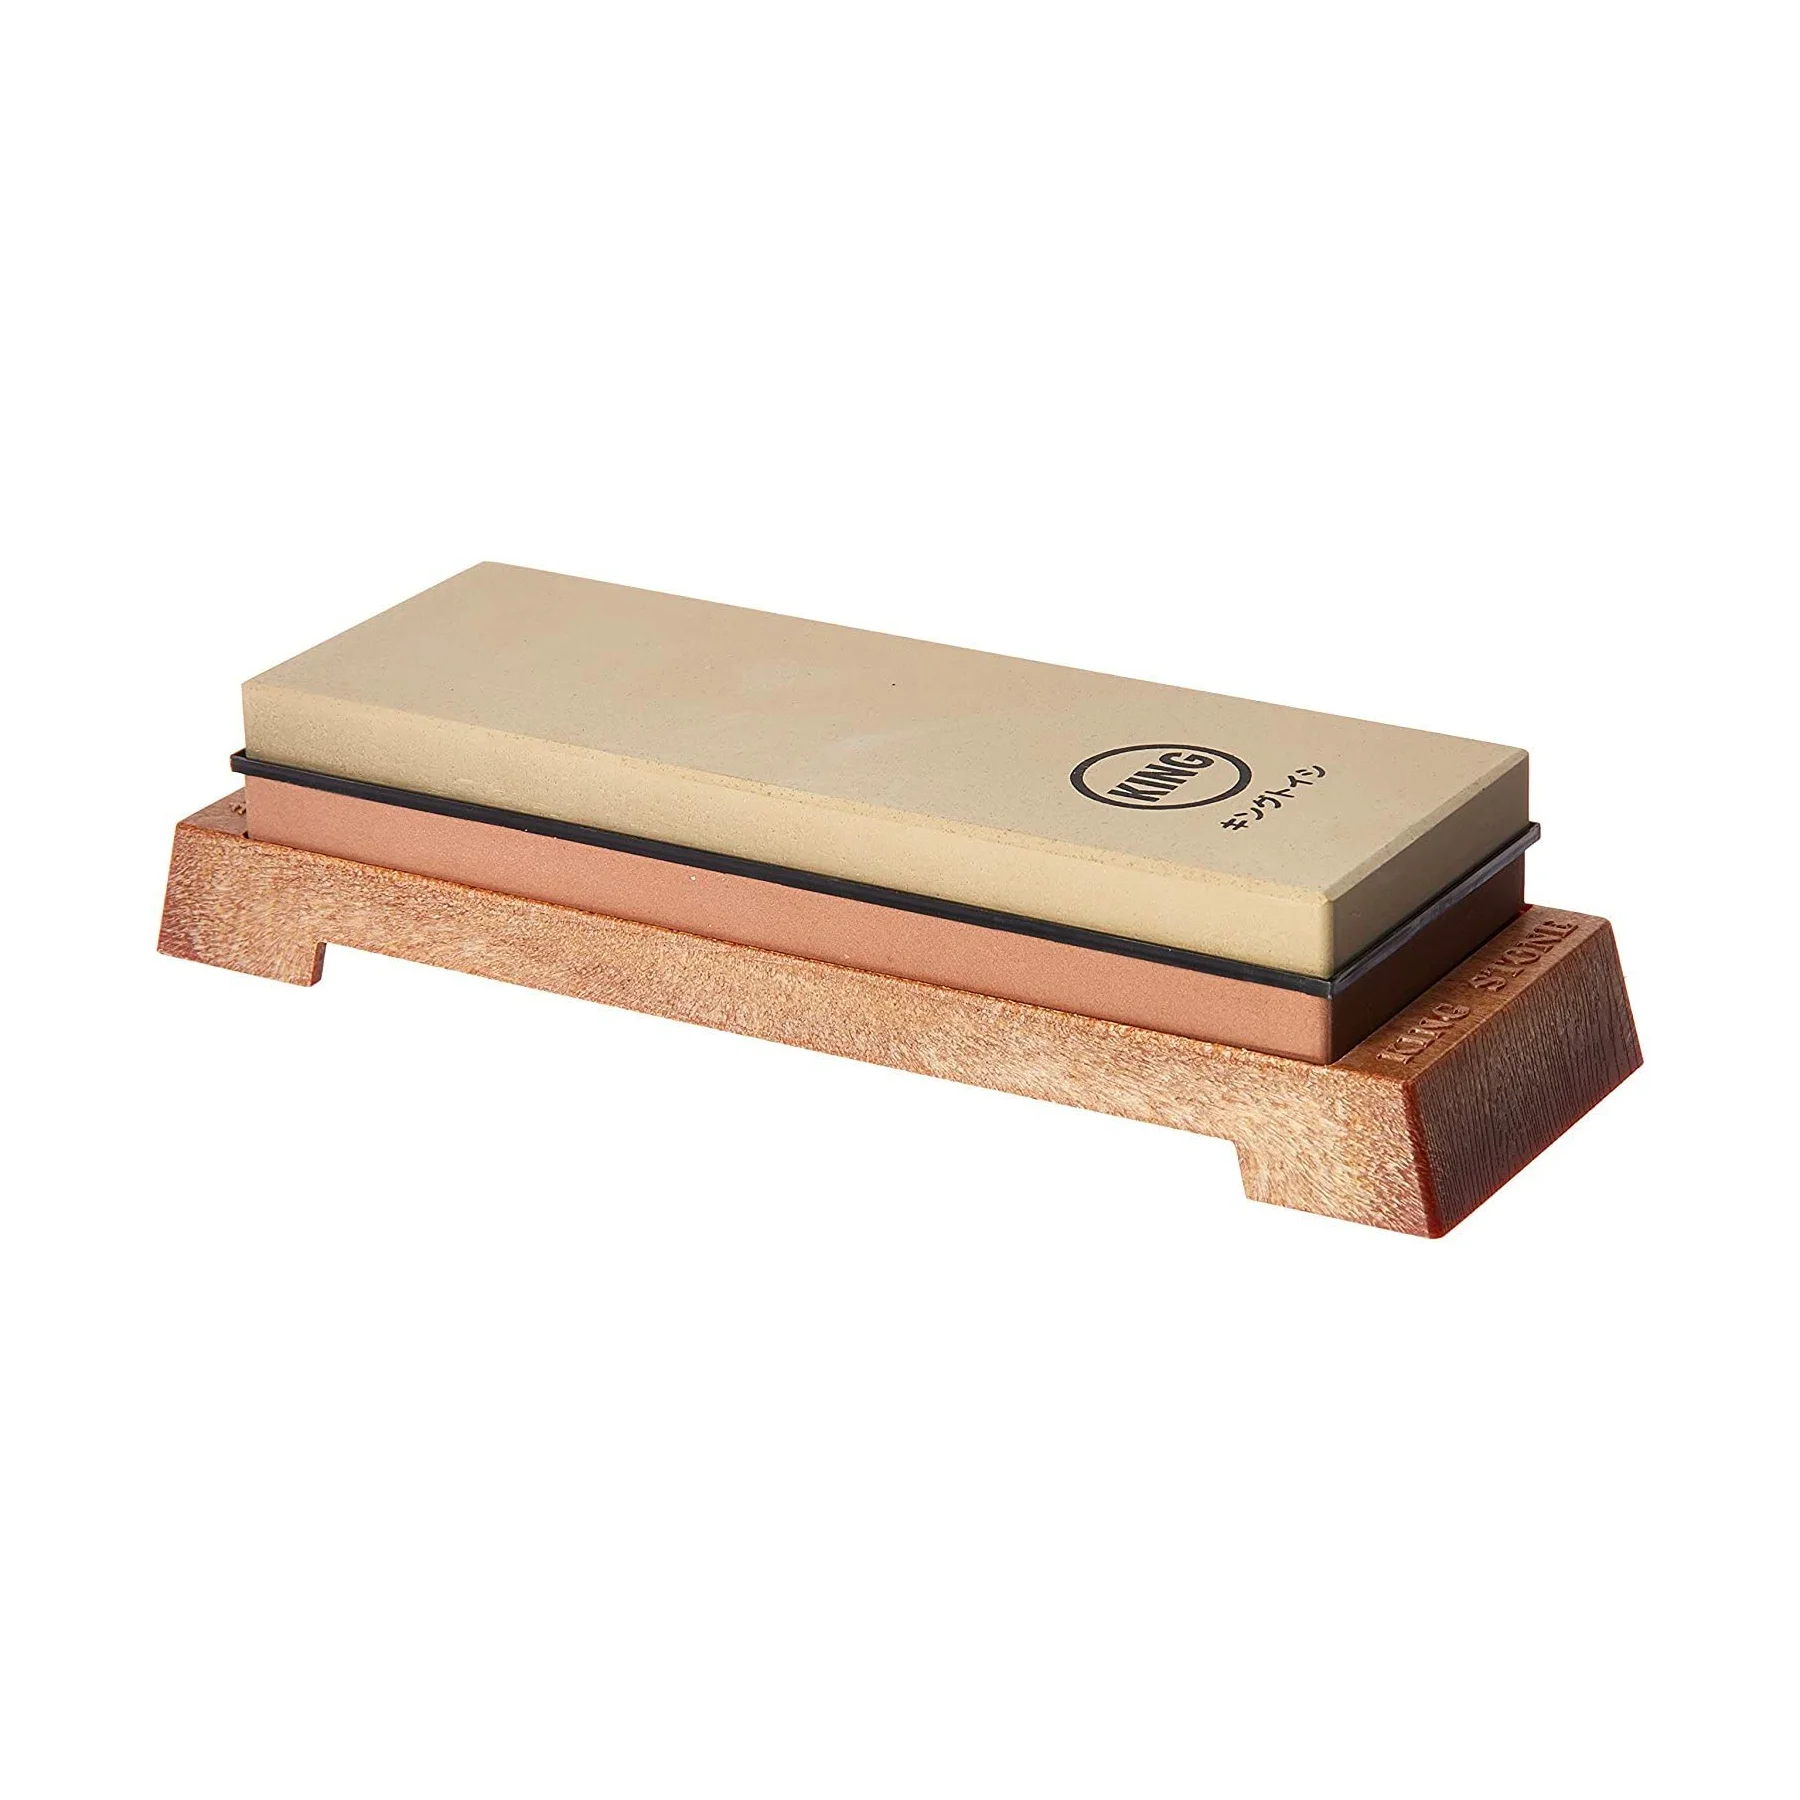
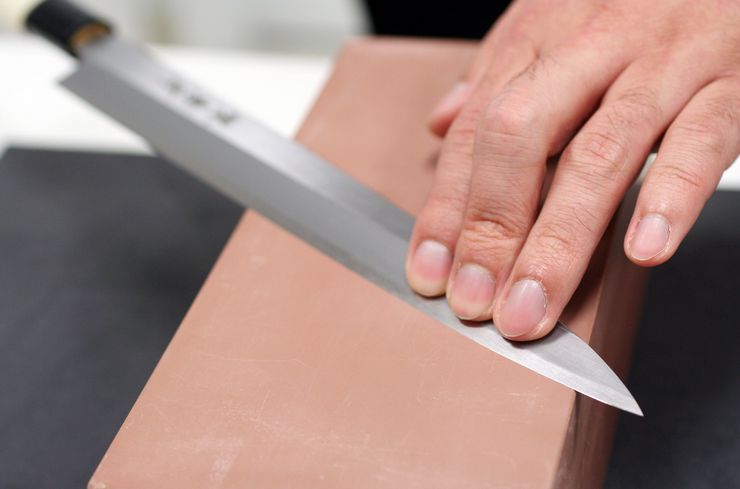
Prepare your stone (For sharpening tools you can check our best whetstones on offer). Always hold the knife at four points to keep the knife stable at the same angle. Your main hand should keep the knife steady and your other hand should just lightly guide its movement.

sharpening kitchen knife whetstones

Step 2: Remember, there is no one right way

Remember that there are different ways to sharpen a knife just as there are different ways to make a stock or roast a chicken. There is no one right way- you need to find the method that works best for you personally. Here we present the standard way knives are sharpened in Japan.

Step 3: Soaking

Soak the whetstone in water until the bubbles stop surfacing (ceramic stones that have not been baked do not need to be soaked before use).

Step 4: Choose the grit

Start with a rough grit stone if you have any nicks. If you are looking to sharpen a slightly dull knife, start with a medium grit stone. And if you are just looking to realign your edge and polish it, use a fine grit stone.
Choose a working surface that’s comfortable for you. It should not be so high that you strain your shoulders nor should it be so low that you have to lean forward. Position the sharpening stone vertically in front of you and make sure that it has a stable base.
Make sure that your stone is flat.

Step 5: Use a stone fixer to level the sharpening surface

sharpening kitchen knife waterstones

Keep flattening the surface until you can see that the stone is completely flat.

Step 6: Hold three points on your knife

Hold the three points on your knife and place in a 45-degree angle (with the tip facing away from you and heel facing towards you). Your arms should be relaxed and not bent in an awkward angle.

sharpening kitchen knife stone

If you have a small nick on your blade hold the blade at a 45-degree angle from the surface of the stone. If you are just looking to do some light sharpening, hold it at a shallower angle (if you press the bevel right up against the stone you should not be able to see a shadow between the blade and stone).

Imagine that the knife has three different sections – start with the section closest to the tip and work your way towards the heel. Move your fingers down as you sharpen each section to stop your knife from moving all over the place. Lifting your pinky will help you prevent injuries. Use a little more force when pushing the knife forward but relax your arms and follow a rhythm that works for you.

sharpening kitchen knife

If you run your fingers from spine to edge on the side that was facing up you should be able to feel the burr (raised edge). If not, continue sharpening.

To realign or remove this burr, hold the knife in a 45-degree angle again with the heel facing away from you this time. The amount of time you spend on the other side of your blade will depend on the bevel angle ratio you want to achieve. If you are sharpening a Japanese-stye single bevel knife, you still need to sharpen the back side to prevent the edge from eventually curving over. Simply sharpen with the blade flat against the stone.
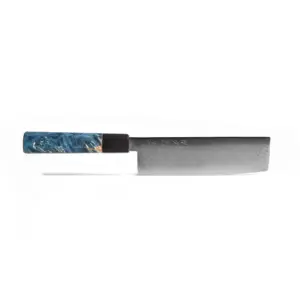
Step 7: You should not be able to feel a burr

If you started with a coarse grit, repeat the sharpening process with a medium then fine grit to obtain a smooth surface along the bevel. Finally, strop (or brush) the blade on your jeans or newspaper (leather is not the only thing you can use) to realign the edge for a finishing touch.

Extra: Here is a quick video tutorial of how to sharpen Japanese knife on a whetstone by Master Sushi Chef Hiro Terada.

Subscribe to get cooking tips and fascinating stories around Japan. Get 5% off your first order too:

You may want to read...

japanese people enjoying ramen

All About Japanese food

We are still newbies when it comes to the vast choice that Japanese cuisine offers, but we at Oishya have

how to sterilising jars

How to sterilise jars

In the vibrant tapestry of our shared love for the culinary arts, we’re excited to unveil a kitchen secret that’s