A handcrafted Japanese kitchen knife is an investment in better cooking — one that will serve you for decades if you treat it well. But Japanese knives are built differently from Western knives, and they need care that matches their precision.
This guide covers everything you need to know about maintaining your Japanese knives: sharpening, cleaning, storage, technique, and the common mistakes that shorten a knife’s life.
Whether you own a gyuto, santoku, nakiri, or any other Japanese blade, these principles apply across the board.
Understanding Your Japanese Knife
Before you can properly care for your knife, you need to understand what makes it different.
Carbon Steel vs Stainless Steel
Japanese knives generally use one of two steel families, each requiring different care:
- Carbon steel (Aogami/Blue Steel, Shirogami/White Steel): Takes the sharpest edge, but is reactive — it will rust if left wet and develops a patina over time. Requires immediate washing and drying after use. Learn more about carbon steel varieties in our Aogami #2 vs Super Blue comparison.
- Stainless steel (VG10, AUS10, R2/SG2): More forgiving and rust-resistant, but still not dishwasher-safe. Easier to maintain for most home cooks. See our VG10 vs AUS10 guide for a detailed breakdown.
For the full chemical composition of every popular knife steel, consult our knife steel composition chart.
Hardness and What It Means for Maintenance
Japanese knives are typically hardened to 58-67 HRC on the Rockwell scale — significantly harder than most Western knives (54-58 HRC). This extra hardness means:
- The edge can be sharpened to a more acute angle (typically 15° per side vs 20° for Western knives)
- The edge stays sharp much longer
- But the harder steel is more brittle — it can chip if misused (twisting, cutting frozen food, hitting bone)
Single-Bevel vs Double-Bevel
Traditional Japanese knives like the yanagiba and deba are sharpened on one side only (single-bevel), while modern styles like the gyuto and santoku are sharpened on both sides (double-bevel). The sharpening technique differs significantly between the two — see our single vs double bevel guide for details.
How to Sharpen Japanese Knives
Sharpening is the single most important maintenance skill for any knife owner. A sharp knife is safer, more efficient, and more enjoyable to use. A dull knife is actually more dangerous because it requires more force and is more likely to slip.
Choosing the Right Whetstone
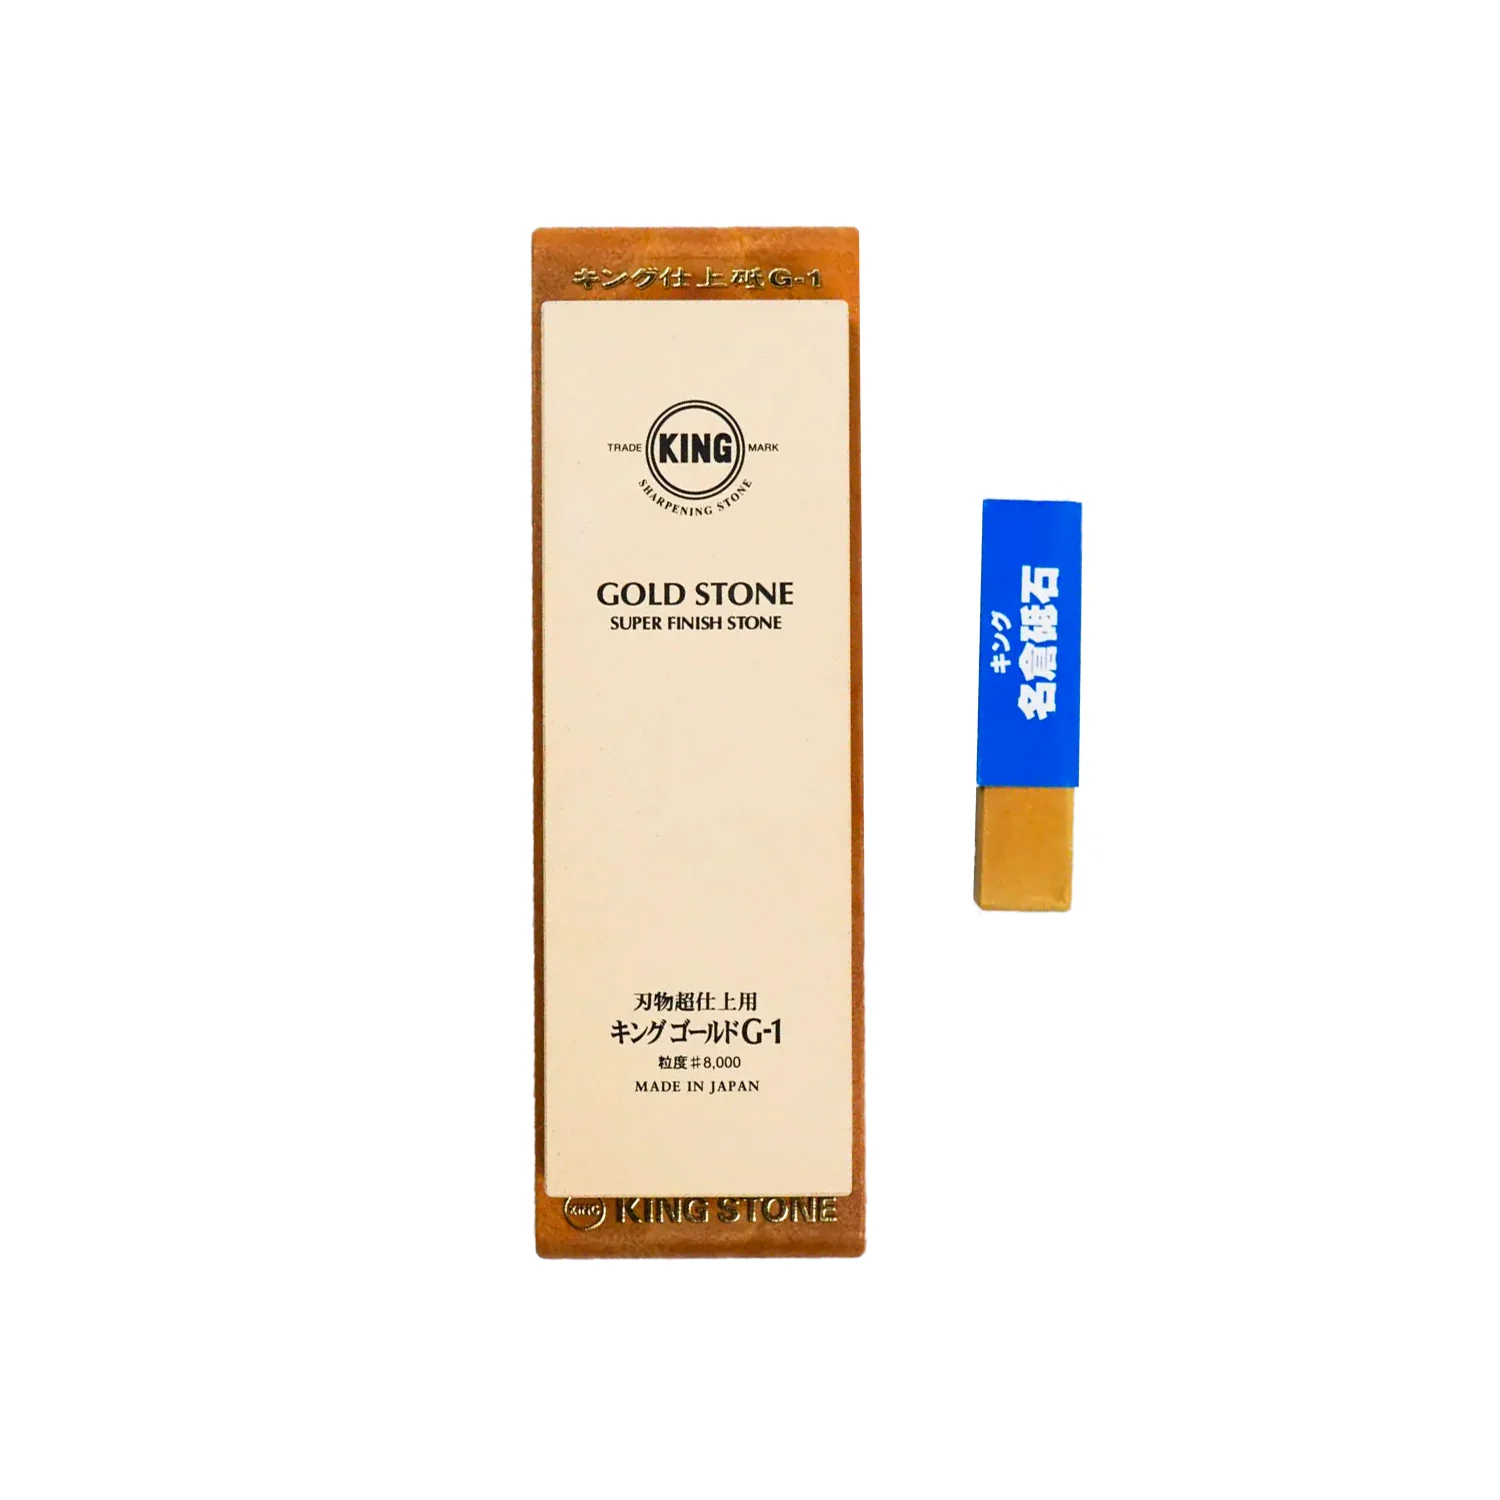
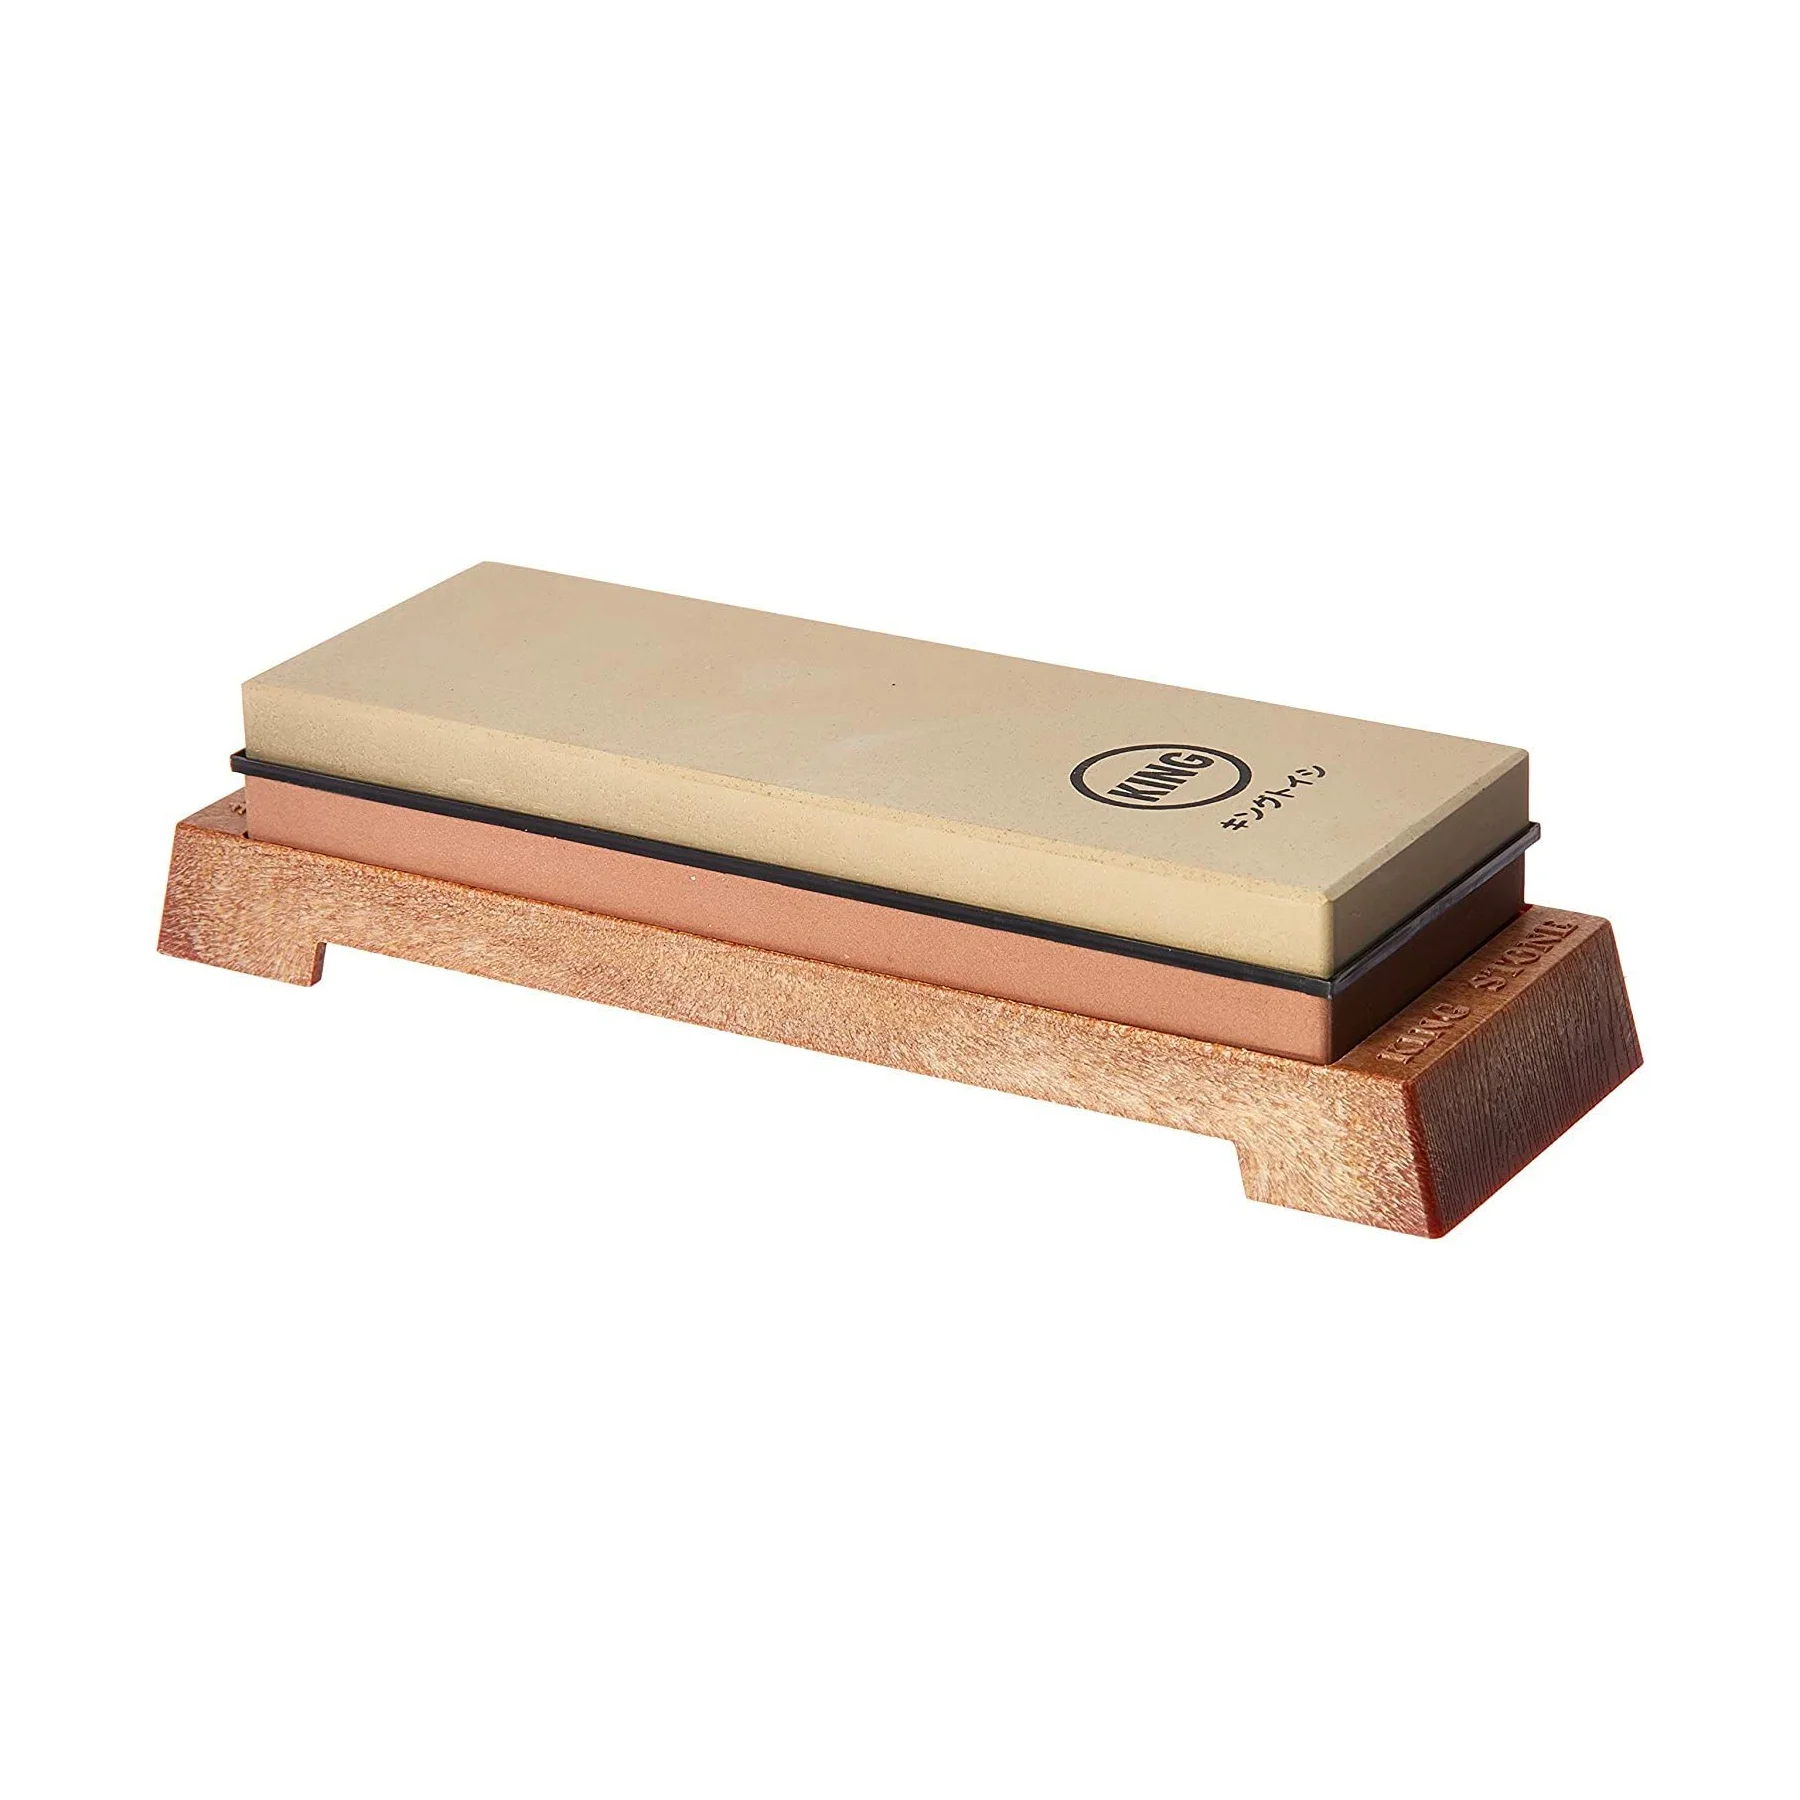
Whetstones (also called water stones) are the gold standard for sharpening Japanese knives. They come in different grits for different purposes:
- Coarse (#120–#400): For repairing chips and re-establishing a damaged edge. You shouldn’t need this often.
- Medium (#1000–#3000): The workhorse grit for regular sharpening. A #1000 stone is the single most useful stone to own.
- Fine (#4000–#8000): For polishing and refining the edge after sharpening. Gives a mirror finish and silky-smooth cut.
For a deeper dive into which grit to choose and when, read our complete whetstone grit guide.


Sharpening Technique: Step by Step
Here’s a condensed overview of the sharpening process — for the full walkthrough with video, see our step-by-step sharpening tutorial.
- Soak your stone in water until bubbles stop rising (5-10 minutes for most stones).
- Set a stable base. Place the stone on a non-slip surface at a comfortable working height.
- Find your angle. For most Japanese double-bevel knives, hold the blade at approximately 15° to the stone. For single-bevel knives, sharpen the bevelled side at the existing angle, then lightly work the flat side.
- Sharpen in sections. Work from the tip to the heel in 3 sections, using smooth forward strokes with moderate pressure. Lighter pressure on the return stroke.
- Feel for a burr. Run your finger gently from the spine toward the edge on the opposite side. A slight roughness (burr) means you’ve sharpened enough on that side.
- Repeat on the other side (for double-bevel knives) using the same number of strokes.
- Deburr and strop by making a few alternating light passes on each side, then strop on leather, newspaper, or your jeans.
How Often Should You Sharpen?
- Home cook: Every 2-3 months, or when the tomato test fails (a sharp knife bites into the skin without pressure).
- Enthusiast/frequent cook: Monthly, with a fine-grit touch-up between sessions.
- Professional chef: Weekly, or as needed during service.
Between sharpenings, learn the difference between honing and sharpening in our honing vs sharpening guide — regular honing extends the time between full sharpenings dramatically.
Proper Knife Technique
How you use your knife affects how long it stays sharp — and how safe you are in the kitchen.
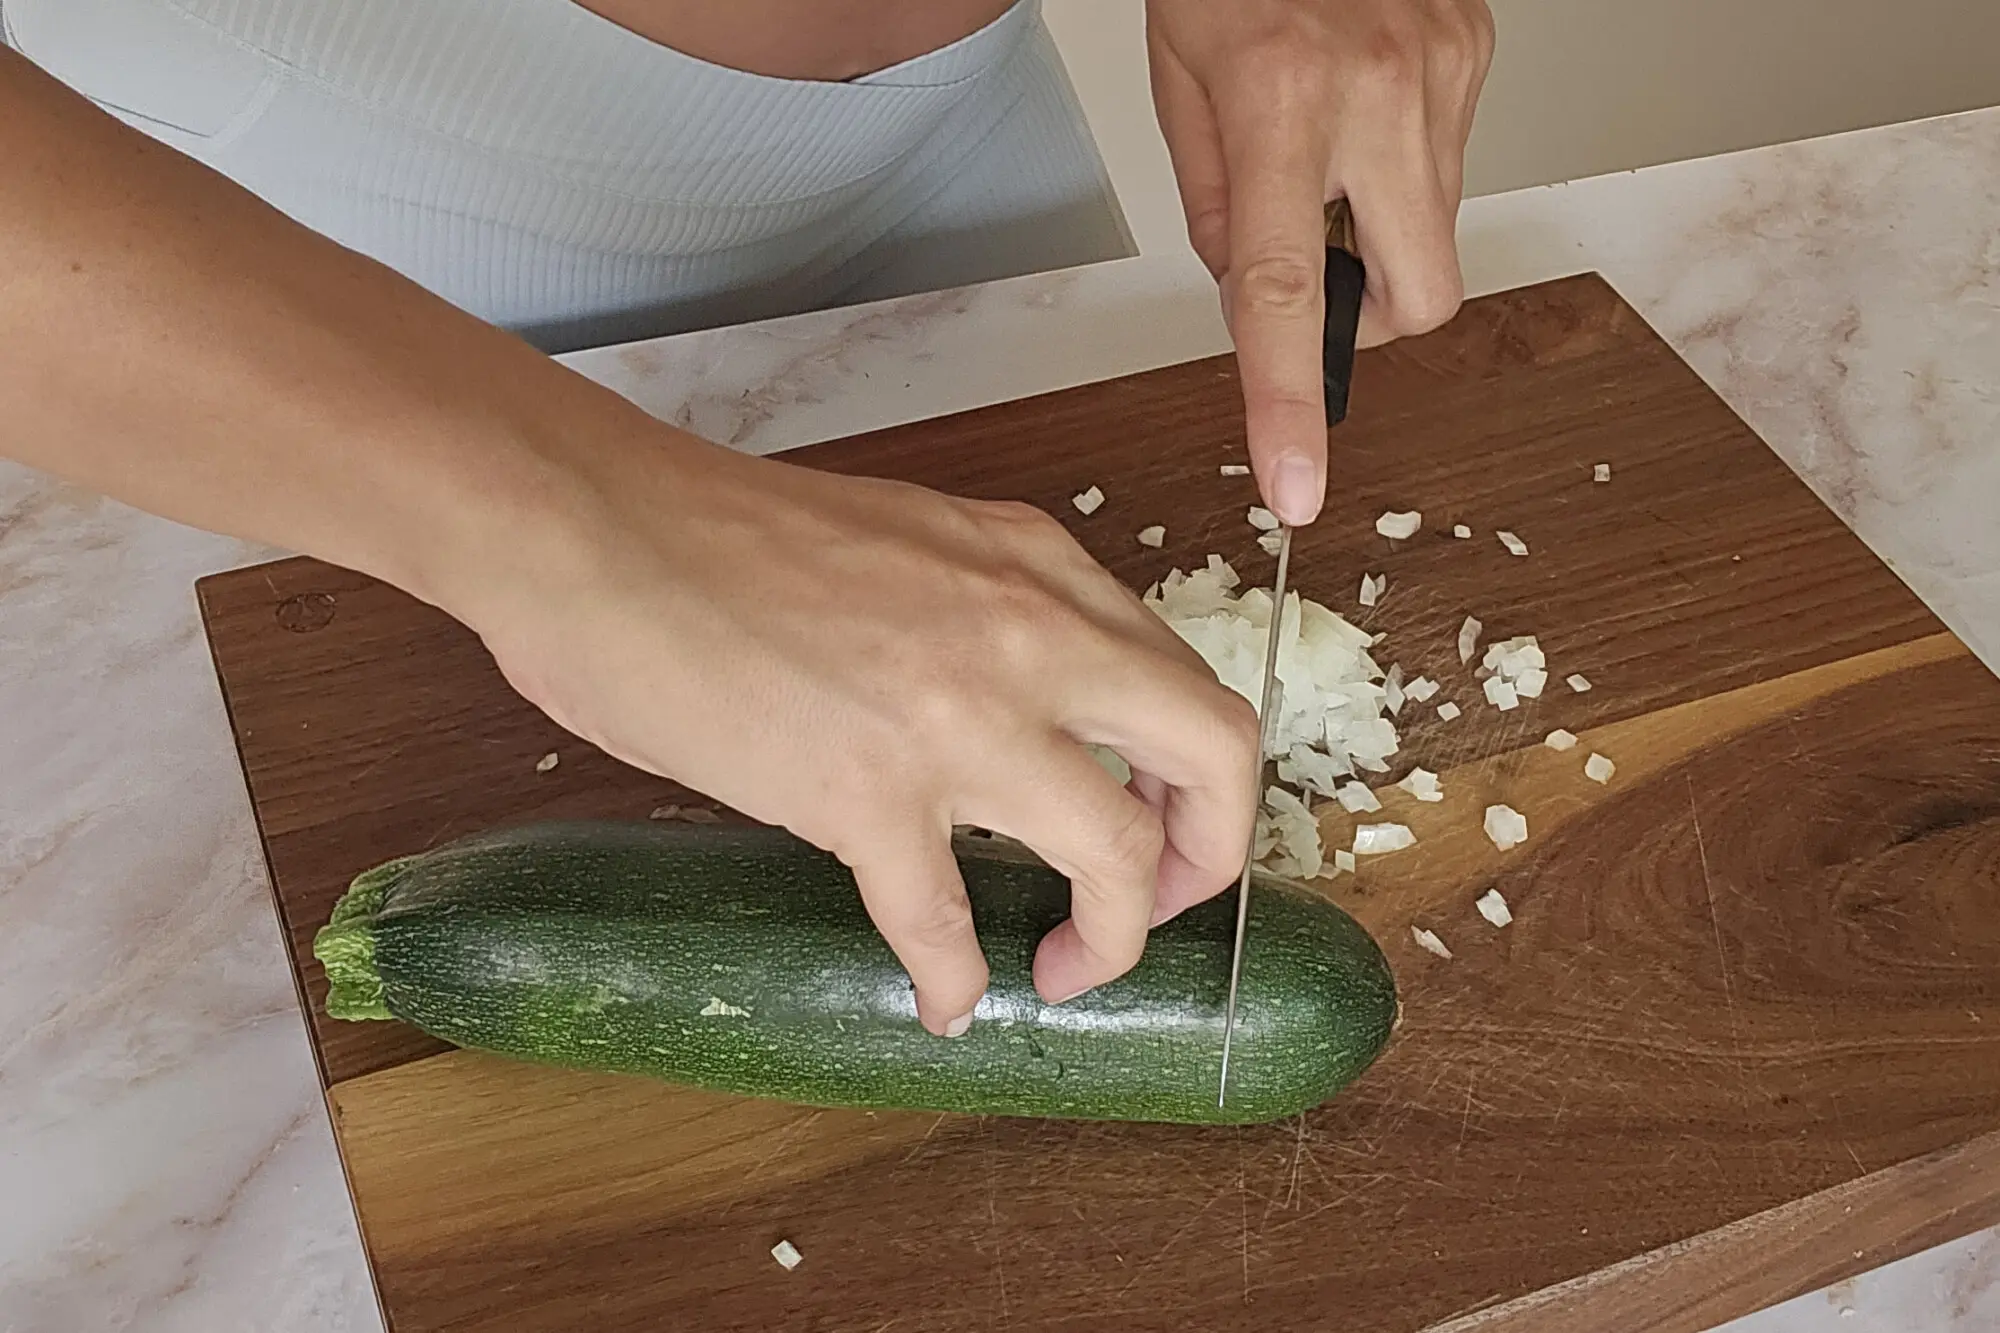
The Claw Grip
The claw grip is the single most important knife skill you can learn. By curling your fingertips inward and guiding the blade with your knuckles, you protect your fingers while maintaining precise control. Chef Olivia Burt demonstrates the technique in our video guide.
For more on safe knife handling, see our guide to 4 ways to hold a kitchen knife safely.
Cutting Surfaces That Protect Your Edge
Your cutting board matters as much as your knife. Hard surfaces like glass, ceramic, marble, and metal will destroy a Japanese knife’s edge in minutes.
Always use:
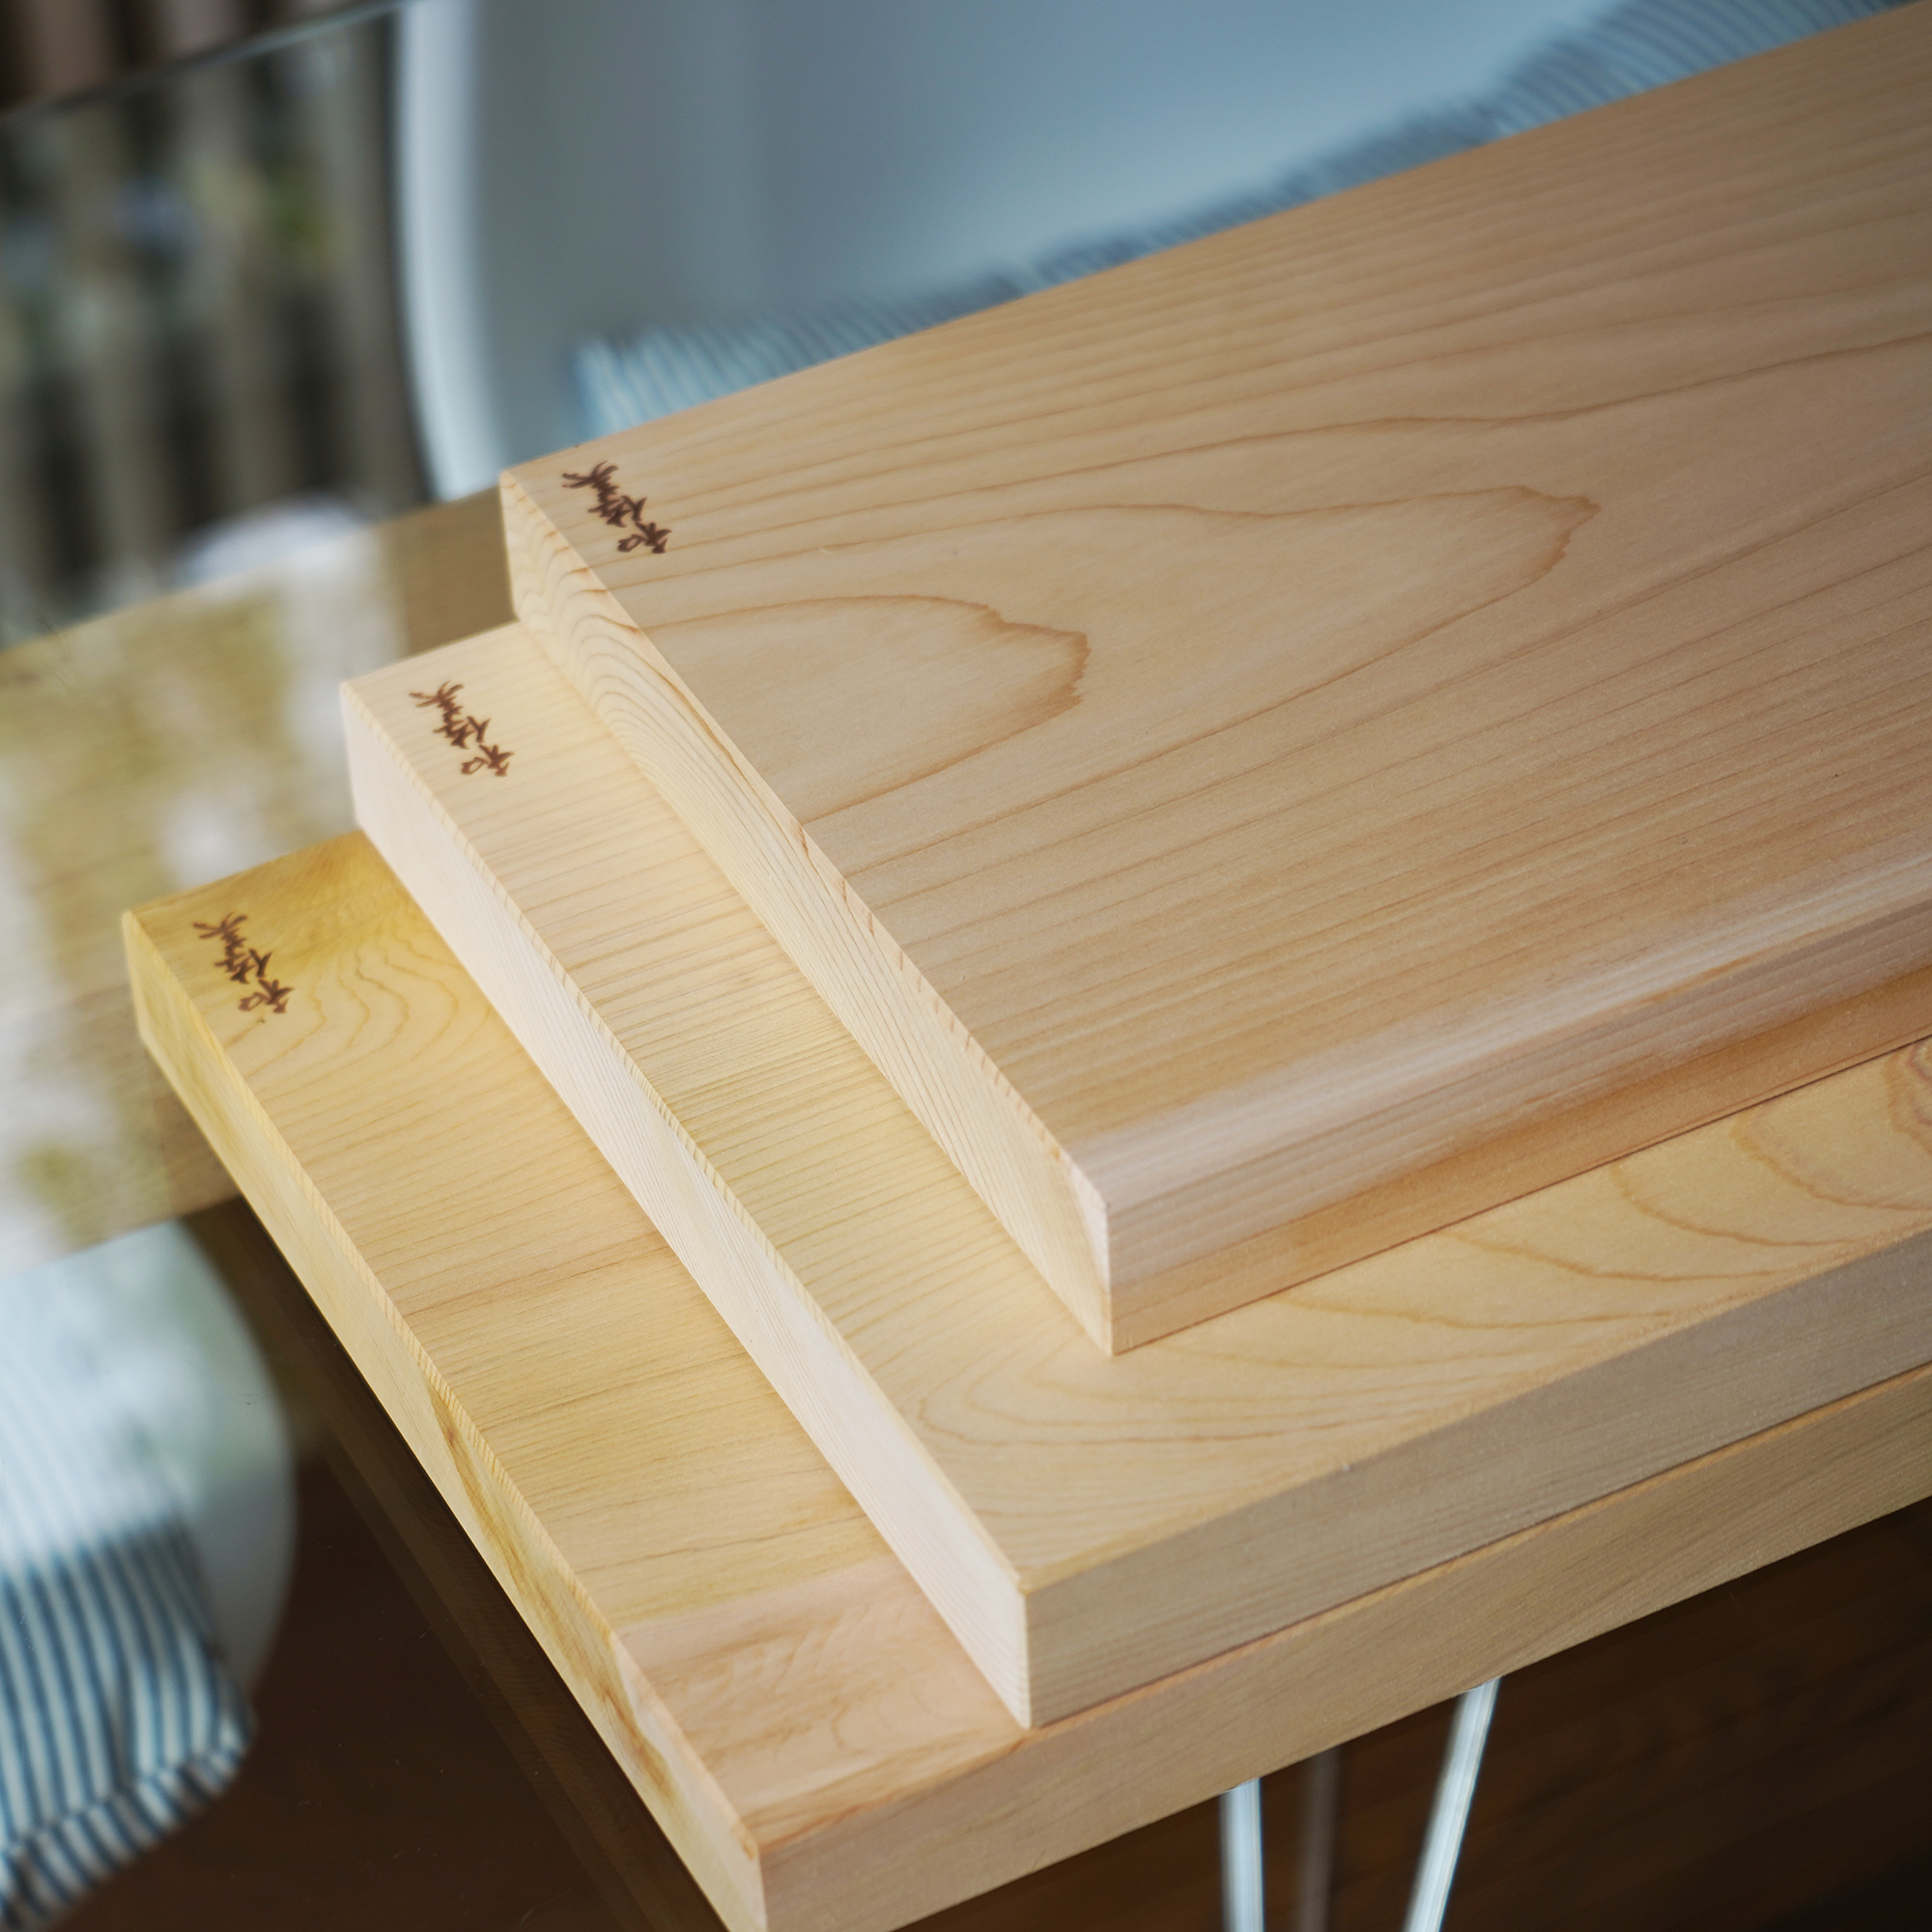
- Wood: The best choice. End-grain boards are gentlest on edges. See our guide to the best wood for cutting boards and the end grain vs edge grain comparison.
- Japanese Aomori Hiba wood: Naturally antibacterial and antifungal — learn why it’s called the Tree of Life.
- Soft plastic (Hi-Soft): A good alternative that’s easy to sanitise.
 Price range: $102 through $150


What NOT to Cut with a Japanese Knife
- Frozen food: The impact can chip the hard, thin edge. Let food thaw first.
- Bones and joints: Use a deba or Western cleaver for butchery tasks.
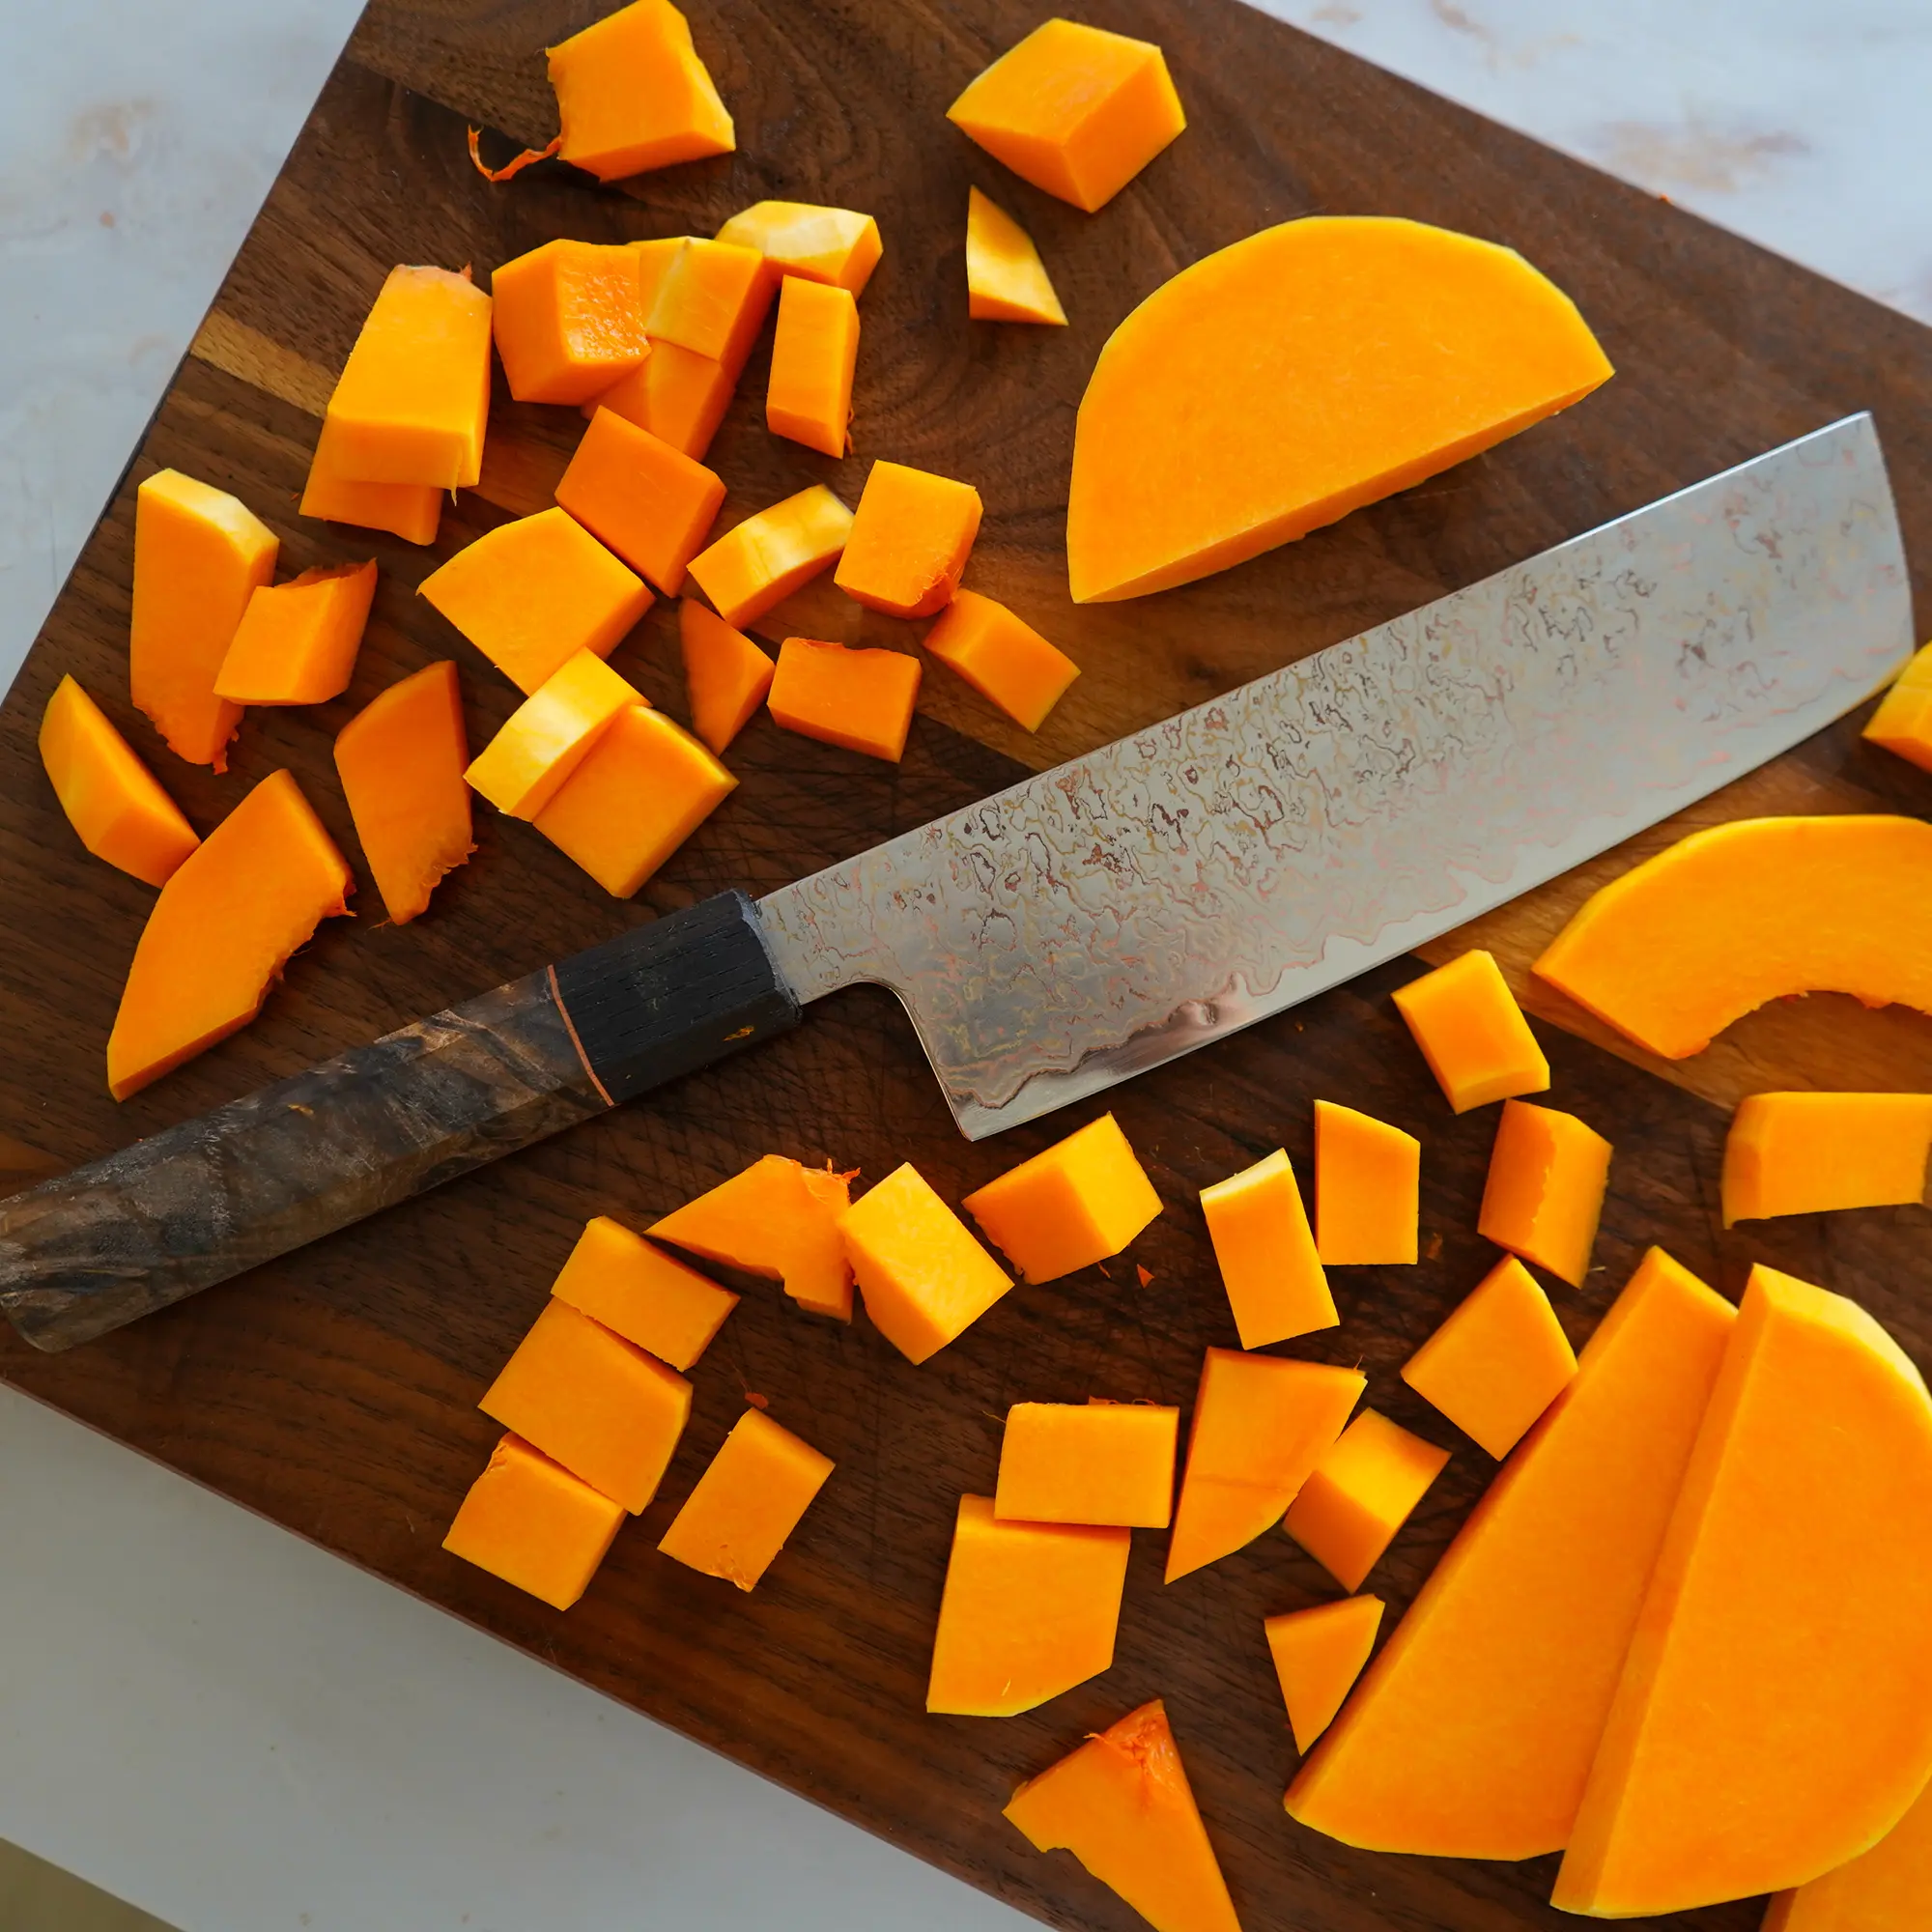
- Hard squash and pumpkin: Use a heavier knife or cut them in half first. Don’t rock or twist the blade.
And never scrape the board blade-down to move food — use the spine of the knife or a bench scraper instead. This single habit ruins more edges than anything else.
Cleaning Japanese Knives
Why You Should Never Use the Dishwasher
This cannot be stressed enough: never put a Japanese knife in the dishwasher. The combination of high heat, harsh chemicals, and physical contact with other items will:
- Corrode and pit the blade, even stainless steel
- Chip the delicate edge as it rattles against other items
- Damage wooden handles (warping, cracking, loosening)
This is one of the top 3 ways people accidentally ruin their Japanese knives.
How to Hand-Wash Properly
- Wash immediately after use — don’t leave food residue on the blade
- Use warm water and a small amount of mild dish soap
- Wipe gently with a soft sponge (not an abrasive pad)
- Dry immediately and thoroughly with a clean towel — this is critical for carbon steel
Dealing with Rust and Patina
Patina (a grey/blue/brown discolouration) on carbon steel is normal and protective. It forms naturally as the steel oxidises and actually helps prevent deeper corrosion. Many chefs see it as a mark of a well-used knife.
Rust (orange/red spots) means moisture was left on the blade too long. To remove it:
- Make a paste of baking soda and water
- Apply with a soft cloth and rub gently in the direction of the blade’s finish
- Rinse, dry, and apply a thin layer of camellia oil (tsubaki oil)
For long-term storage, a light coating of camellia oil protects against oxidation. For more detail, see our guide on rust-resistant knife maintenance.
Storing Your Japanese Knives
How you store your knives between uses has a huge impact on edge longevity and safety. Never toss knives loose in a drawer — they’ll bang against each other and other utensils, chipping and dulling the edges.
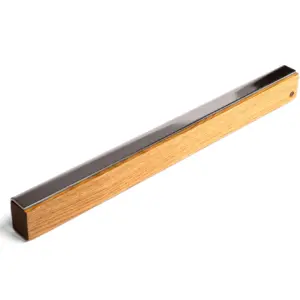
Magnetic Knife Racks and Stands
Our top recommendation. A quality magnetic rack with strong neodymium magnets holds your knives securely without any contact that could damage the edge. Available as wall-mounted racks or countertop stands.
Worried about magnets damaging your knives? They don’t — as long as you use quality neodymium magnets rather than cheap ceramic ones. Read the full analysis in do magnetic knife holders damage your knives? and see the proper way to hang knives blade-up or blade-down.


Knife Blocks and Drawers
Traditional knife blocks work well but can harbour bacteria if not cleaned regularly. In-drawer knife organisers are a good option if you lack wall or counter space. For a full comparison of all storage methods — including space requirements, child safety, and cost — see our comprehensive knife storage comparison guide.
Blade Guards and Sayas
If you must store knives in a drawer or transport them, individual blade guards (or traditional Japanese saya sheaths) protect both the edge and your fingers. Read more in our guide to safe knife storage.
If you have small children at home, knife safety requires extra thought — see our guide to keeping sharp knives safe with little ones.
Common Mistakes That Damage Japanese Knives
These are the habits that send the most knives to an early grave:
- Putting knives in the dishwasher — Always hand-wash and dry immediately.
- Using glass or ceramic cutting boards — Use wood or soft plastic only.
- Scraping the board blade-down — Use the spine or a bench scraper.
- Leaving wet on the counter — Especially carbon steel. Dry immediately.
- Twisting or prying — Japanese blades are thin and hard; they chip under lateral force.
- Cutting frozen food or bones — Use the right tool for the job.
- Loose drawer storage — Get a magnetic rack, block, or guard.
For the full list, read 3 ways you may be ruining your Japanese knives and 7 tips for keeping your knives sharp and safe.
Your Daily Knife Care Routine
Good knife care doesn’t take long — it’s about building simple habits:
| Frequency | Action |
|---|---|
| After every use | Hand-wash with mild soap, dry immediately, store properly |
| Weekly | Hone with a ceramic rod to realign the edge |
| Every 2-3 months | Sharpen on a #1000 whetstone, followed by #3000+ for a fine finish |
| Twice a year | Inspect for chips or damage; oil carbon steel blades if not used regularly |
| Annually | Consider professional sharpening for single-bevel knives or major edge repair |
Explore Our Knife Care Essentials
Everything you need to keep your Japanese knives performing at their best:
- Sharpening stones — Japanese whetstones in every grit
- Knife storage — Magnetic racks, stands, and more
- Cutting boards — Aomori Hiba, walnut, and European walnut
- Japanese knives — Handcrafted in Seki and Sakai, Japan
To understand the deeper philosophy behind Japanese kitchen tools, explore our guide to Japanese kitchen culture.
If you’re still choosing your first blade, start with our complete buying guide for your first Japanese knife.
Handcrafted Japanese Knives by Oishya
Forged by master craftsmen in Seki and Sakai, Japan. Free shipping worldwide • 100-day money-back guarantee • Lifetime warranty