Thinking of making tataki, seared tuna slices? Tuna is an excellent choice for that due to its incredible nutritional profile and ability to be consumed raw safely. This rich, oily fish is packed with heart-healthy omega-3 fatty acids, high-quality protein, and an array of vitamins and minerals.
Fresh tuna is an excellent source of niacin, vitamin B6, and vitamin B12, which support energy metabolism and red blood cell production. It’s also rich in selenium, an antioxidant mineral that helps protect cells from damage. The bright red color of tuna comes from its naturally occurring astaxanthin content, a powerful antioxidant carotenoid. What makes tuna even more appealing is that it’s one of the only types of fish that the FDA doesn’t require to be frozen to kill potential parasites before consumption. This is because tuna is a deep-water, highly migratory fish with extremely low risk of parasitic infection.
However, if you prefer an extra level of caution, you can choose to freeze the tuna fillet at -4°F (-20°C) or below for 2-4 hours before preparing tataki. This quick freeze will kill any potential parasites while still maintaining the fresh, supple texture perfect for searing.
Whether you opt to use it straight from the deli case or give it a quick freeze first, high-quality sushi-grade tuna makes an exceptional tataki with its melt-in-your-mouth richness and robust nutrient package.
Here are the steps:
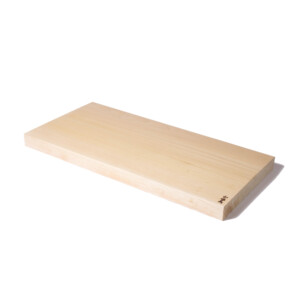
- Start with a high-quality, sushi-grade tuna fillet. Pat it dry with paper towels and place it on a clean cutting board.
- You can choose to remove the tuna skin before or after slicing. If removing upfront, use a sharp knife to carefully slice the skin away from the fillet.
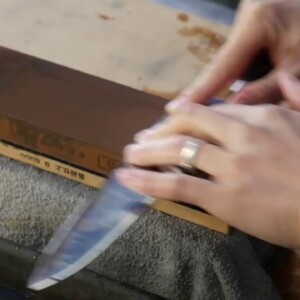
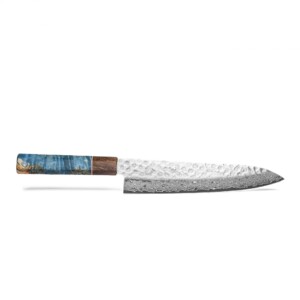
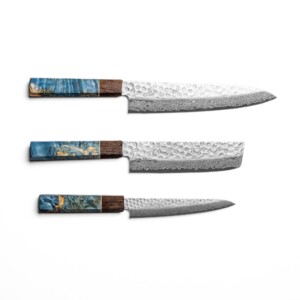
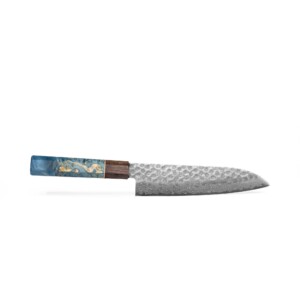
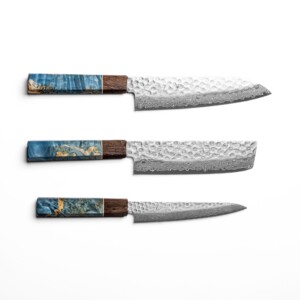
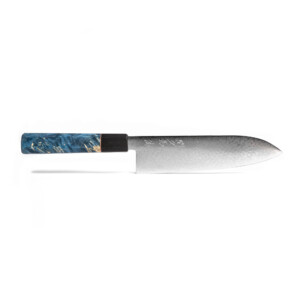
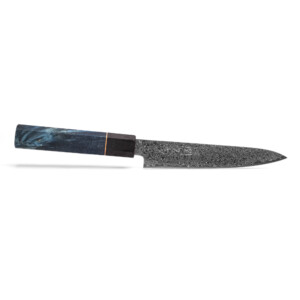
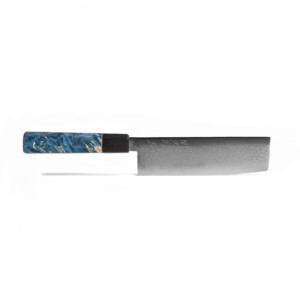
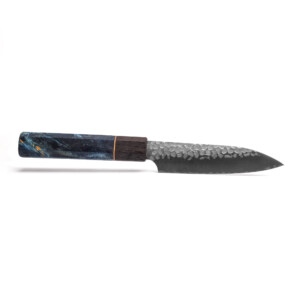
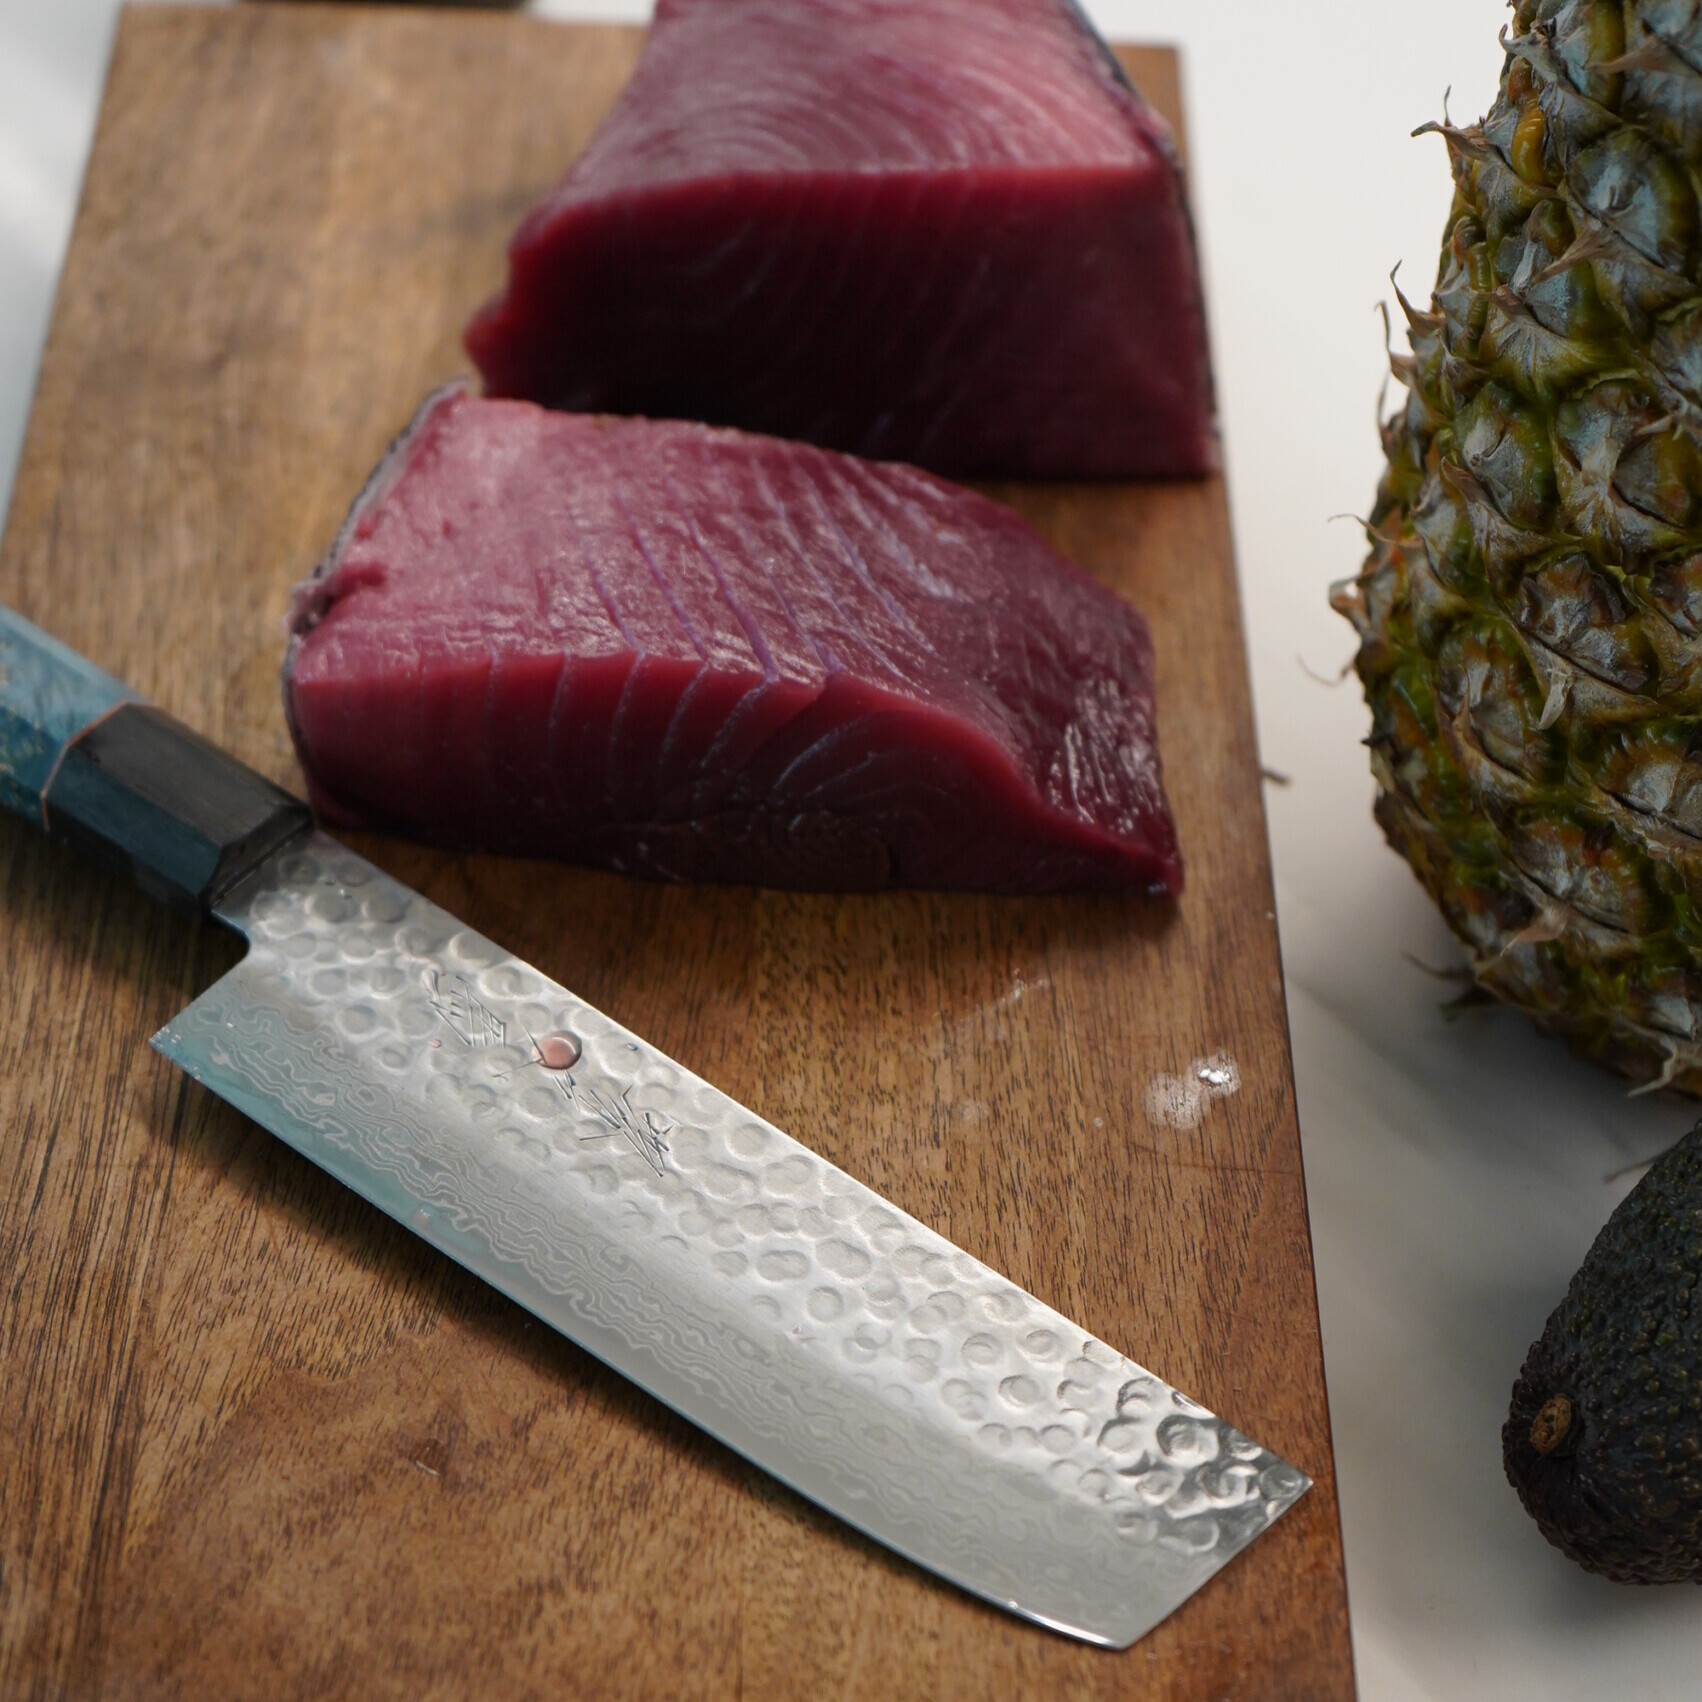
- If using a chef’s knife or nakiri (Japanese vegetable knife), ensure it is sharp. A dull knife will tear the delicate tuna flesh.
- Slice the tuna fillet across the grain into 1/4 to 1/2-inch thick slices. Try to maintain an even thickness throughout.
- Lay the slices flat on the cutting board and gently square off the edges by trimming any jagged or uneven parts with your knife.
- If you haven’t removed the skin yet, you can do so now by sliding the knife between the skin and flesh of each slice to separate them.
- If the slices are too large for your liking, you can cut them in half or into smaller portions.
- Avoid sawing motions when cutting the tuna, as this can damage the delicate flesh. Use a smooth, single stroke with your sharp knife for clean cuts.
- Once sliced and skinned (if desired), the tuna is ready for searing briefly on both sides (tataki means “lightly beaten” in Japanese) and then served with your desired accompaniments like ponzu sauce, grated ginger, and scallions.
Removing the tuna skin is a matter of personal preference, so you can choose to keep it on or take it off based on your liking.

