Wondering why you should sharpen kitchen knives? No matter if you’re a professional or a weekender foodie who likes to prepare something fast and tasty, it is crucial to keep your knives sharp so that they cut through food with less slippage. There are many reasons why you should keep your knives sharp – here are some of them:
- Safety: a dull blade will slip on food and increase the chance of injury
- Efficiency: you can cut more food in less time with a sharp blade
- Appearance: especially true for raw foods, a sharp blade is essential for aesthetics and presentation
- Yield: maximise your yield and minimise food waste
- Quality: ever notice that cutting with a dull blade makes herbs or vegetables oxidise more quickly? Chiffonade basil or slice sashimi with a dull blade and sharp blade and see the difference. A dull blade presses down on food, damaging it on a cellular level. Many are not aware of that, but this not only makes the food loose more moisture but alters the appearance and taste as well.
We’ll show you how to sharpen kitchen knives the way that you will start treating it as a pleasure, not a chore. It’s one of the easiest ways to instantly improve your cooking and shorten the prep time.
This article is part of our complete knife care guide.
What you’ll learn:
- How to tell if your knife is sharp enough – the paper test (check this article for other tests: tomato and a nail test)
- When to use a knife sharpener
- All about electric knife sharpeners
- All about manual knife sharpeners
- A bit on whetstones
- How to use a whetstone
- How to sharpen serrated knives
- Is it possible to over-sharpen your knives?
- Knife sharpening kitchen hacks
- How to store your knives to keep them sharp
- Knife sharpening takeaways
How to tell if your knife is sharp enough

Put the blade into a paper test
If you try to cut it with a dull knife, the paper will crumble beneath the knife. A sharp knife will cut it cleanly when use a slicing motion to cut through the paper. A razor sharp knife can cut the paper cleanly by just pressing down on the edge of the paper without any slicing at all. If it fails, it needs sharpening.
What a sharp and a dull knife’s edge look like up close


The closeup of a sharp (smooth and sharp) edge and a dull one (all chewed up) was made under a high-powered laboratory microscope at the Massachusetts Institute of Technology’s Department of Materials Science and Engineering.
When to use a knife sharpener
If your knife is quite dull, you’ll need to reshape its edge. This requires removing a fair amount of metal—more than you could ever remove with a steel. To restore a very dull knife, you have three choices: You can send it out; you can use a whetstone (a little tricky at first but once you get it, it will take you 10-15min at max to sharpen your knife to the original state); or—the most convenient but not the most optimal option—you can use an electric or manual sharpener.


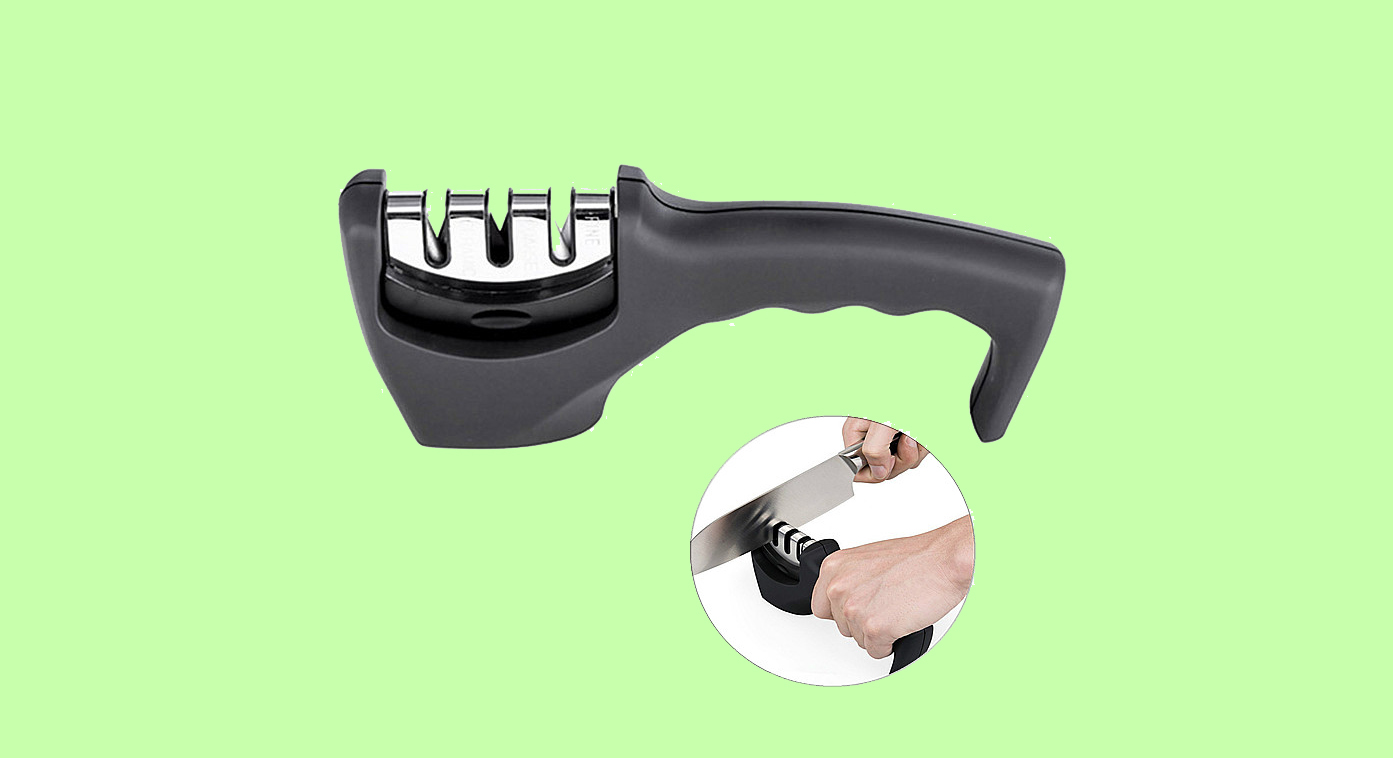
All about electric knife sharpeners
How to Use: These machines are very easy to use. With electric sharpeners, the abrasives are on motorised wheels that spin against the blade. Always follow the manufacturer’s instructions. In general you turn on the sharpener, hold your knife securely but lightly. There is no need to press down hard as the machine does the work for you, and pull the blade through the desired slots slowly and smoothly. Alternate sides for sharpening both sides of your blade. We are comfortable with recommending this method for a cheaper range knives but would not treat your precious Japanese knives with anything but a whetstone (more on that below) as the wrong move can remove too much edge of your precious knives.
Pros:
- Spring-loaded guides restrict the knife’s movement so that the entire edge makes steady contact with the abrasive at a precise angle.
- The aggressive first slot can quickly repair extensive damage and narrow a 20-degree Western knife to a sharper 15-degree edge.
- This sharpener features multiple grinding slots, each with a different coarseness of blade to control the amount of sharpening.
Cons:
- Cannot be used for knives that sport a full bolster, as the entire blade cannot be run through the sharpener (creating an unevenly shaped blade).
- Relatively expensive.
All about manual knife sharpeners
How to use: With manual sharpeners, the abrasives are either on non-motorised wheels or the abrasive material itself is fashioned into a V-shaped chamber through which the user pulls the knife. In general, pull the blade through the chamber with even pressure. Always follow the manufacturer’s instructions.

Pros:
- Inexpensive
- Tall walls hold the knife steady so that the user can draw the blade through the chamber with even pressure
- The slim body easily stows in a drawer, making it more convenient for routine upkeep
- Very good and quick at sharpening most commercial mass made kitchen knives
- Able to sharpen blades that feature a full bolster
Cons:
- Even the best manual sharpener can’t repair extensive damage to a blade (like removing notches)
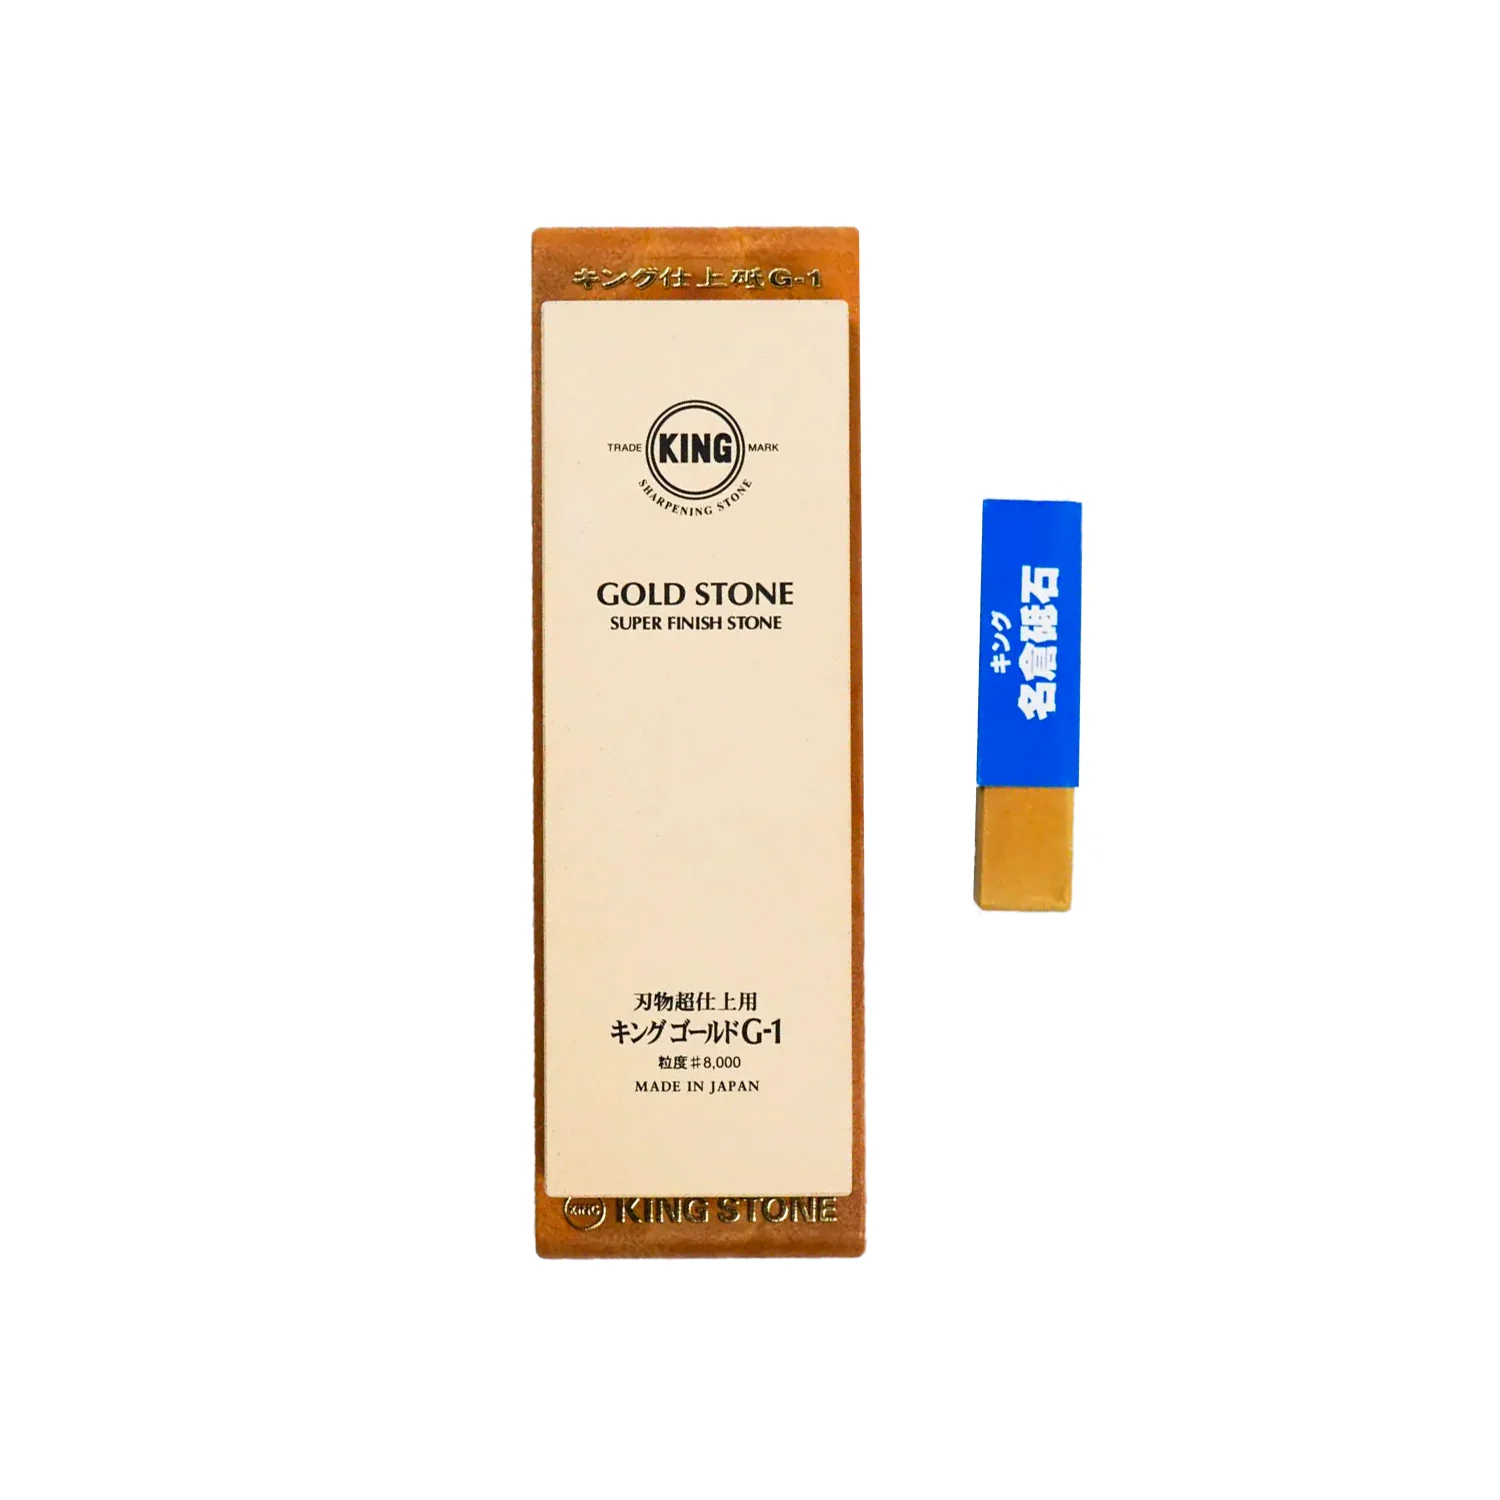
All about whetstones (also called waterstones)
Pros:
- Relatively inexpensive
- Last for years
- Extremely adaptable; because the cook holds the knife at a specified angle to match the blade (Western, Japanese etc.), a whetstone can be used to sharpen any knife
- Can sharpen knives with a full bolster
- Most stones feature a coarse and fine side, which determines the amount of sharpening at each pass
Cons:
- Takes a bit of practice to master; need to hold the knife at the correct angle to ensure a proper edge
- Can take time to restore a very dull blade
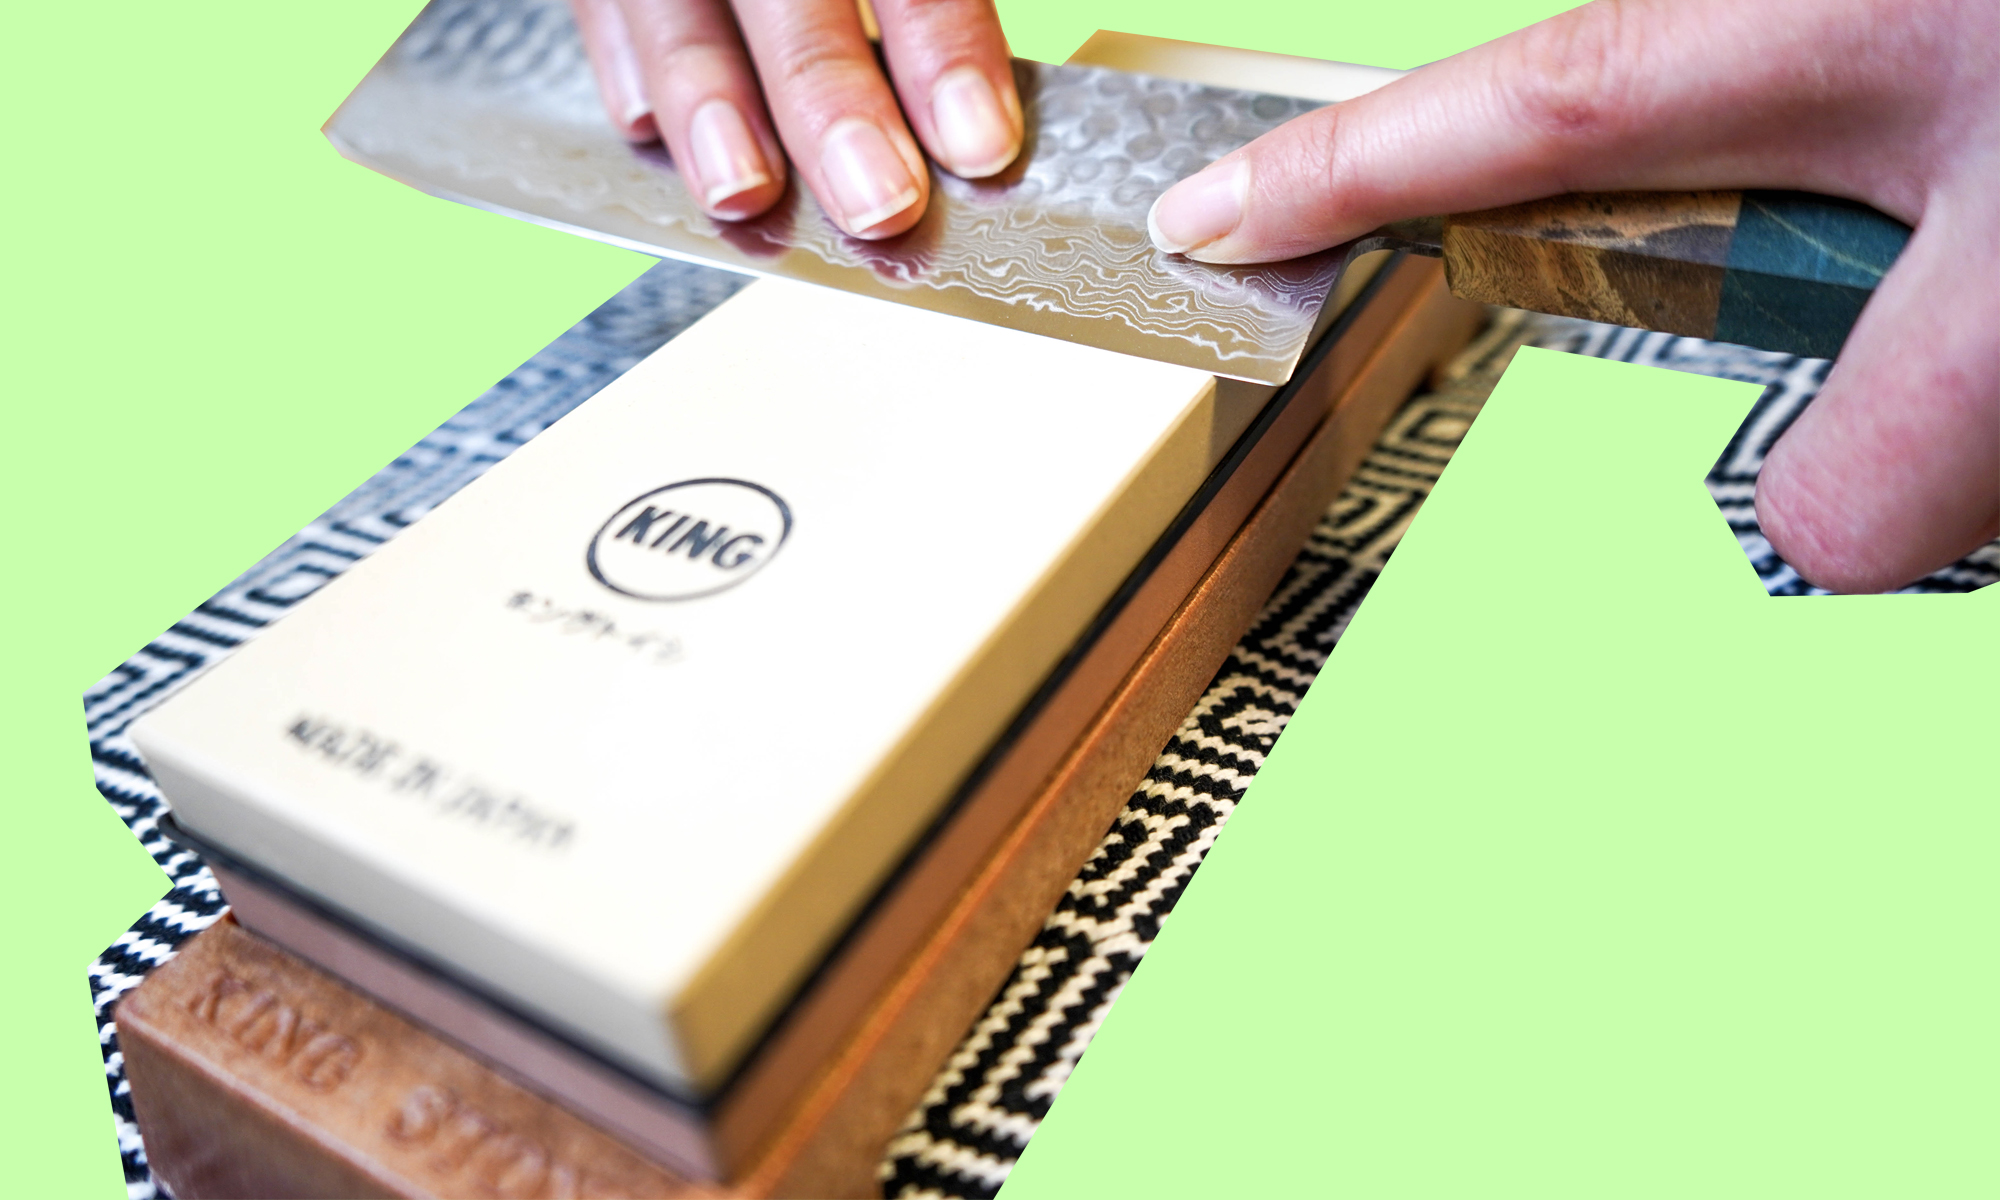
How to use a whetstone

Step 1: Secure stone on countertop
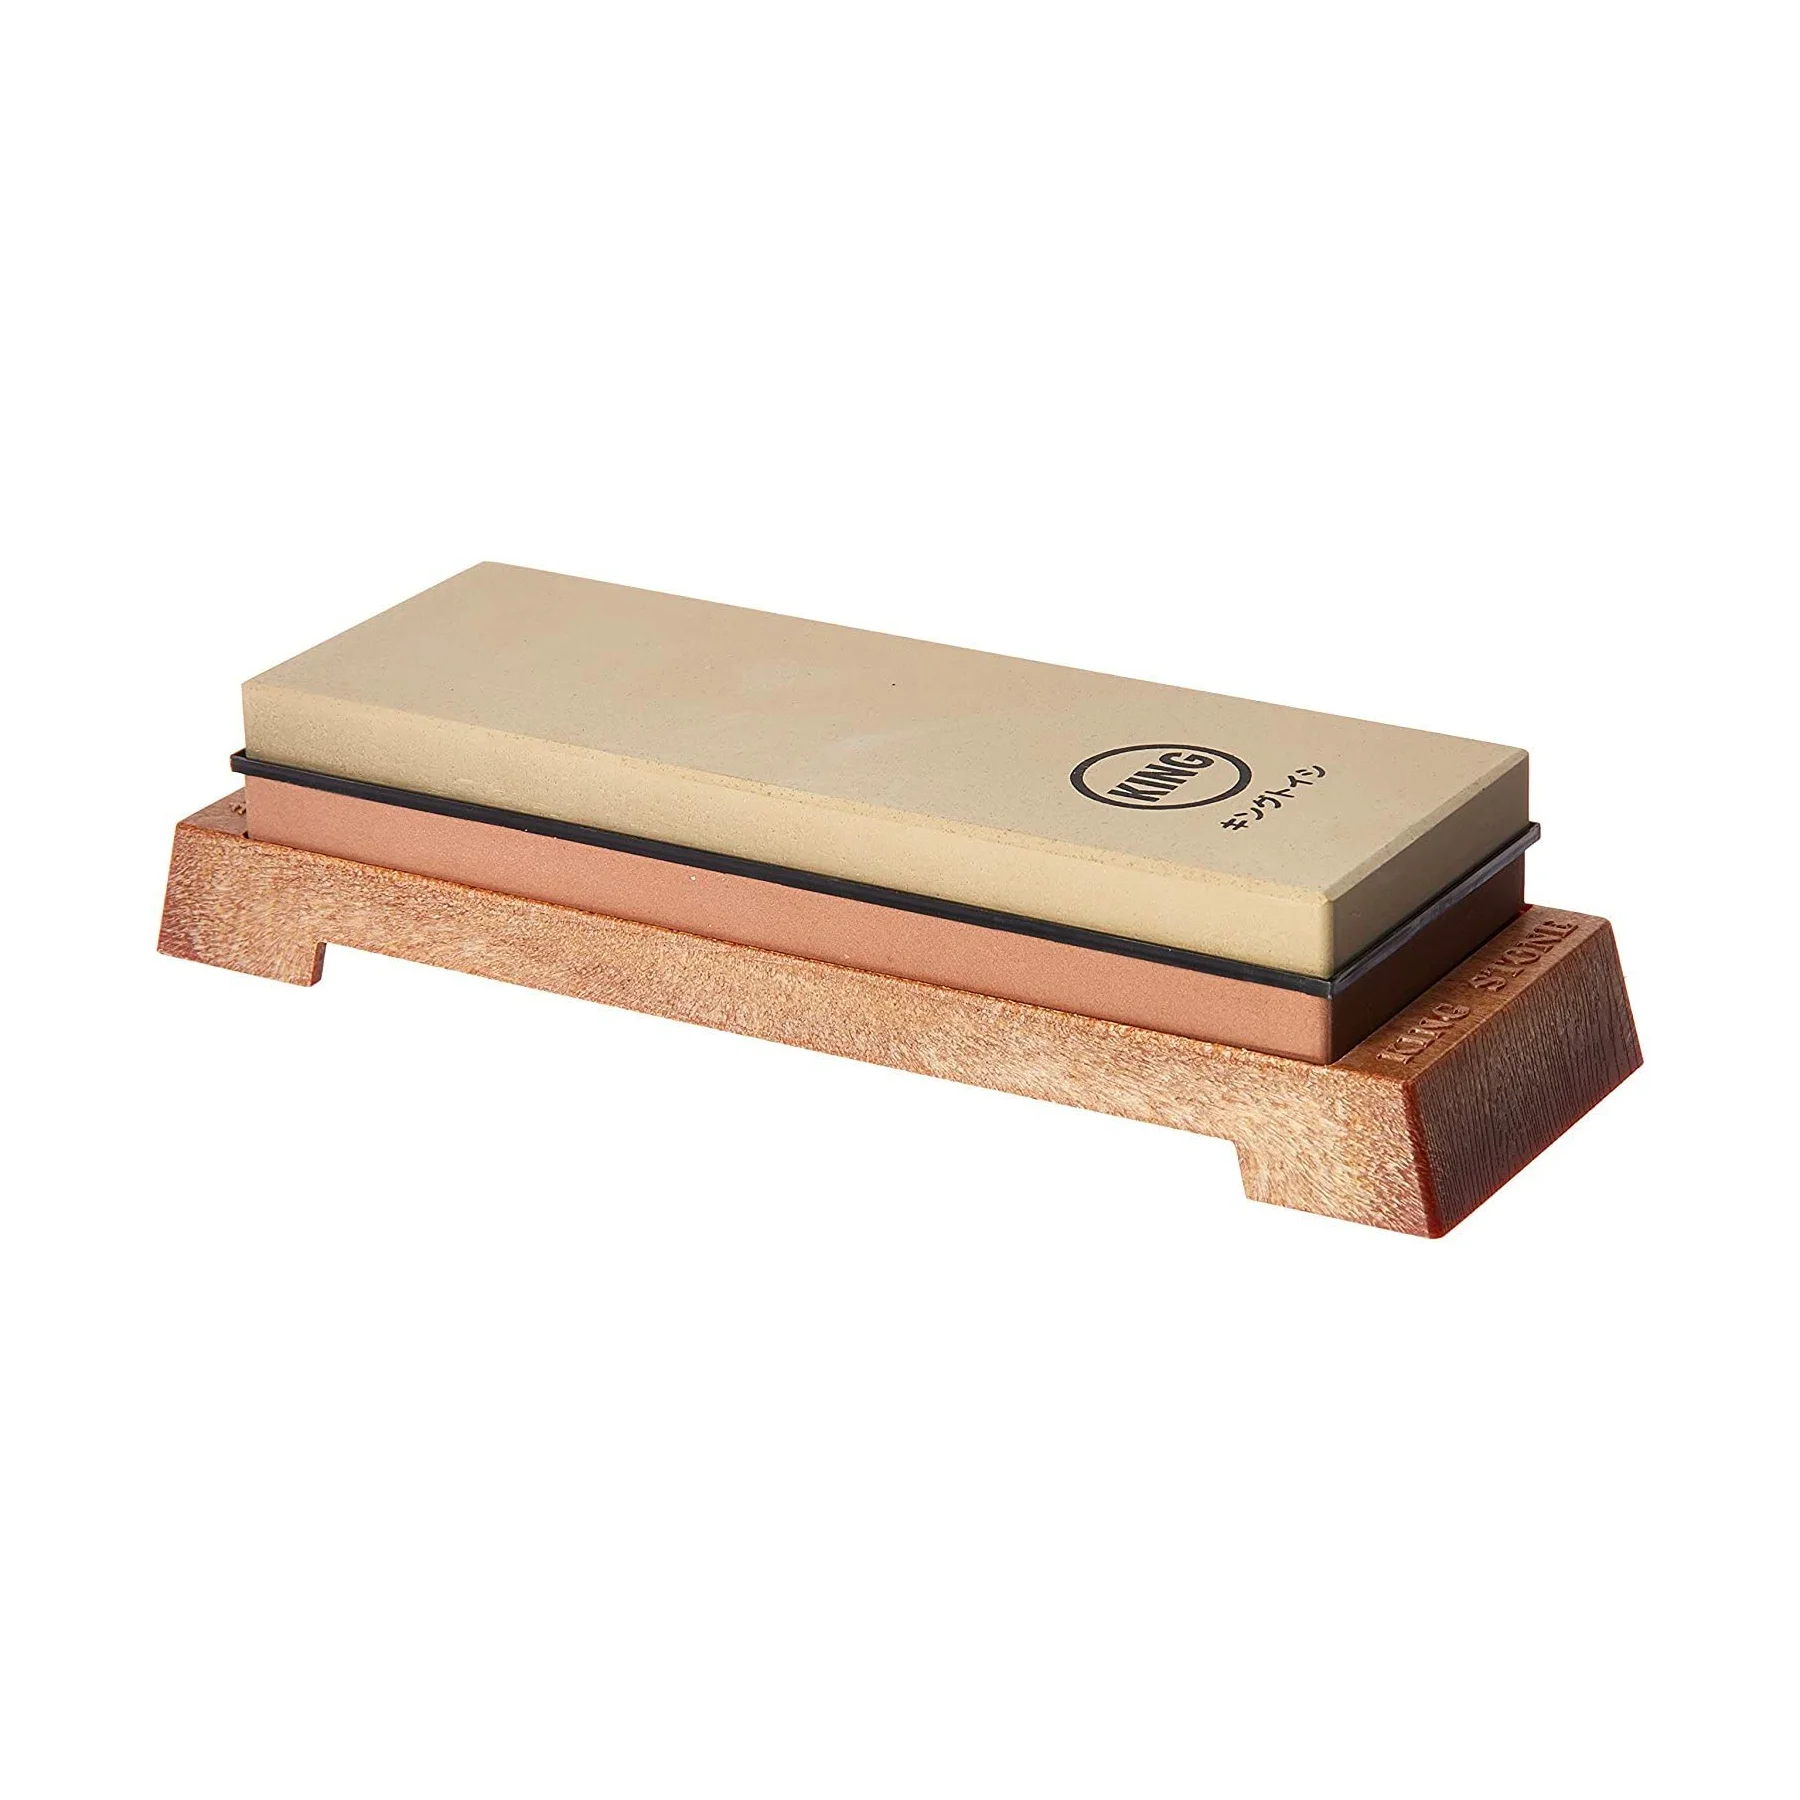
Place rubberised shelf liner or damp paper towels under whetstone to make sure it stays in place (whetstone should be coarse side up). Some quality whetstones such as King 1000/6000 have a special stand included allowing for a secure and fixed placement.
Step 2: Sharpen first side

Step 3: Check sharpness of first side
To check if the first side is sharpened, carefully run your thumb perpendicular to the edge of the blade–when you can feel the burr from handle to tip, that side is sharp enough. (Safety tip: Do not run your finger parallel to the blade.)
Step 4: Sharpen second side
Switch knife over and repeat the sharpening process in the opposite direction.
Step 5: Repeat technique on fine side

Turn whetstone over to fine side and repeat process on both sides of knife until blade is sharp. For more information about whetstone grids check our other article: What whestone should you choose.


How to sharpen serrated knives

Use a manual sharpener. Though serrated-specific sharpeners do exist, we’ve found them to be disappointing. And electric sharpeners don’t do enough: Their spinning wheels sharpen merely the edges and tips of the serrations, not the valleys between these tips. But that doesn’t mean you need to send out your serrated knives to a professional. A manual sharpener can ride up and down the different serrations (pointed, scalloped, and saw toothed), sharpening not only the edges and tips, but the deep valleys too. Serrated edges don’t need to be sharpened nearly as often as smooth blades: their pointed teeth do most of the work while the edges endure less friction.
Is it possible to over-sharpen your knives?
In short, the answer is no. Don’t believe these common sharpening myths:
Myth: Electric sharpeners take off too much metal.
Truth: With the right brand of electric sharpener, there’s no need to worry about excessive metal loss. Electric sharpeners do take off a small amount of metal each time you grind your knife—especially if you are using a coarse-grind setting to sharpen an especially dull knife. Some electric sharpeners have three options for sharpening: coarse, fine, and a non-motorised steel. The fine slot is the one you will use most often just to polish up a barely dull knife. Because you will be maintaining the sharpness of your knife with the lightest of the sharpening options rather than giving it an intense regrinding with the coarse slot, you shouldn’t worry about metal loss.
Myth: For that matter, honing steels can take off too much metal.
Truth: Again, with the right tool, metal loss is nothing to worry about. The three types of steels on the market—regular, fine, and polished cut—all accomplish the same task to a lesser or greater degree. The rough, filed lines of the regular-cut steel are best for home cooks who only occasionally steel the edge of a knife. For professional chefs and meat cutters who use their knives for hours on end (and steel them multiple times per day), the fine and polished cuts are a better choice, as constant contact with the rougher surface of a regular-cut steel could wear away their knives’ edges.
Degrees of sharpness
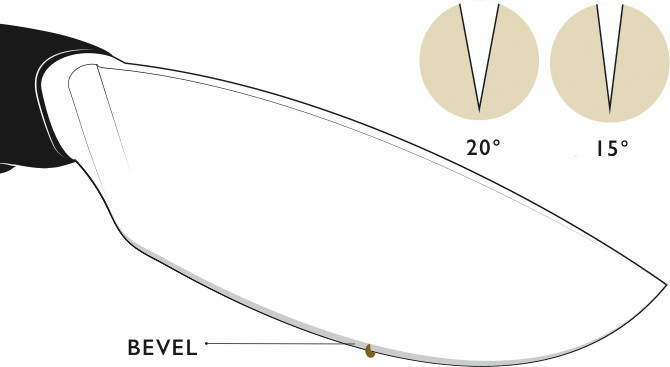
The more acute the angle, the sharper the blade will be.
When manufacturers report that a knife has a 15- or 20-degree angle, they’re referring to the angle of the bevel—the slim strip on either side of the blade that narrows to form the cutting edge.
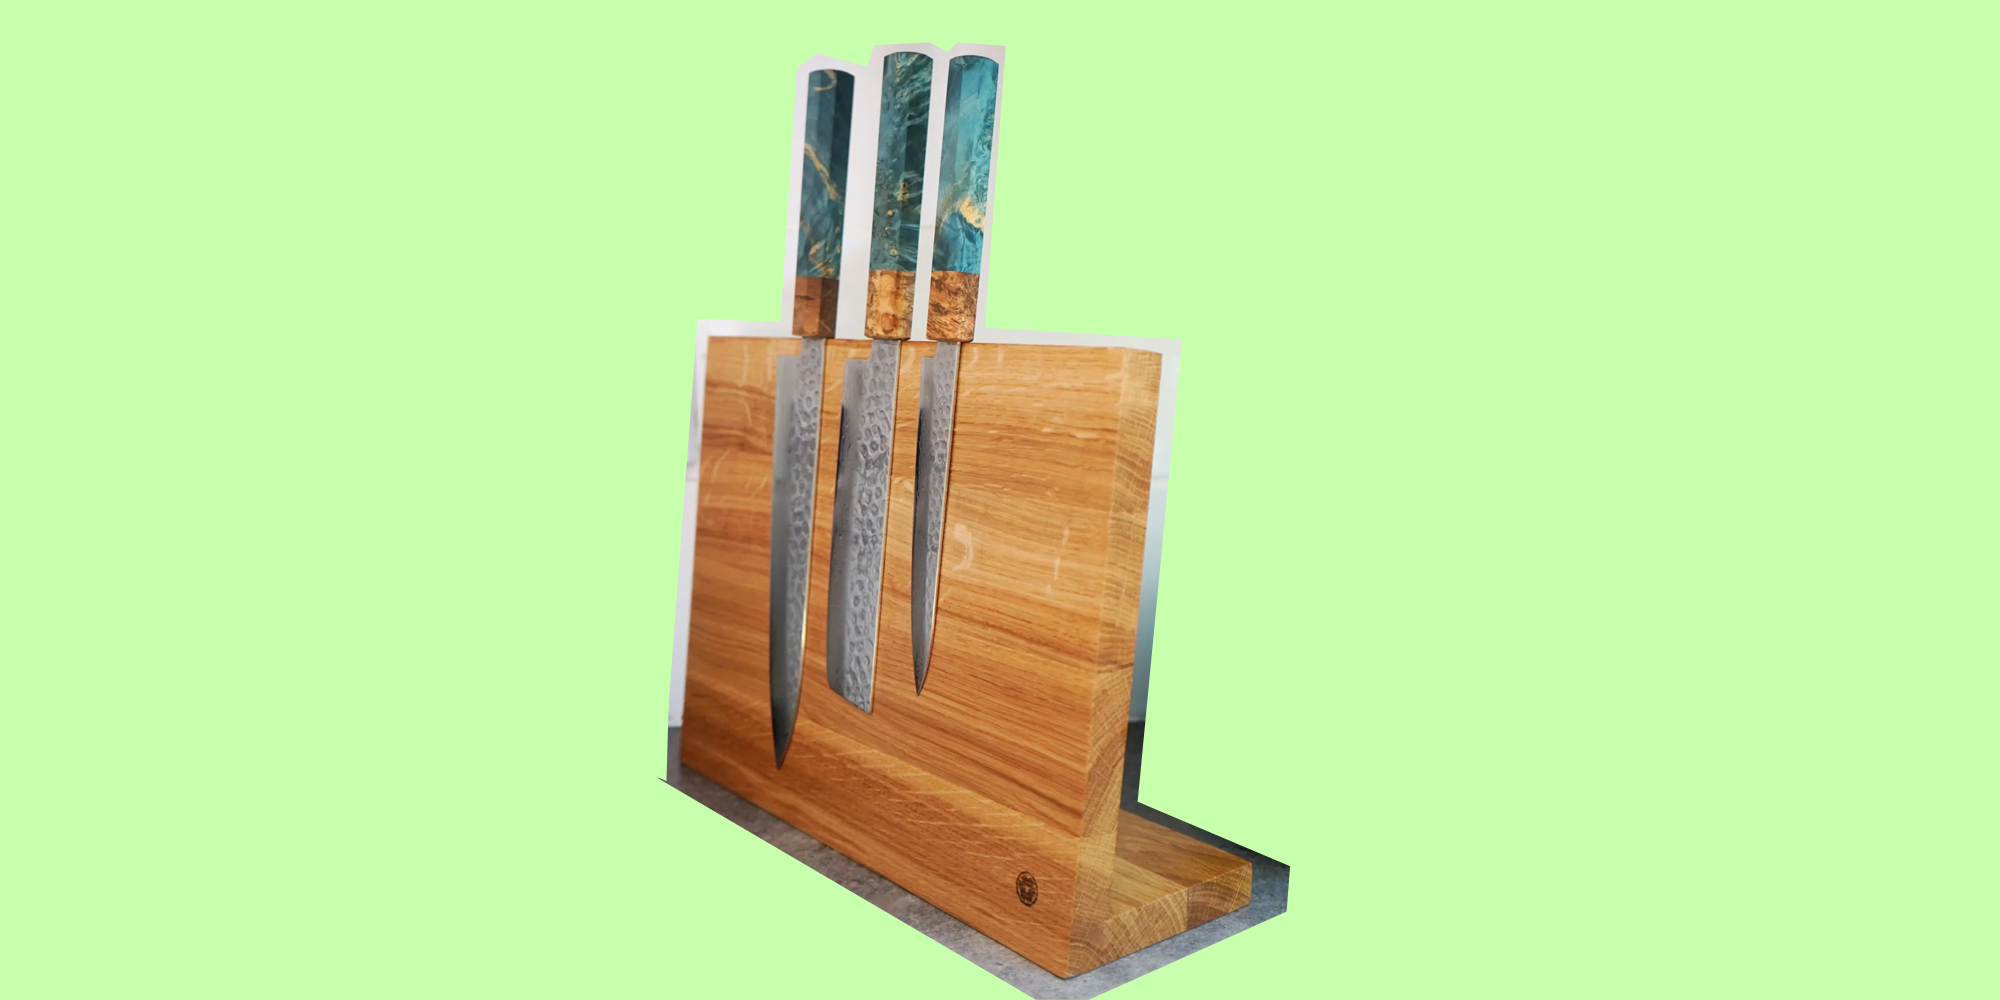
How to store your knives to keep them sharp
Putting your knives in a drawer along with other kitchen tools and cutlery is a really bad idea. Not only is it a fast pass to the emergency room should you grab the knife end of a blade when you are going for the ice cream scoop. Sliding against other metal objects also damages knifes, causing them to become dull more quickly. Even the best sharpening service won’t help them.
Universal non-magnetic knife block

Magnetic knife blocks

Magnetic accessories such as magnetic knife holders or magnetic blocks are the best solution. Some people believe that magnetic knife racks and blocks could possibly cause misalignment on a molecular level – nothing further from the truth! We brought up this conversation with a mechanical engineer once and he assured us that that was impossible.
Wall mounted magnetic knife strips

Knife guard / Saya
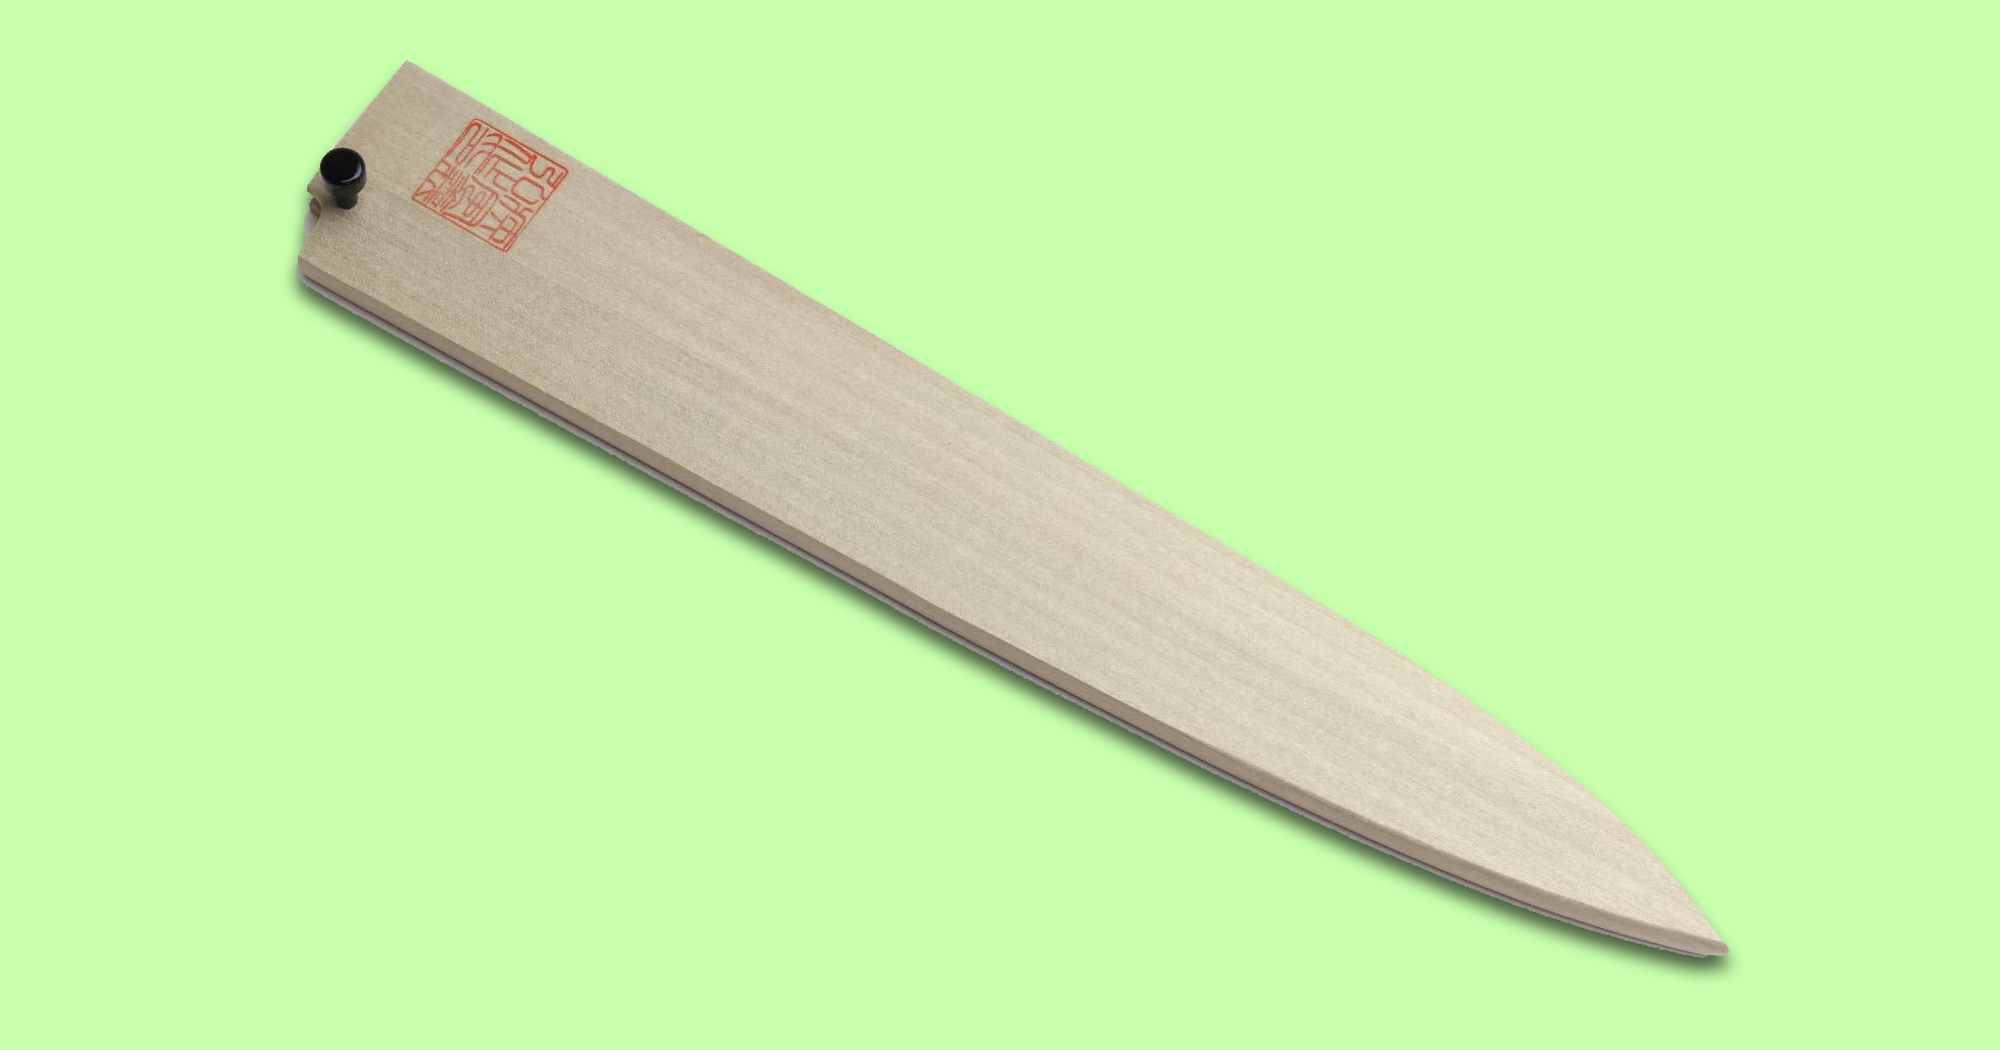

These individual covers completely and securely store the knife. Made of polypropylene, they are a good choice if you must keep your knives in a drawer. Our favourite knife guard: DYI!
Knife sharpening takeaways
- A sharp knife is a safe knife. It is crucial to keep knives sharp so that they cut through food with less slippage.
- Sharpen your knives regularly. Even the best knives will dull over time with regular use.
- Using a sharp knife will make your food taste better. Get the thin slices or a fine dice you’re looking for, not large or ragged hunks. Precisely cut food will cook at an even rate and produce a much more successful dish.
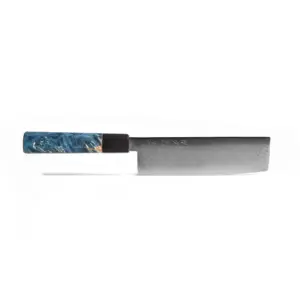
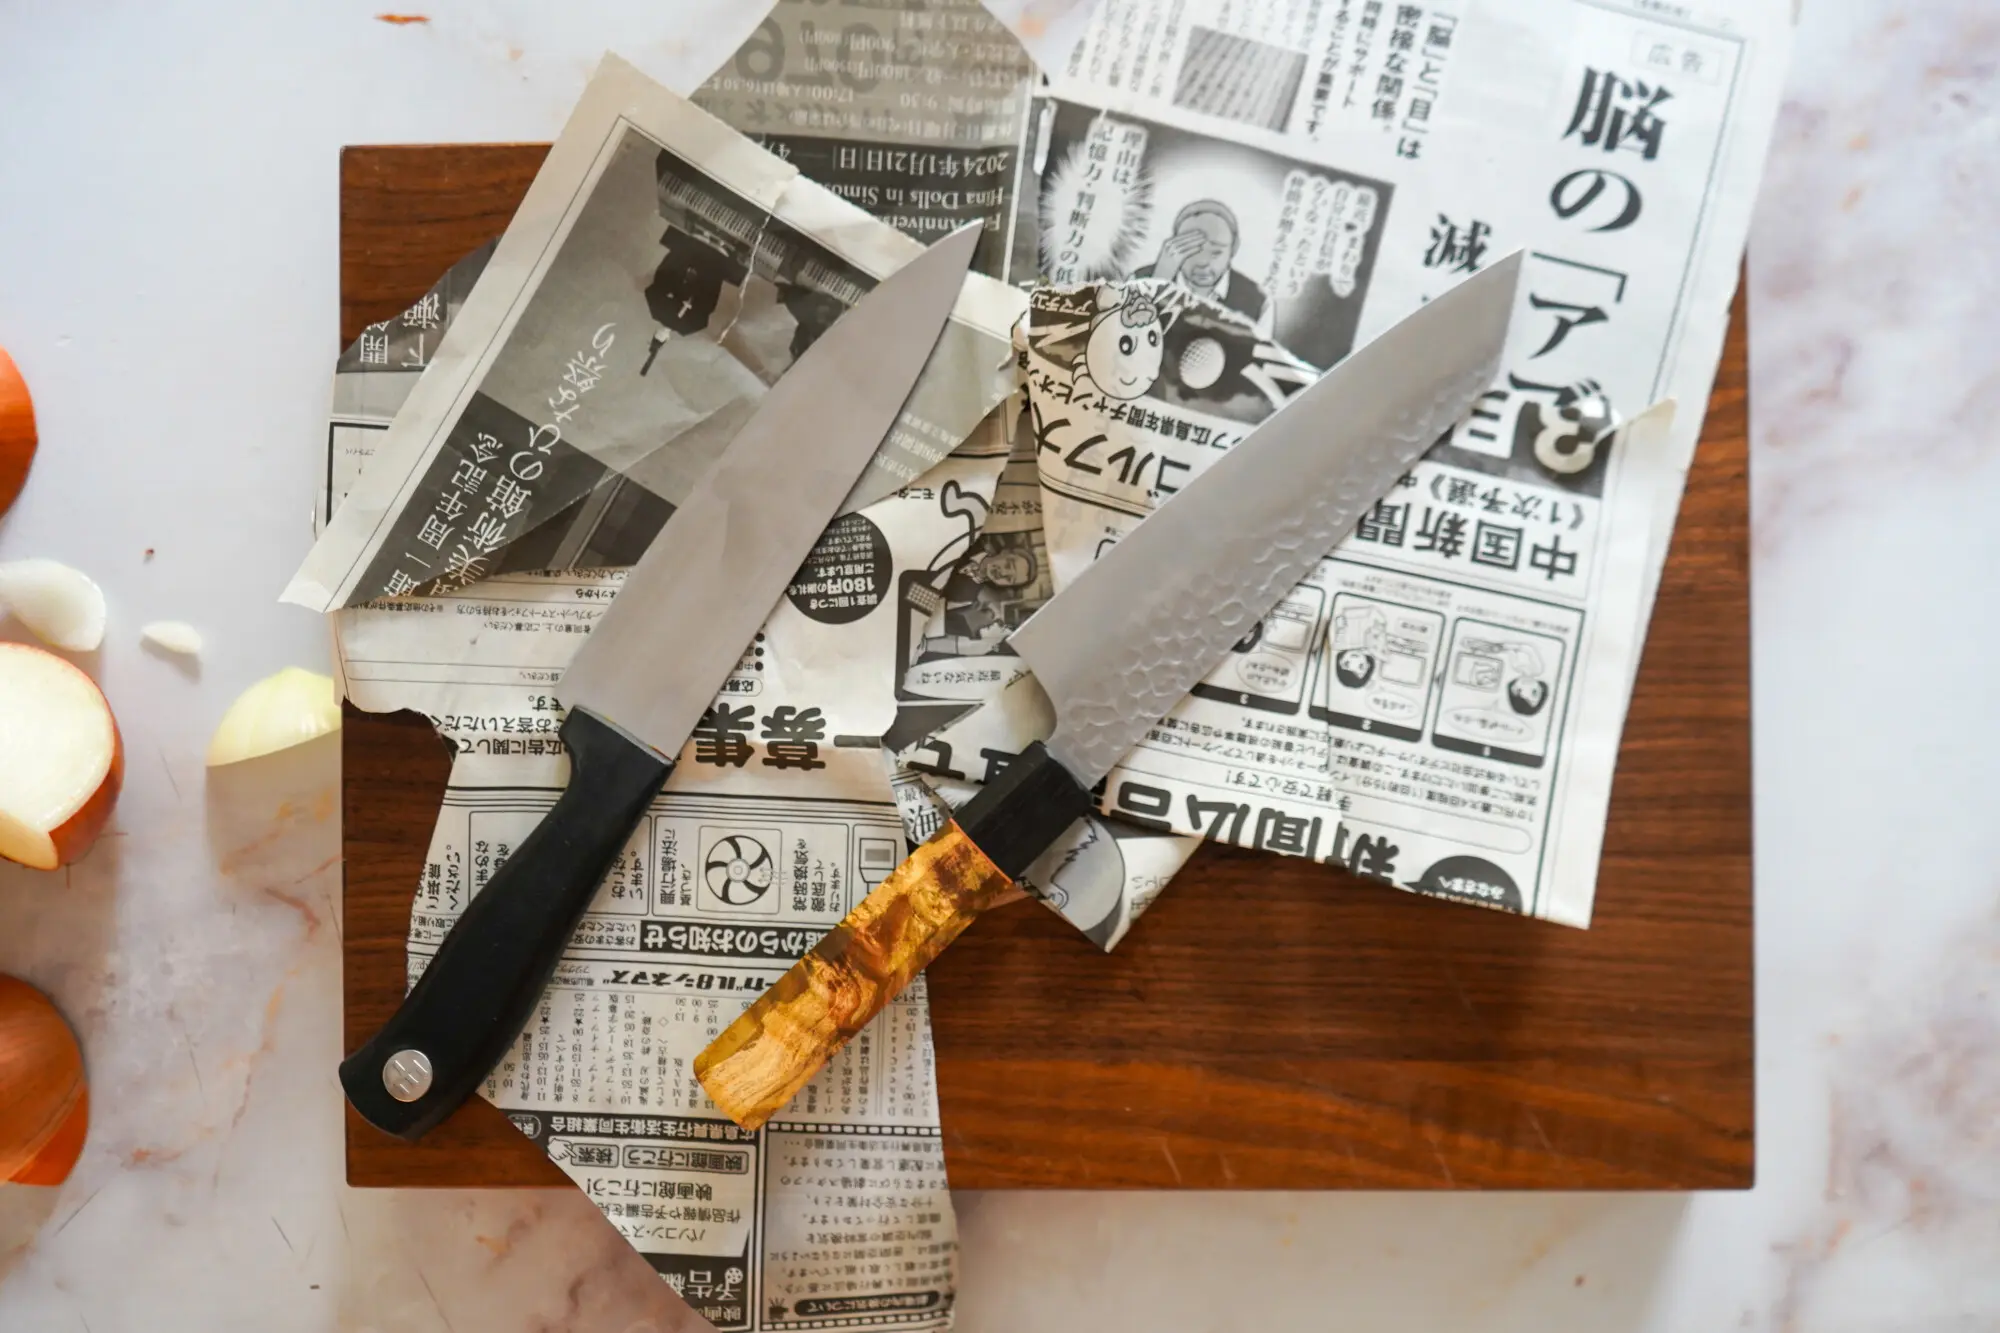
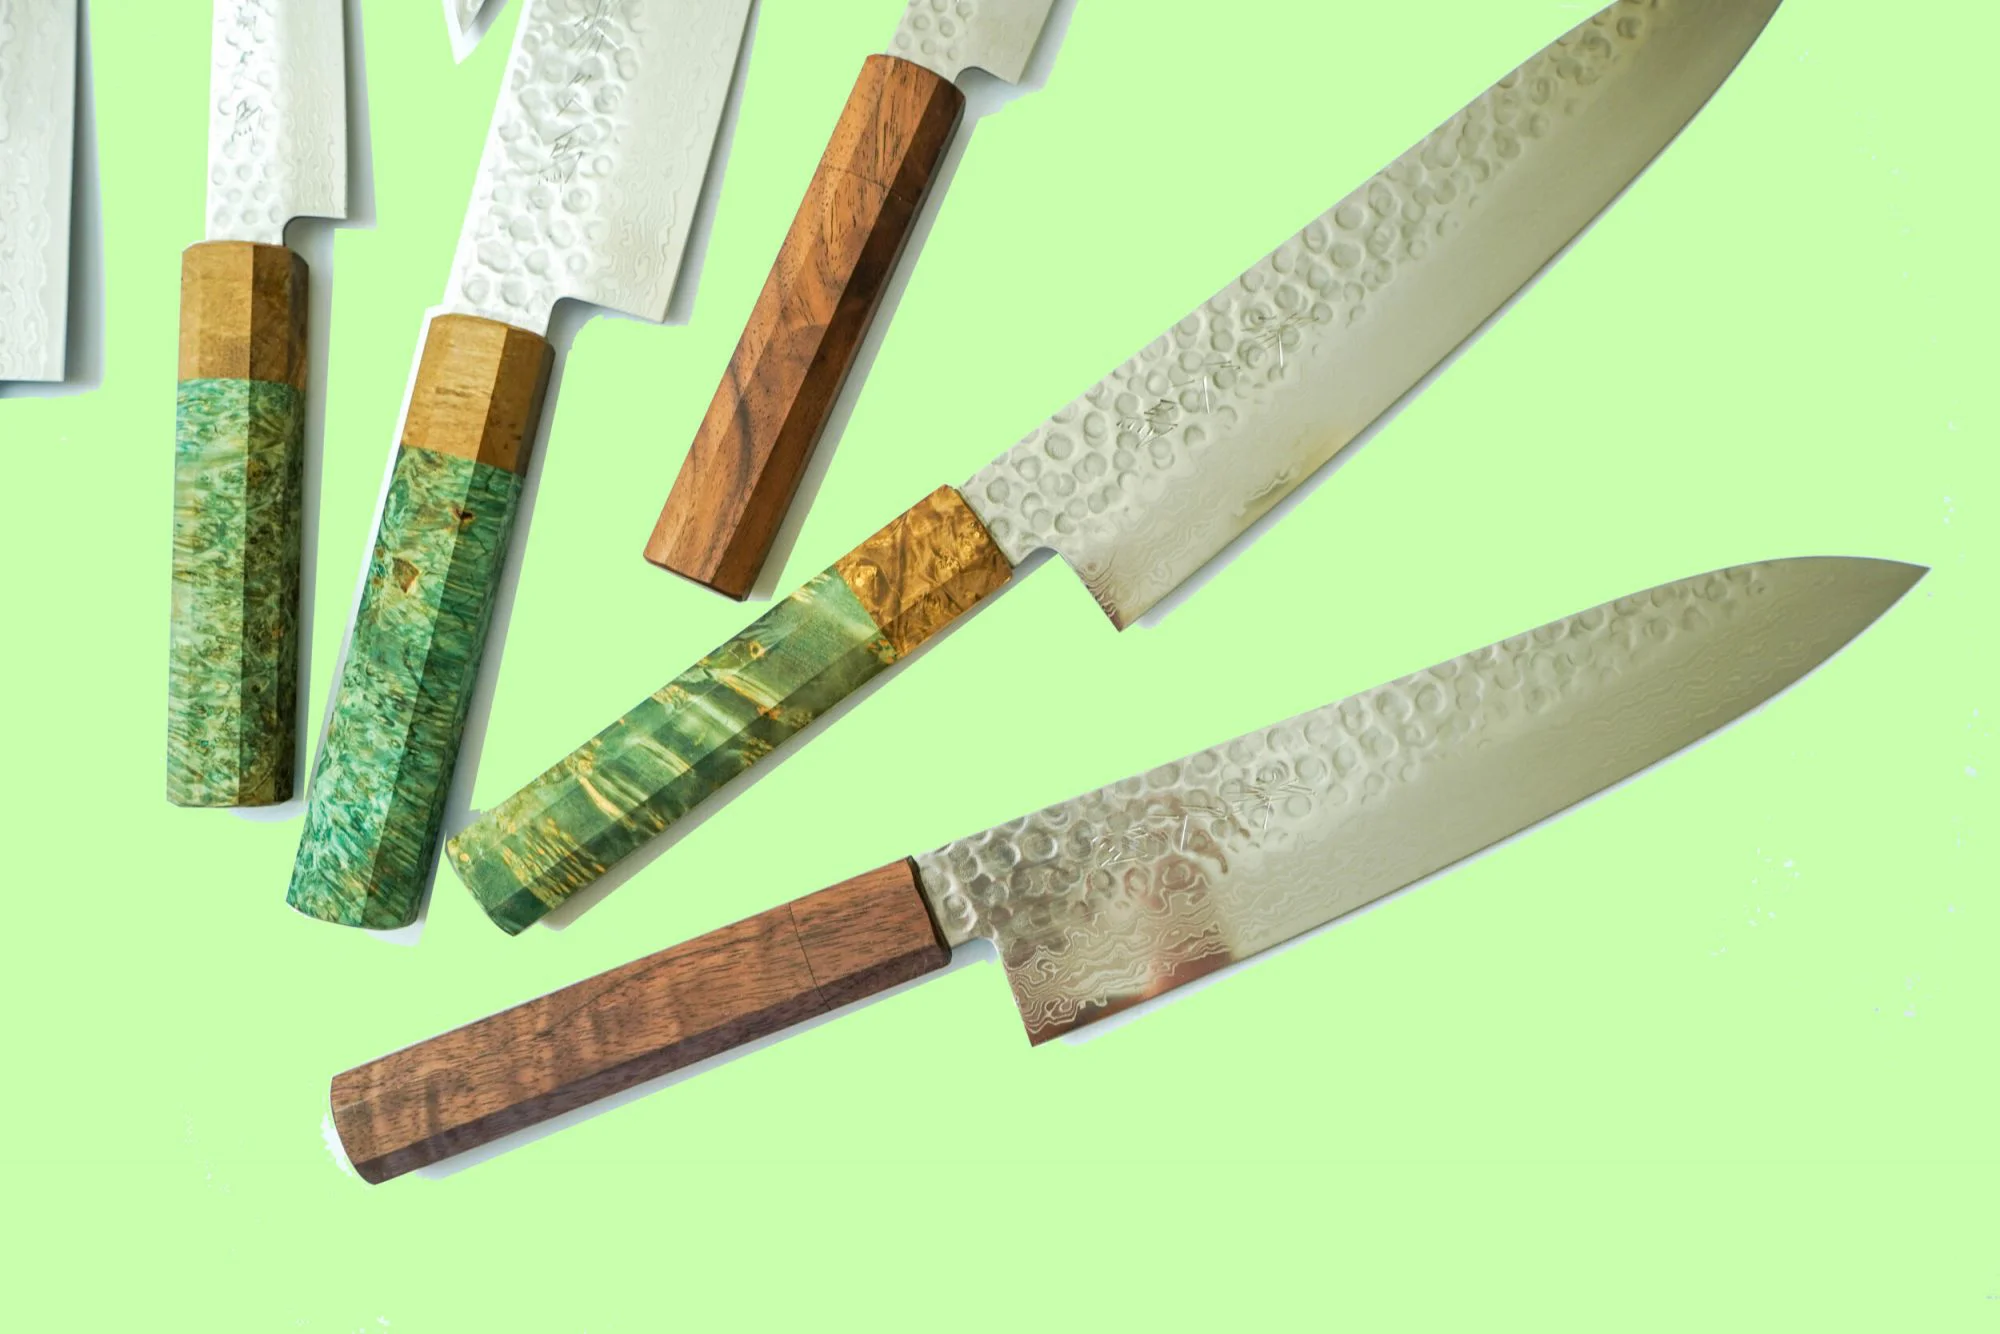
Handcrafted Japanese Knives by Oishya
Forged by master craftsmen in Seki and Sakai, Japan. Free shipping worldwide • 100-day money-back guarantee • Lifetime warranty