How to hold and slice with your Yanagiba (Sashimi) Knife

- Grasp the handle comfortably with your right hand and extend your index finger out along the blade. This will give you better control.
- When making a cut, start at the base of the knife (nearest your body) and draw the knife toward you completing the cut at the tip. The goal is to make the entire cut in one motion.
Common Sashimi Knife Cuts
Straight Cut (“Hira Giri”)

This is the easiest cut to make and is commonly used for sashimi, nigiri sushi, scattered sushi (chirashi sushi), pressed sushi and used for making “sticks” that go in Maki sushi.
To make this cut:
- Place a block of fish horizontally in front of you roughly the size of your hand (approximately 2 1/2 to 3 inches wide and 1 to 1 1/2 inches thick).
- Wipe the knife with a damp towel before each slice to keep the fish from sticking to the knife.
- Place the knife’s blade, towards the base, on the right hand end of the fish at the desired thickness.
- Smoothly pull the knife toward you through the fish in one stroke ending at the tip of the blade completing the cut.
- Move the piece to the right a few inches with your knife and tip it over.
- Repeat until you have the number of pieces desired.
- You can slice these pieces in half like in the pictures below to make matchsticks maki rolls.


Straight across Angled Cut (“Sogi Giri”)
|
|
|


This first variation of the angled cut is the easiest one to make and is similar to the straight cut done above in that your knife cuts are straight across the fish.
It is used Nigiri sushi, sushi rice balls, pressed sushi, and inside-out rolls.
- Place a block of fish horizontally in front of you roughly the size of your hand (approximately 2 1/2 to 3 inches wide and 1 to 1 1/2 inches thick).
- Wipe the knife with a damp towel before each slice to keep the fish from sticking to the knife.
- Place the knife’s blade, towards the base, on the left hand end, straight across the the fish and at the desired thickness.
- Now tilt the knife slightly to the right and smoothly pull the knife toward you through the fish in one stroke ending at the tip of the blade completing the cut.
- Move the piece to the left a few inches with your knife and tip it over.
- Repeat until you have the number of pieces desired.
Diagonal Angled Cut (“Sogi Giri”)


This is the second variation of the angled cut. Instead of being a straight cut across the fish, it is at about a 45 degree angle diagonal to the fish.
This creates a more graceful looking, slightly longer and wider piece of fish that looks very impressive draped over the hand-formed piece of rice as in Nigiri sushi.
For this cut:
- Place a block of fish horizontally in front of you roughly the size of your hand (approximately 2 1/2 to 3 inches wide and 1 to 1 1/2 inches thick).
- Wipe the knife with a damp towel before each slice to keep the fish from sticking to the knife.
- Place the knife’s blade, towards the base, on the diagonal on the left hand end of the fish.
- Now tilt the knife slightly to the right and smoothly pull the knife toward you through the fish in one stroke ending at the tip of the blade completing the cut. (The first cut will create a triangular piece that you can butterfly and open up to create a flat piece.)
- Make your second piece by following the diagonal and angle established in your first cut, slicing whatever thickness you need.
- Move the piece to the left a few inches with your knife and tip it over.
- Repeat until you have the number of pieces desired.
Well, what do you think? If you just used a Yanagiba for the first time following the directions above what was your first impression?
If you got a good quality one, I bet a smile came across your face the first time you sliced a piece of meat with it and then you probably thought…WOW! Why didn’t I get one of these before?
Most people never know how impressive these knives are. Totally worth the price, No?
Moving on, let’s try our hand at holding and using your Usuba Knife.
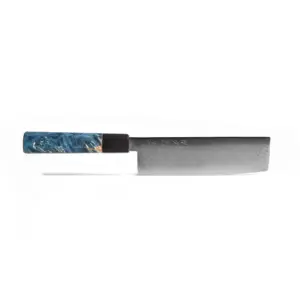
How to hold and slice with your Deba (Fish) or Usuba (Vegetable) Knife

- Grasp the handle comfortably with your right hand close to the blade end. The knuckle of your index finger should be almost on top of the handle, toward the blade end.
- Use your thumb to press into the side of the handle with your other fingers curling and wrapped around the handle.
- These knives are so sharp that cutting in one gentle motion, backed by the weight of the blade should be all you need to complete cuts.
Common Usuba (vegetable) Sushi Knife Cuts
Ribbon Cut


Ribbons are long wide strips of vegetables used commonly in Nigiri Sushi and Pressed Sushi. They will look somewhat like wood boards when they are sliced to give you an idea of what you’re shooting for.
Thin ribbon cuts are the first cuts made for making “slivers” and minced vegetables. Thick ribbon cuts are the first cuts made for making “matchsticks” and cubes.
It’s basically a building block cut.
Here’s how you do it:
- Start with a 3 or 4 inch long unpeeled cucumber (you can substitute whatever appropriate vegetable you want here).
- Lay the cucumber in front of and pointing away from you.
- Decide the desired thickness that you need (1/8 inch or less for thin ribbons (picture above on the left) and 1/4 to 1/3 inch for thick ribbons (picture above on the right) and using the front edge of the blade, push the knife away from you through the cucumber. (did you notice that the technique with the Usuba is to use the front end of the blade first and push instead of using the back end of the blade and pulling as done with the Yanagiba?)
- Repeat steps 1, 2, and 3 until you have all the slices you need.
Cutting Slivers and Mincing from “Thin” Ribbons


Vegetable slivers are used in all kinds of sushi including scattered sushi, hand rolls (temaki sushi), maki rolls, and inside-out rolls.
They are used when you want a finer, more delicate vegetable texture in your sushi.
- Start off by making thin ribbons (less than 1/8 inch) as explained in the ribbon cut section above.
- Now, stack the ribbons on top of each other like boards.
- Stair step the stack (kind of like pushing a deck of cards).
- Using the front edge of the blade, push the knife away from you slicing the ribbons lenghwise into the thinnest slivers possible until the entire stack is sliced.
- If you are wanting to mince this, then turn the whole “pile” of slivers you just made horizontally in front of you and cut as little off of the slivers as possible and continue till the whole pile is done.
Cutting Matchsticks and Dicing from “Thick” Ribbons


Matchsticks kinda look like the skinny french fries you can get at McDonalds.
They are most often used in Maki rolls and Temaki Rolls (hand rolls) and are preferred when you want a less delicate and more predominant crunchy texture to the vegetables in your sushi.
- Start off by making thick ribbons (1/4 to 1/3 inch thick) as in the ribbon cut section above.
- Now, stack the ribbons on top of each other like boards.
- Using the front edge of the blade, push the knife away from you slicing the ribbons lenghwise into 1/4 to 1/3 inch matchstick pieces until the entire stack is sliced.
- If you are wanting to dice this, then turn the whole “pile” of matchsticks that you just made horizontally in front of you and cut across them making 1/4 to 1/3 inch pieces. Continue until the whole pile is done.
After you get done slicing and chopping and mincing with your sushi knife, you need to clean and store it properly so that it will give you years of reliable service.
Check out the next section to get tips on how to do that…
How to Care for your Sashimi and Sushi Knife
You paid good money for your sushi knife so you should take good care of it.
Here’s a few things you need to do each time after you use it.
- Wash your sushi knife with soapy water, rinse and dry it WELLby running the sushi knife through a dry towel. This is especially true for carbon steel knives as they will rust and pit if left wet.
- Never put your sushi knife in a dishwasher.
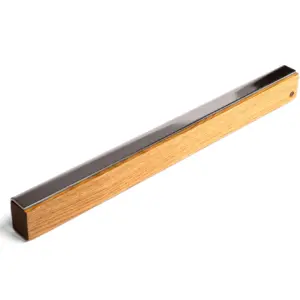
- Store your sushi knife in a case, wrapped and in a separate space in a drawer or on a rack.
A couple more things to mention:
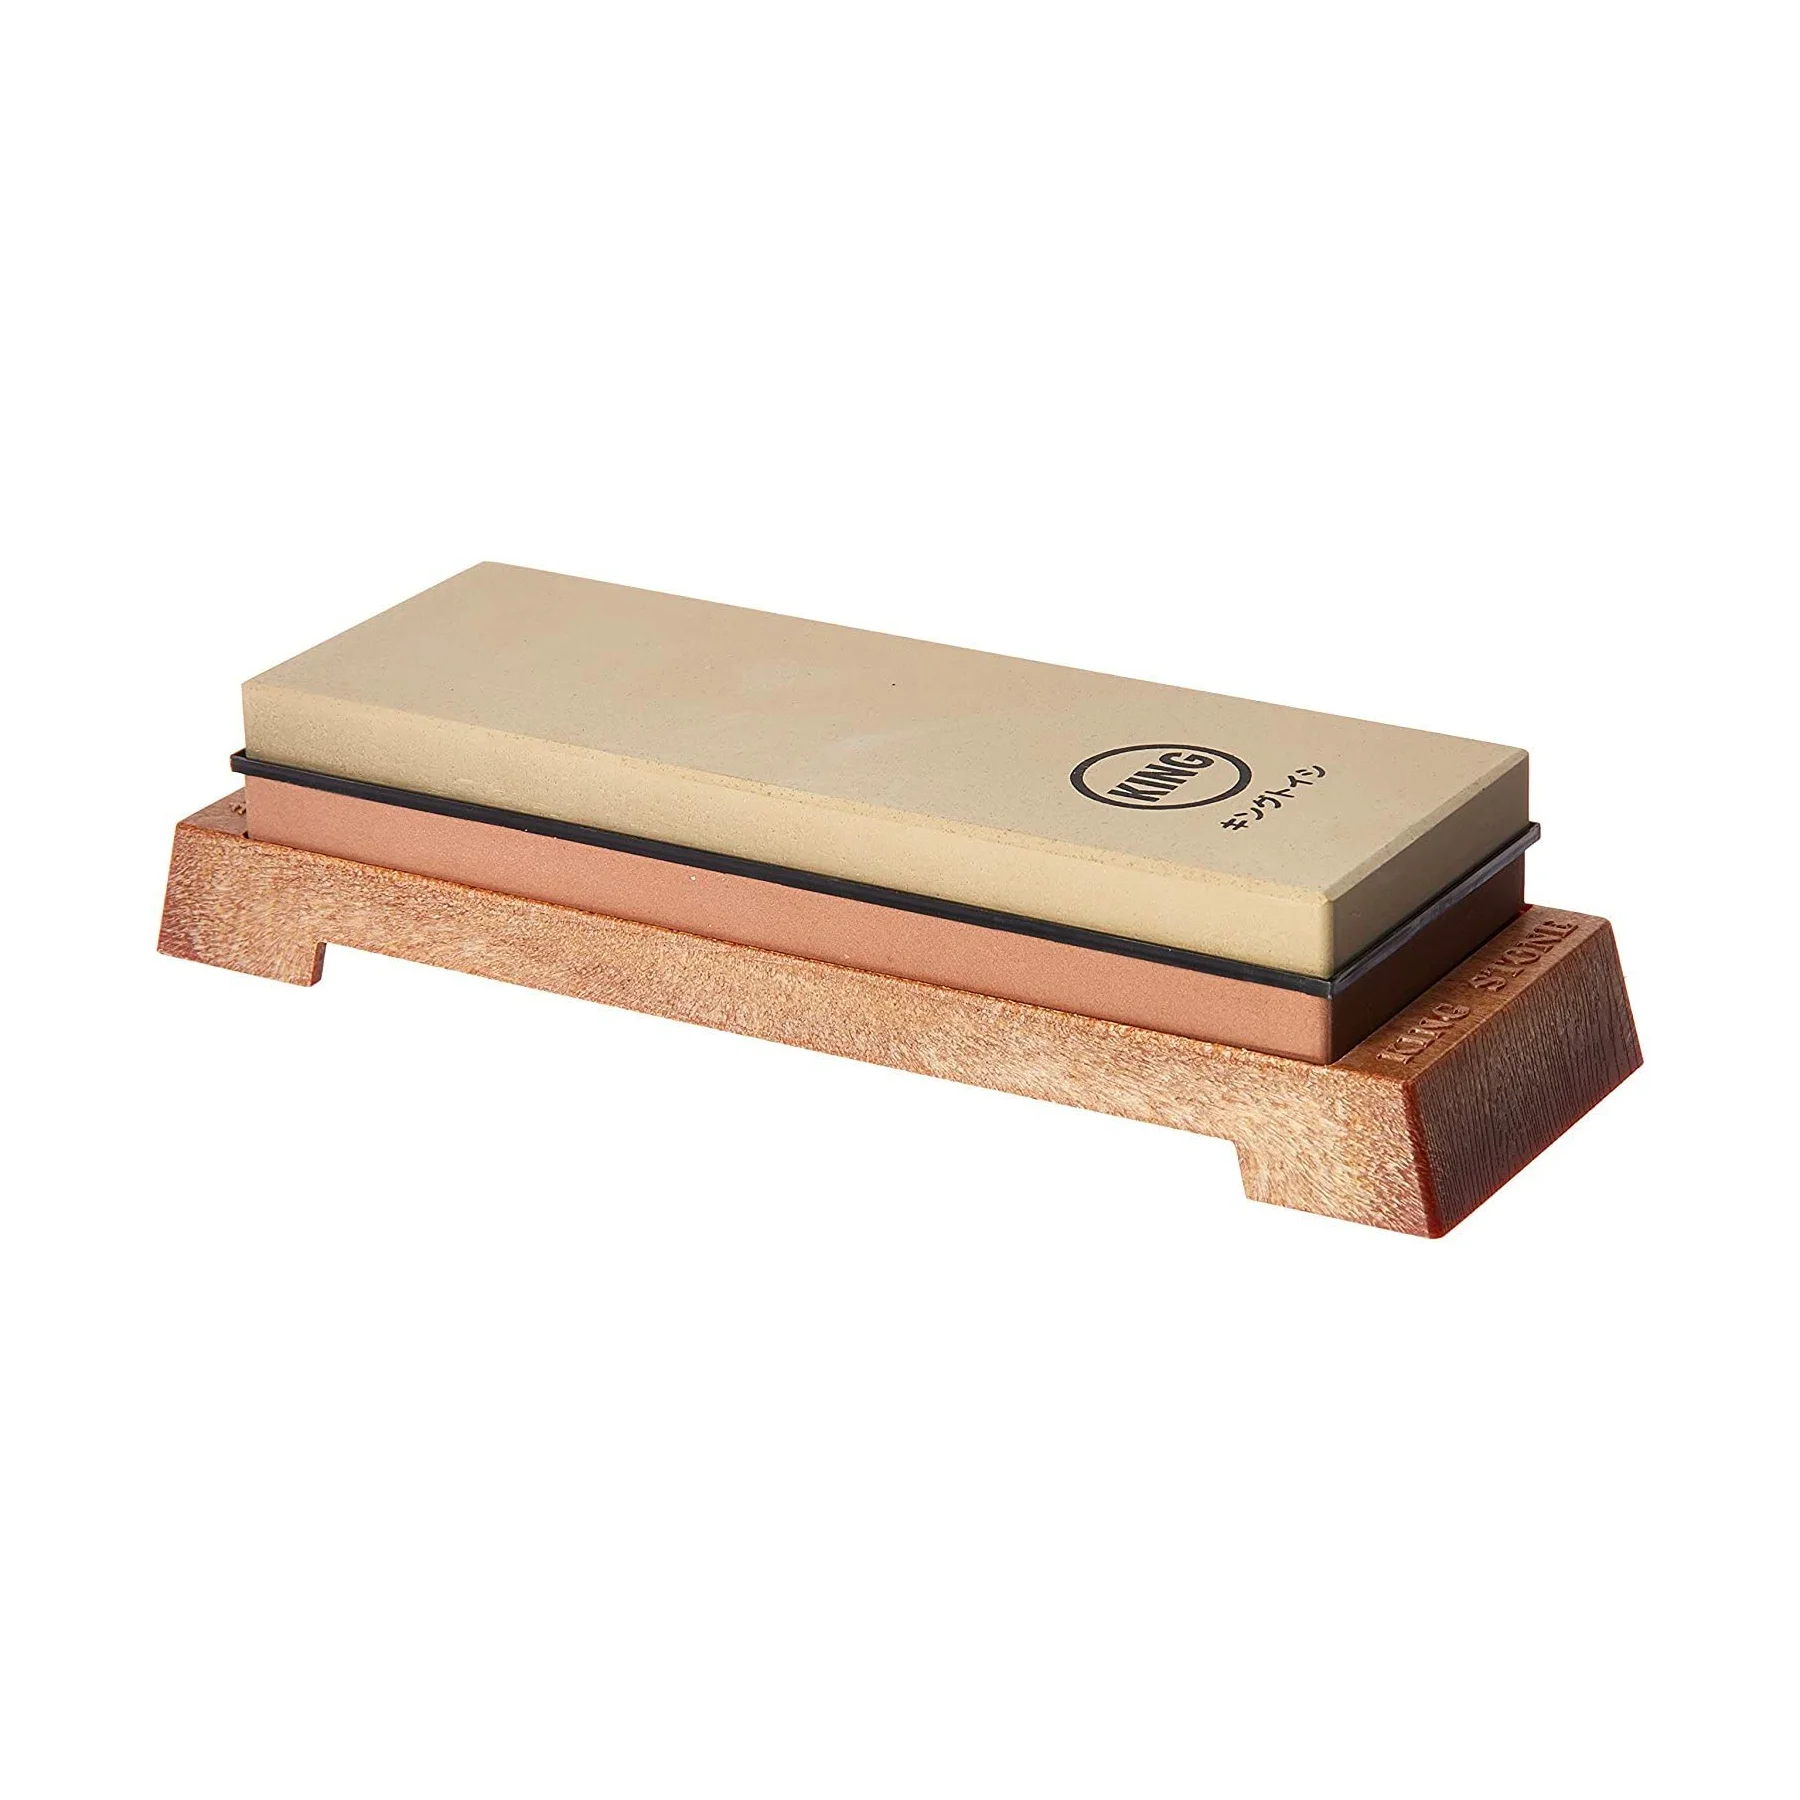
- Do not use a sharpening steel to sharpen your Japanese sushi knife; only use a water stone or whet stone. Follow your knife manufacturers directions for using a whetstone.
- When cutting acid sources like lemon, apples or sushi, try to wipe or wash the knife frequently
- Do not cut frozen food with your sushi knife. Doing so may chip it.
At some point your brand new sushi knife is going to need to be sharpened. Especially if you didn’t do it when you first got it home after buying it.
Its not as frightening as it might sound though. Just follow the instructions that follow and you’ll be a pro in no time!
How to Sharpen your Japanese Sushi Knife
Keeping a Japanese sushi knife or sashimi knife continuously sharp is almost like a religious ritual to most sushi chefs. After all, it is their livelihood. And most chefs will sharpen all of their knives at the end of the work day so that they will be fresh, sharp and rested overnight so they will be ready for use the next day.
Which Whetstones or Water stones do you need?
For more information on general knife sharpening techniques, visit this page http://www.knifeplanet.net/55-experts-share-knife-sharpening-tips/.
Handcrafted Japanese Knives by Oishya
Forged by master craftsmen in Seki and Sakai, Japan. Free shipping worldwide • 100-day money-back guarantee • Lifetime warranty


)