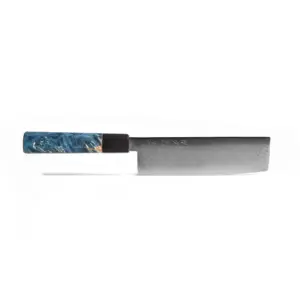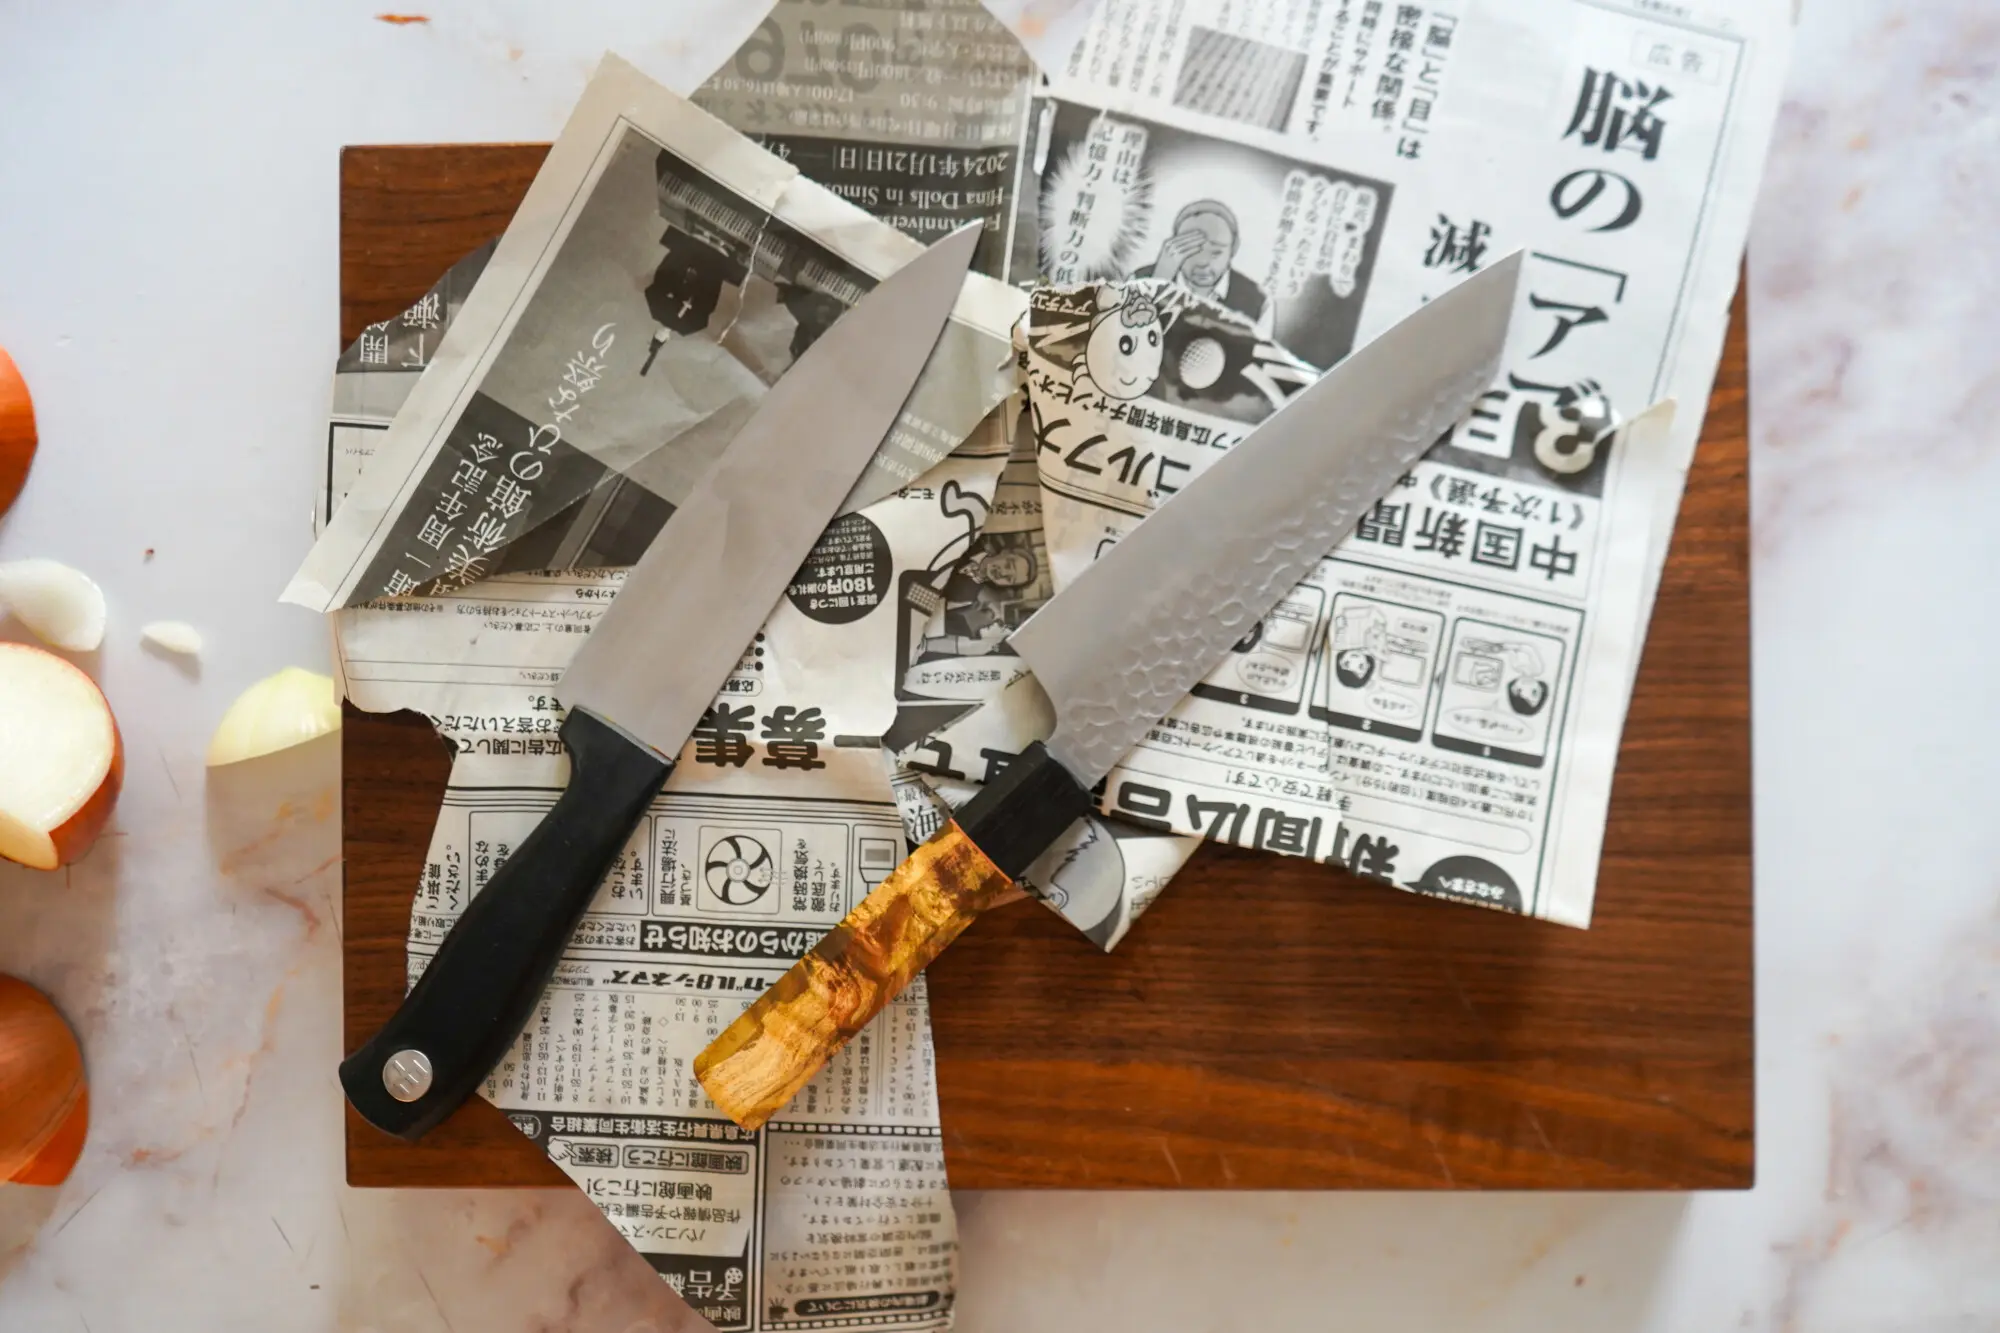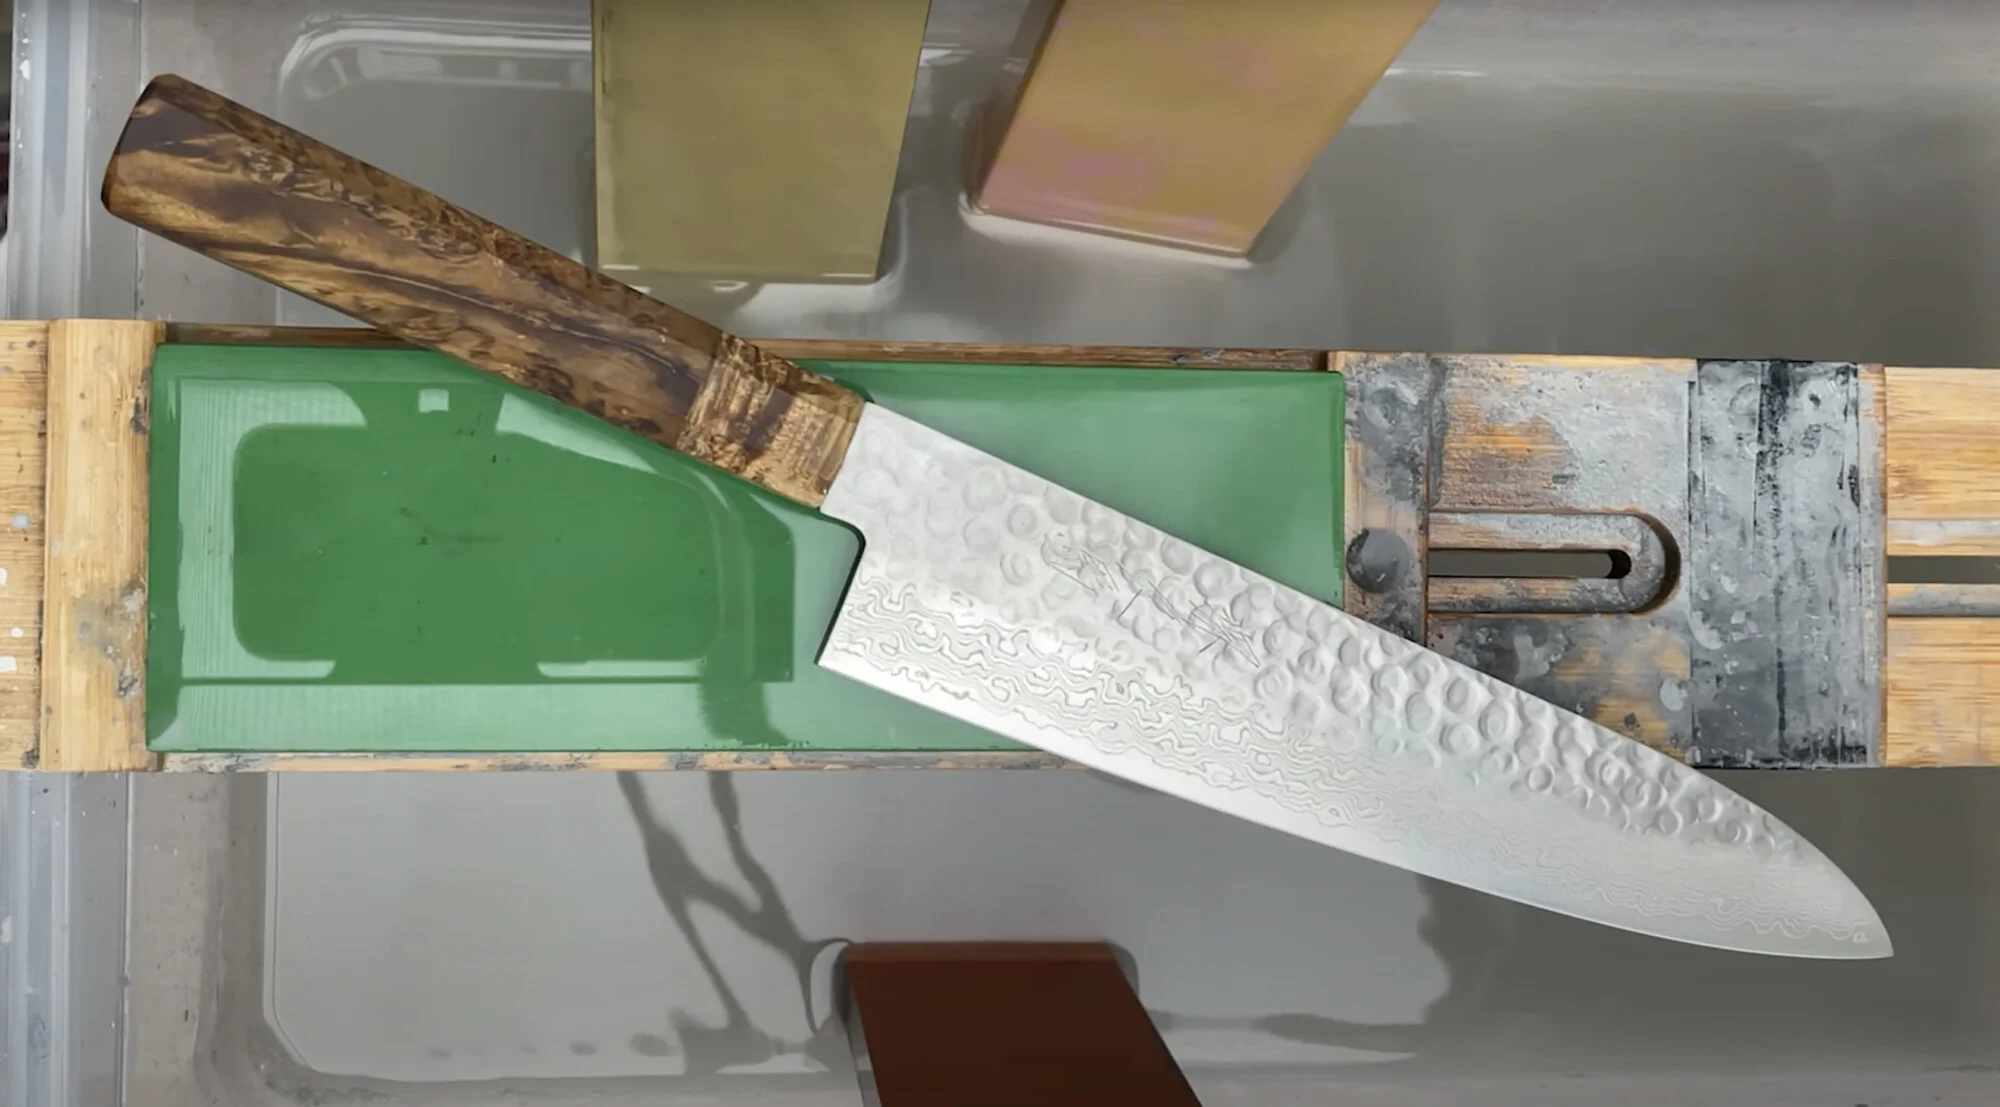
If you’ve invested in a set of premium Japanese kitchen knives, you know firsthand the joy of slicing through ingredients with precision and ease. However, maintaining that razor-sharp edge is crucial to ensure your knives continue performing at their best. Enter the art of whetstone sharpening – a traditional technique that has been passed down through generations of Japanese bladesmiths.
While whetstone sharpening may seem daunting at first, this comprehensive guide is designed to break down the process into simple, easy-to-follow steps, making it accessible even for complete beginners. By mastering this skill, you’ll not only extend the lifespan of your knives but also develop a deeper appreciation for the craftsmanship and heritage behind these exceptional blades. So, let’s dive in and unlock the secrets of whetstone sharpening, transforming your Japanese knives into the ultimate culinary tools.
Understanding Whetstones
Whetstones, also known as sharpening stones or waterstones, are the foundation of traditional Japanese knife sharpening. These finely grained abrasive surfaces are used to hone and refine the edge of a blade, restoring its razor-like sharpness.
Whetstones come in a variety of grits, ranging from coarse to ultra-fine. The grit refers to the size and density of the abrasive particles on the stone’s surface. Lower grit numbers (e.g., 400-1000) indicate coarser stones, which are used for heavy grinding and edge repair. Higher grit numbers (e.g., 4000-8000) represent finer stones, designed for polishing and honing the final edge.
Common whetstone materials include:
1. Synthetic Stones: Made from abrasive particles bound together with resin or other materials, synthetic stones are durable, consistent, and often more affordable than natural stones.
2. Natural Stones: Quarried from natural deposits, these stones are prized for their unique abrasive properties and are often favored by traditionalists. Examples include Arkansas stones and Japanese King stones.
3. Diamond Stones: Featuring diamond abrasives embedded in a metal or resin base, diamond stones are incredibly durable and maintain their grit level for an extended period.
Preparing your whetstone
Before you begin sharpening, it’s essential to properly prepare your whetstone. This step ensures optimal performance and prevents potential damage to your knives.
1. Soaking
Most whetstones, except for diamond stones, require soaking in water before use. This process releases the abrasive particles and lubricates the stone’s surface, preventing the steel from overheating during sharpening.
For soaking, place your whetstone in a shallow dish or container filled with clean water. Ideally, soak the stone for at least 10-15 minutes, or according to the manufacturer’s instructions. This allows the stone to become fully saturated and ready for use.
2. Flattening
Over time, whetstones can develop grooves or an uneven surface due to repeated use. To ensure consistent sharpening, it’s important to flatten your whetstone periodically. This can be done using a flattening stone or a diamond plate designed specifically for this purpose.
Gently rub the whetstone in a figure-eight motion on the flattening surface, applying even pressure until the entire surface of the whetstone is level and smooth.
3. Surface preparation
Once your whetstone is soaked and flattened, it’s time to prepare the surface for sharpening. Using a nagura stone (a type of correcting stone) or a diamond plate, lightly dress the surface of the whetstone by rubbing it in a circular motion. This action helps expose fresh abrasive particles and creates a slurry that aids in the sharpening process.
Establishing the proper sharpening angle
One of the most critical aspects of whetstone sharpening is maintaining the correct angle between the blade and the stone’s surface. This angle determines the final edge geometry, affecting both sharpness and durability.
Most Japanese knives are designed to be sharpened at an angle between 10-15 degrees per side, resulting in a total edge angle of 20-30 degrees. However, it’s essential to refer to the manufacturer’s recommendations or consult with a professional sharpener to determine the optimal angle for your specific knife. To help maintain a consistent angle during sharpening, you can use angle guides or jigs. These simple tools provide a stable platform and visual aids to ensure you maintain the desired angle throughout the sharpening process.
For beginners, it’s recommended to start with a sharpening angle closer to 15-20 degrees per side, as this range is more forgiving and easier to maintain. As you gain experience and confidence, you can experiment with slightly steeper angles for a more aggressive edge.
The sharpening process: step-by-step
Now that you’ve prepared your whetstone and established the proper sharpening angle, it’s time to begin the sharpening process itself. Follow these steps carefully, and remember, practice and patience are key to achieving a razor-sharp edge.
1. Establish the Bevel
Before you begin sharpening, you’ll need to establish or repair the bevel – the angled edge on the blade. This step is typically done using a coarse grit whetstone (400-1000 grit).
With the blade positioned at your desired sharpening angle, apply gentle pressure and make several passes along the length of the stone, alternating sides with each pass. This process will create or restore the bevel, ensuring a solid foundation for the subsequent sharpening steps.
2. Refine the Edge
Once the bevel is established, move on to a medium grit whetstone (1000-2000 grit). Maintain the same sharpening angle and repeat the process, making several passes along the stone while alternating sides.
During this step, you’ll begin to feel a slight burr or wire edge forming along the blade’s cutting edge. This burr is a sign that you’re removing material and refining the edge.
3. Polish and Hone
After refining the edge with a medium grit stone, it’s time to polish and hone the final edge using a finer grit whetstone (4000-8000 grit).
With a light touch and consistent angle, make several passes along the length of the stone, alternating sides with each pass. As you work through this step, the burr or wire edge should gradually diminish, resulting in a razor-sharp, polished edge.
4. Deburring
The final step in the sharpening process is deburring – removing any remaining burr or wire edge from the blade. This can be done by carefully running the blade’s edge along a leather strop or the bare surface of a high-grit stone (8000 grit or higher).
Apply minimal pressure and make a few light passes, paying close attention to the blade’s edge. You’ll know you’ve successfully deburred when the edge feels smooth and free of any roughness or burrs.
Watch our video on how to sharpen a Japanese knife:
Tips and tricks for successful sharpening
While whetstone sharpening is a skill that takes time and practice to master, there are several tips and tricks that can help beginners achieve better results and avoid common pitfalls.
1. Maintain consistent angle and pressure
Consistency is key when it comes to whetstone sharpening. Strive to maintain a consistent angle and apply even pressure throughout the sharpening process. Varying the angle or applying uneven pressure can lead to an uneven or poorly formed edge.
2. Use a sharpening guide or jig
For beginners, using a sharpening guide or jig can be invaluable in maintaining a consistent angle. These tools provide a stable platform and visual aids, ensuring you stay on track during the sharpening process.
3. Alternate sides frequently
When making passes along the whetstone, alternate sides with each pass. This helps to maintain an even bevel and prevent the formation of an uneven or lopsided edge.
4. Apply gentle pressure
Whetstone sharpening is a process of gradual metal removal. Applying excessive pressure can damage the stone, overheat the blade, or cause the edge to chip or roll over. Use a light touch and let the abrasive surface do the work.
5. Clean and maintain your whetstones
After each sharpening session, clean your whetstones thoroughly by rinsing away any debris or slurry buildup. Store them in a dry, safe place to prevent damage or contamination. Regularly flatten and dress the stones to maintain a consistent surface.
6. Start with a coarse grit and work your way up
When sharpening a dull or damaged blade, always start with a coarse grit stone to establish or repair the bevel. Gradually work your way up through the grit range, refining and polishing the edge along the way.
7. Practice on inexpensive knives
As with any new skill, practice is essential. Start by sharpening inexpensive knives or knives that are already in need of repair. This will allow you to build confidence and develop your technique without the risk of damaging your prized Japanese blades.
8. Seek professional guidance
If you’re struggling or unsure about any aspect of the sharpening process, don’t hesitate to seek guidance from a professional sharpener or experienced enthusiast. Many reputable knife retailers and manufacturers offer sharpening tutorials or classes to help you master this valuable skill.
The importance of regular sharpening
Sharpening your Japanese knives with whetstones is not a one-time task but rather an ongoing practice that should be integrated into your regular knife maintenance routine. Regular sharpening not only ensures your blades perform at their best but also extends their lifespan and preserves the integrity of the edge.
Here are a few guidelines for when to sharpen your Japanese knives:
1. Before each use
Develop the habit of giving your knives a quick touch-up on a high-grit stone (4000-8000 grit) before each use. This practice helps maintain the razor-sharp edge and ensures optimal cutting performance.
2. After extensive use
If you’ve been using your knives extensively for a prolonged period, it’s recommended to perform a full sharpening session, starting with a coarse grit stone and working your way up to a fine grit for polishing.
3. When the edge becomes dull or damaged
If you notice your knives struggling to slice through ingredients or exhibiting signs of dulling, such as tearing or crushing food, it’s time for a full sharpening session. Catching and addressing dullness early can prevent further damage and extend the lifespan of your blades.
By incorporating regular sharpening into your routine, you’ll not only enjoy the benefits of razor-sharp knives but also develop a deeper appreciation for the art of Japanese bladesmithing and the tradition behind these exceptional culinary tools.
It’s a great skill to learn
Sharpening Japanese knives with whetstones is more than just a practical skill – it’s a journey into the rich cultural heritage of Japanese craftsmanship. As you progress along this path, you’ll develop a profound connection to the traditions that have shaped these exquisite blades.
Embrace the challenges and revel in the small victories, for it is through this journey that you’ll truly understand the essence of Japanese knife craftsmanship. Remember, patience, practice, and a deep respect for the art are the keys to mastering this time-honored technique.
So, grab your whetstones, sharpen your knives, and sharpen your skills. The pursuit of a razor-sharp edge is not just a quest for performance; it’s a celebration of tradition, craftsmanship, and the enduring spirit of Japanese bladesmithing.
Handcrafted Japanese Knives by Oishya
Forged by master craftsmen in Seki and Sakai, Japan. Free shipping worldwide • 100-day money-back guarantee • Lifetime warranty